This page contains the dive trail. Scroll down to view it, or download it as a PDF.
What you will see
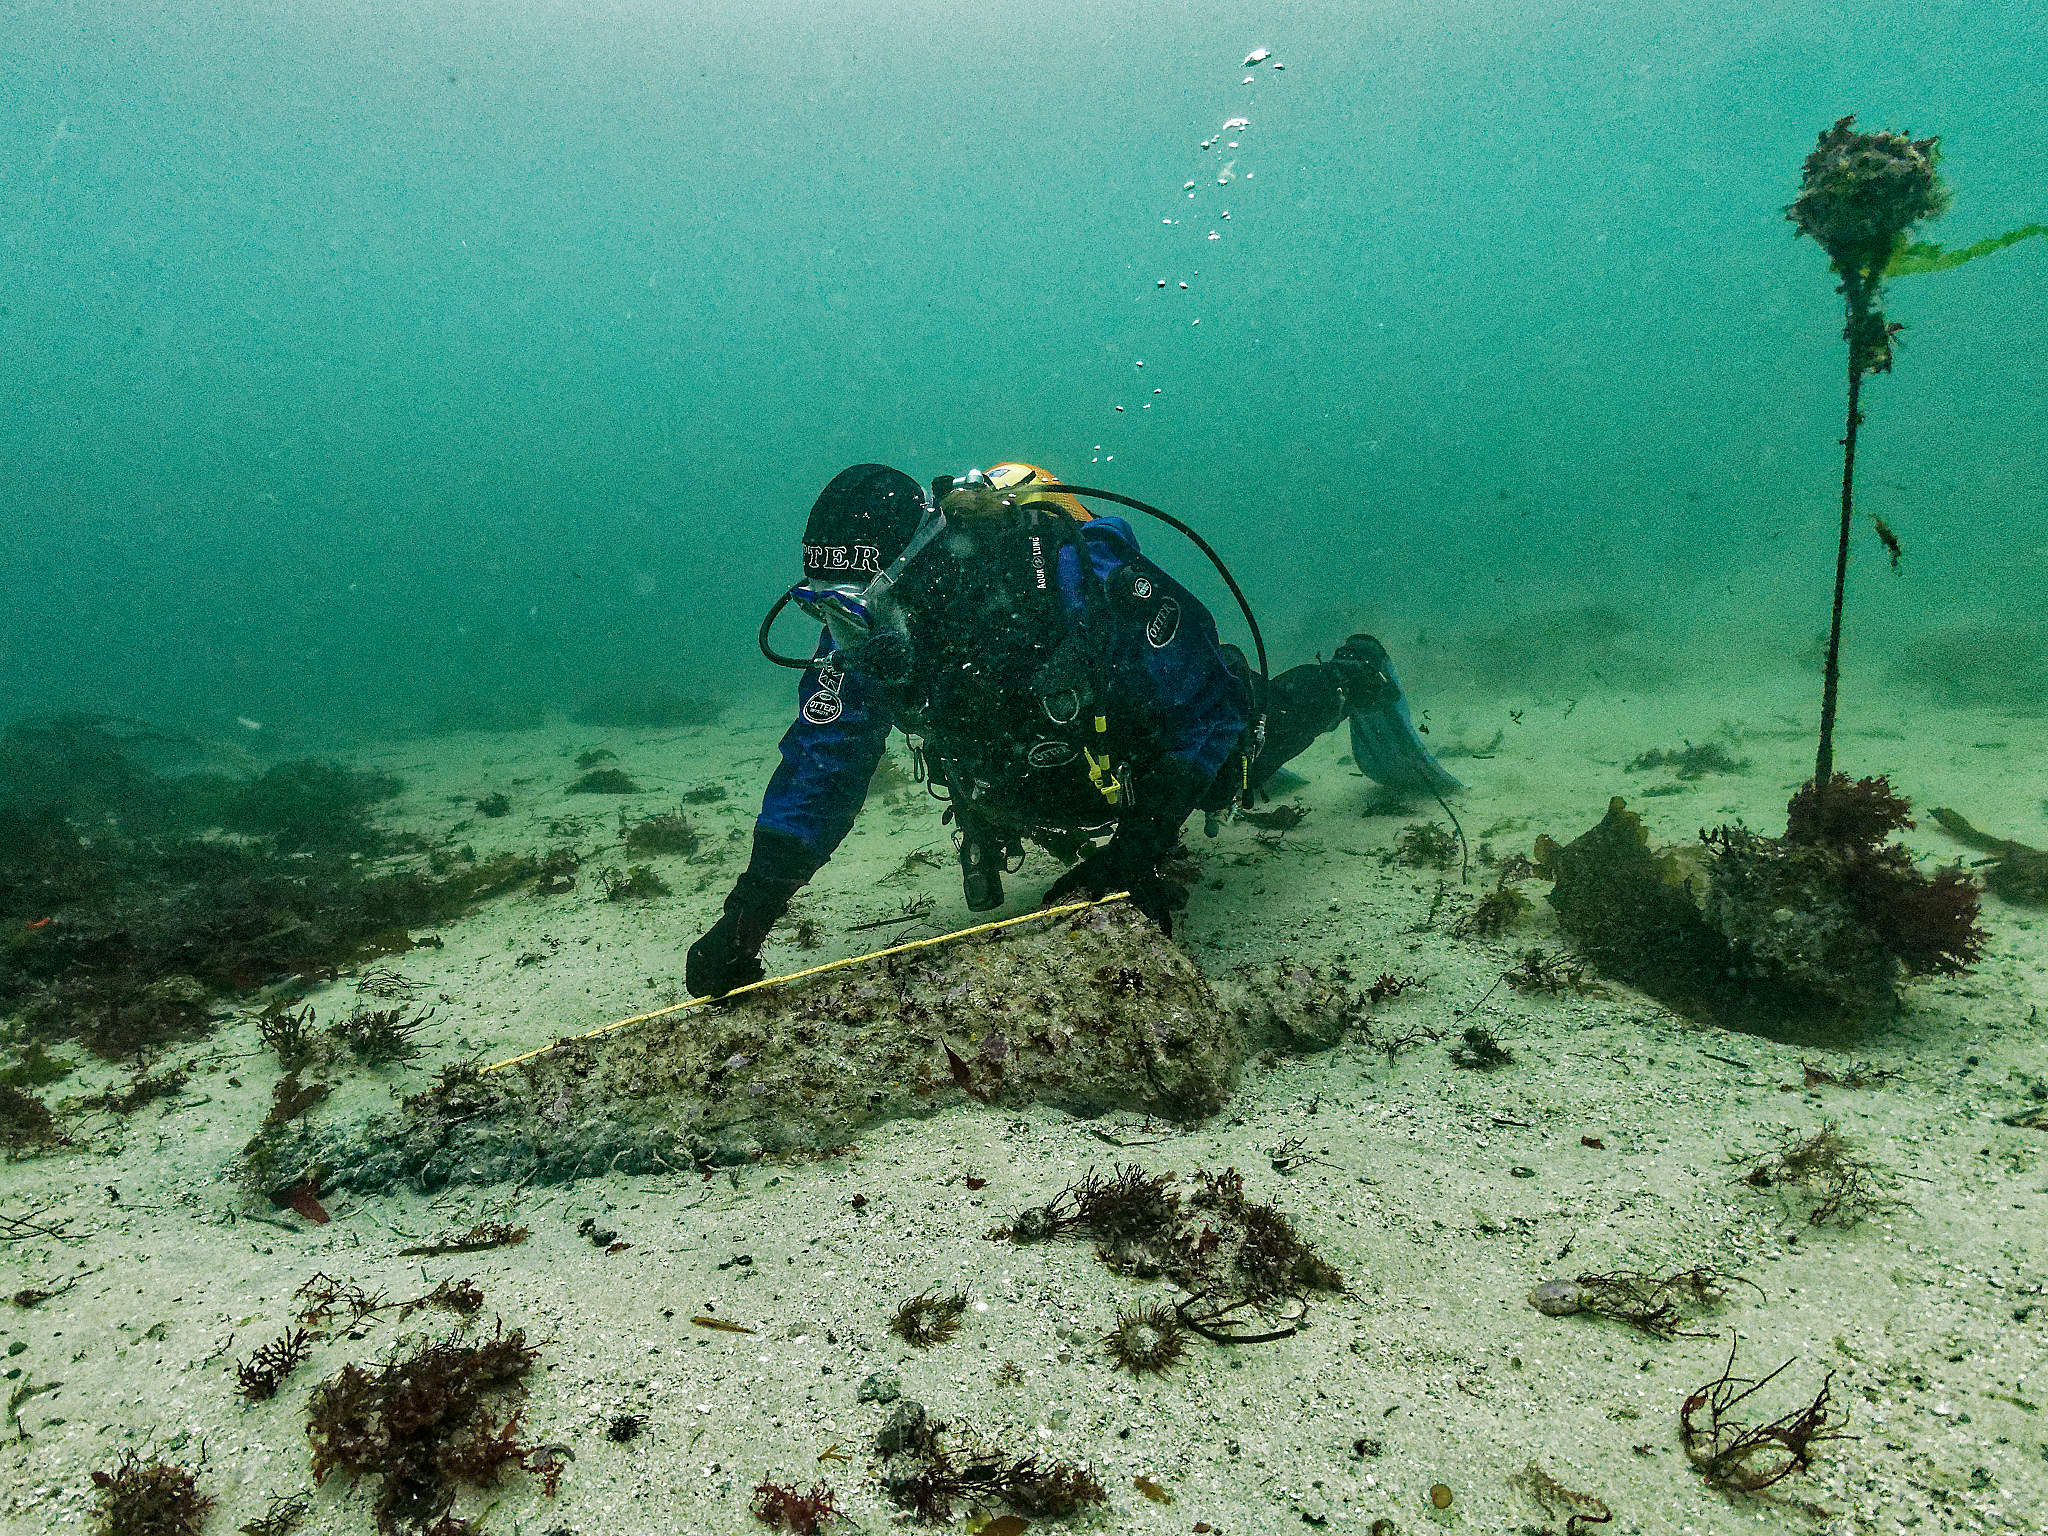
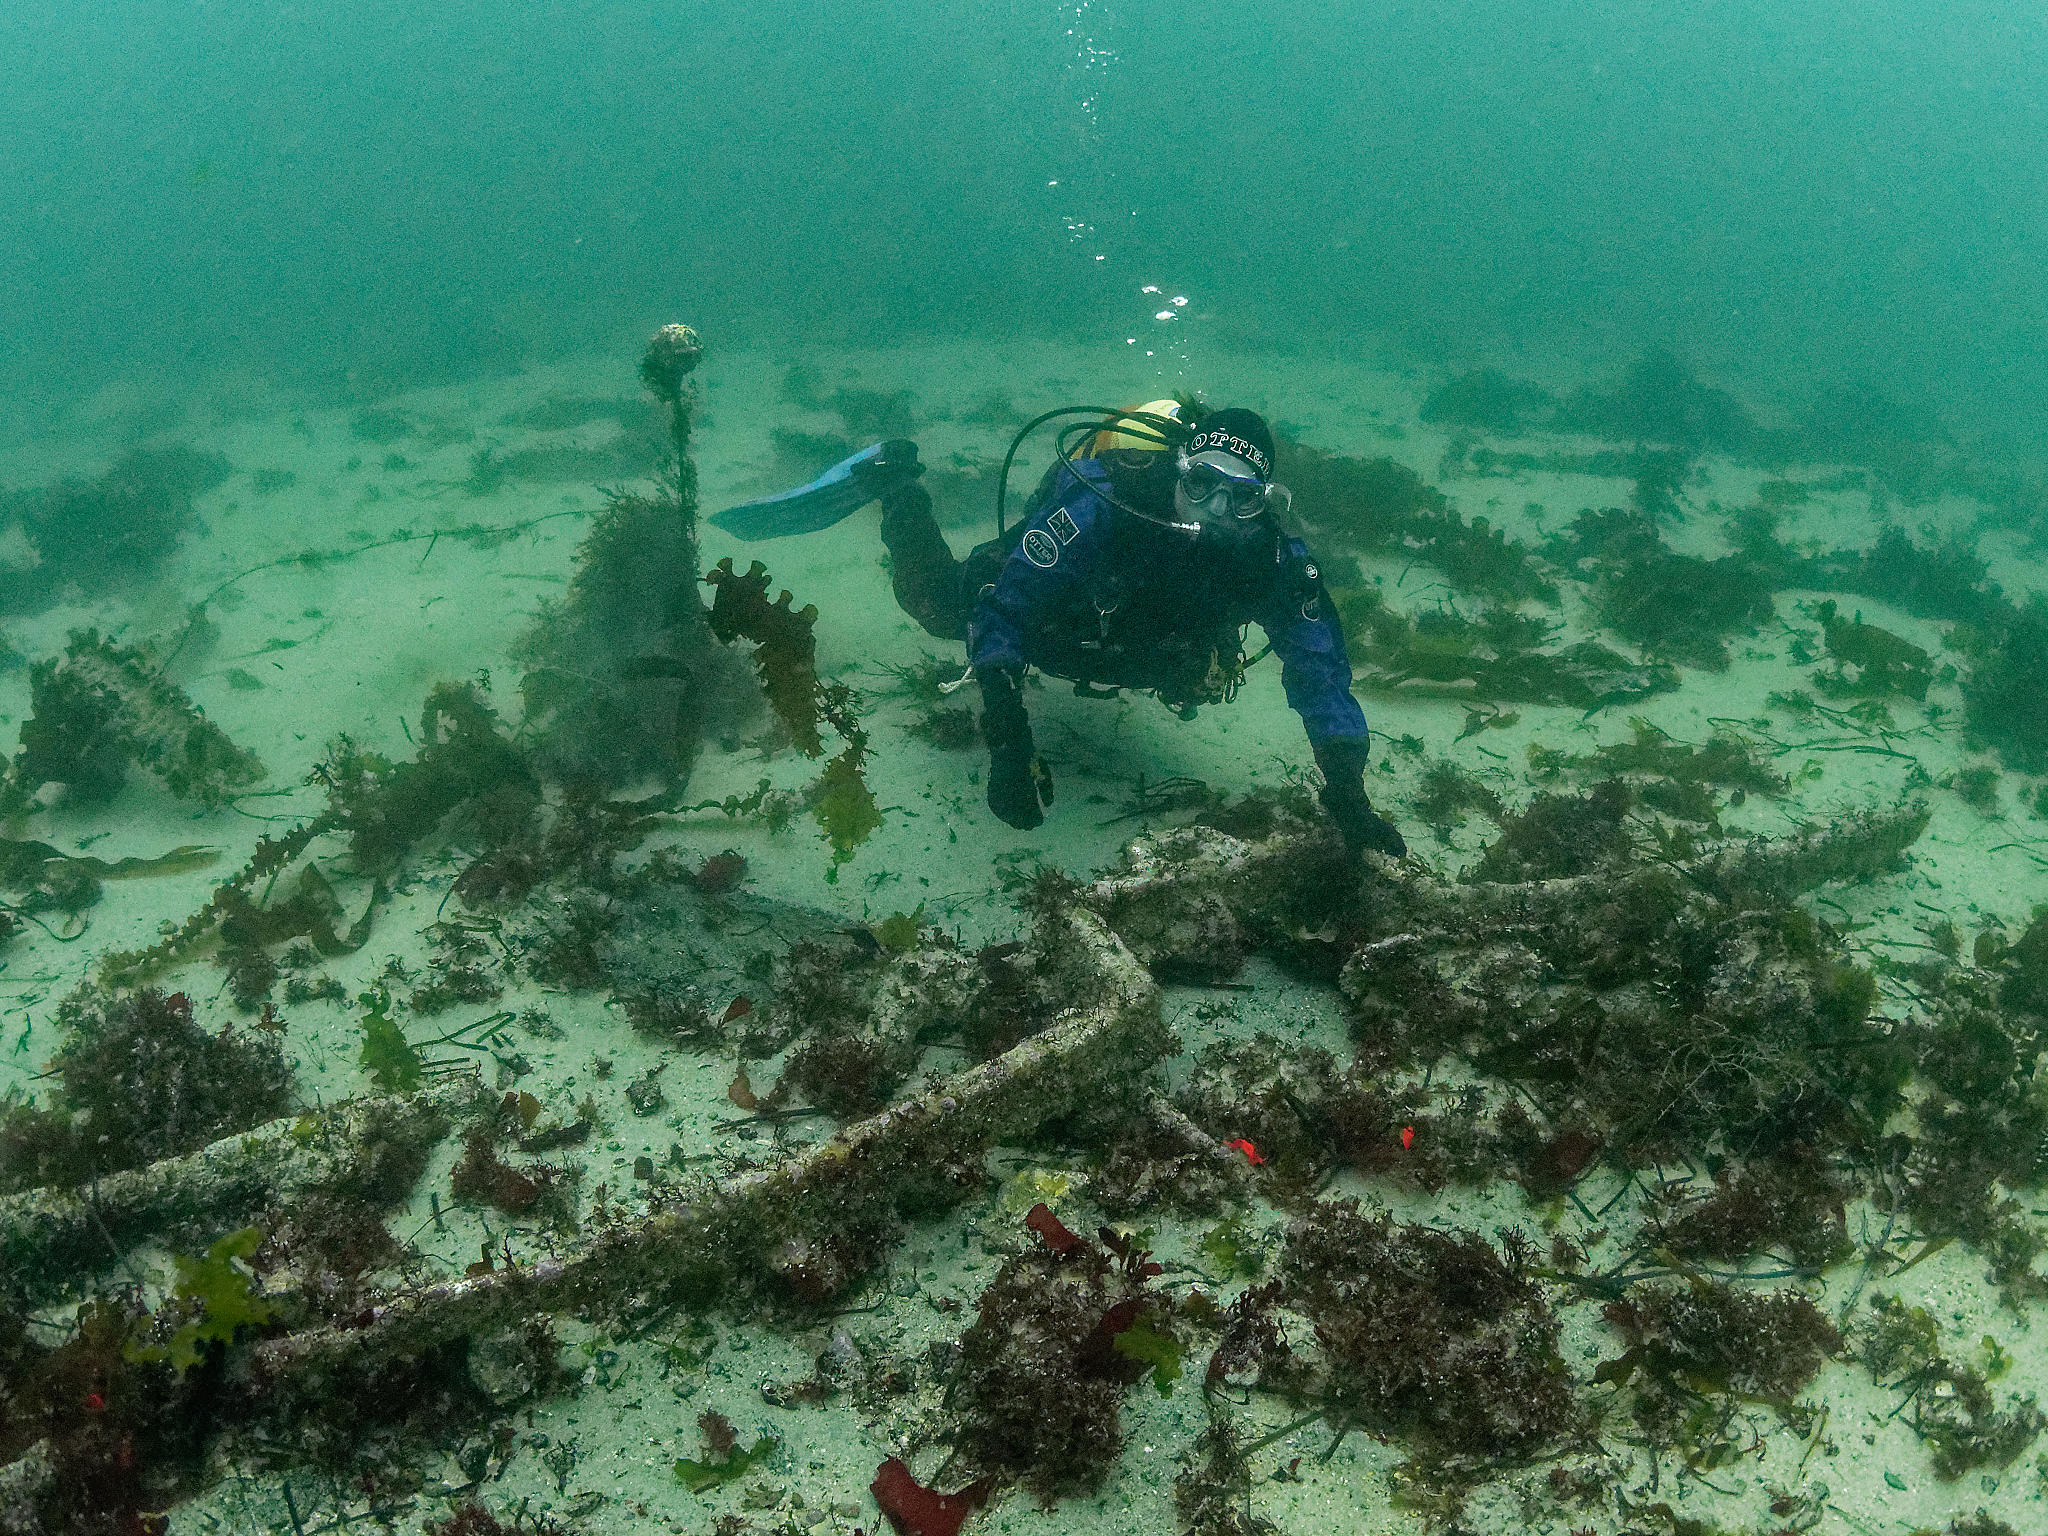
The wreck lies on its port side and what you will see are the inside timbers of the ship’s hull. There are also nine of the cannons which formed part of the ship’s armament to be seen on the diver trail. Take time to look closely at the seabed. We have deliberately left many objects from the wreck in place on the seabed for visiting divers to discover and inspect. But please leave them in place for others to enjoy.
More information about the work on the wreck of Colossus is available on the Cornwall and Isles of Scilly Maritime Archaeology Society (CISMAS) website. If you would like to see photographs or accounts of your visit on the web site, please email them to: contact@cismas.org.uk
Getting to the site
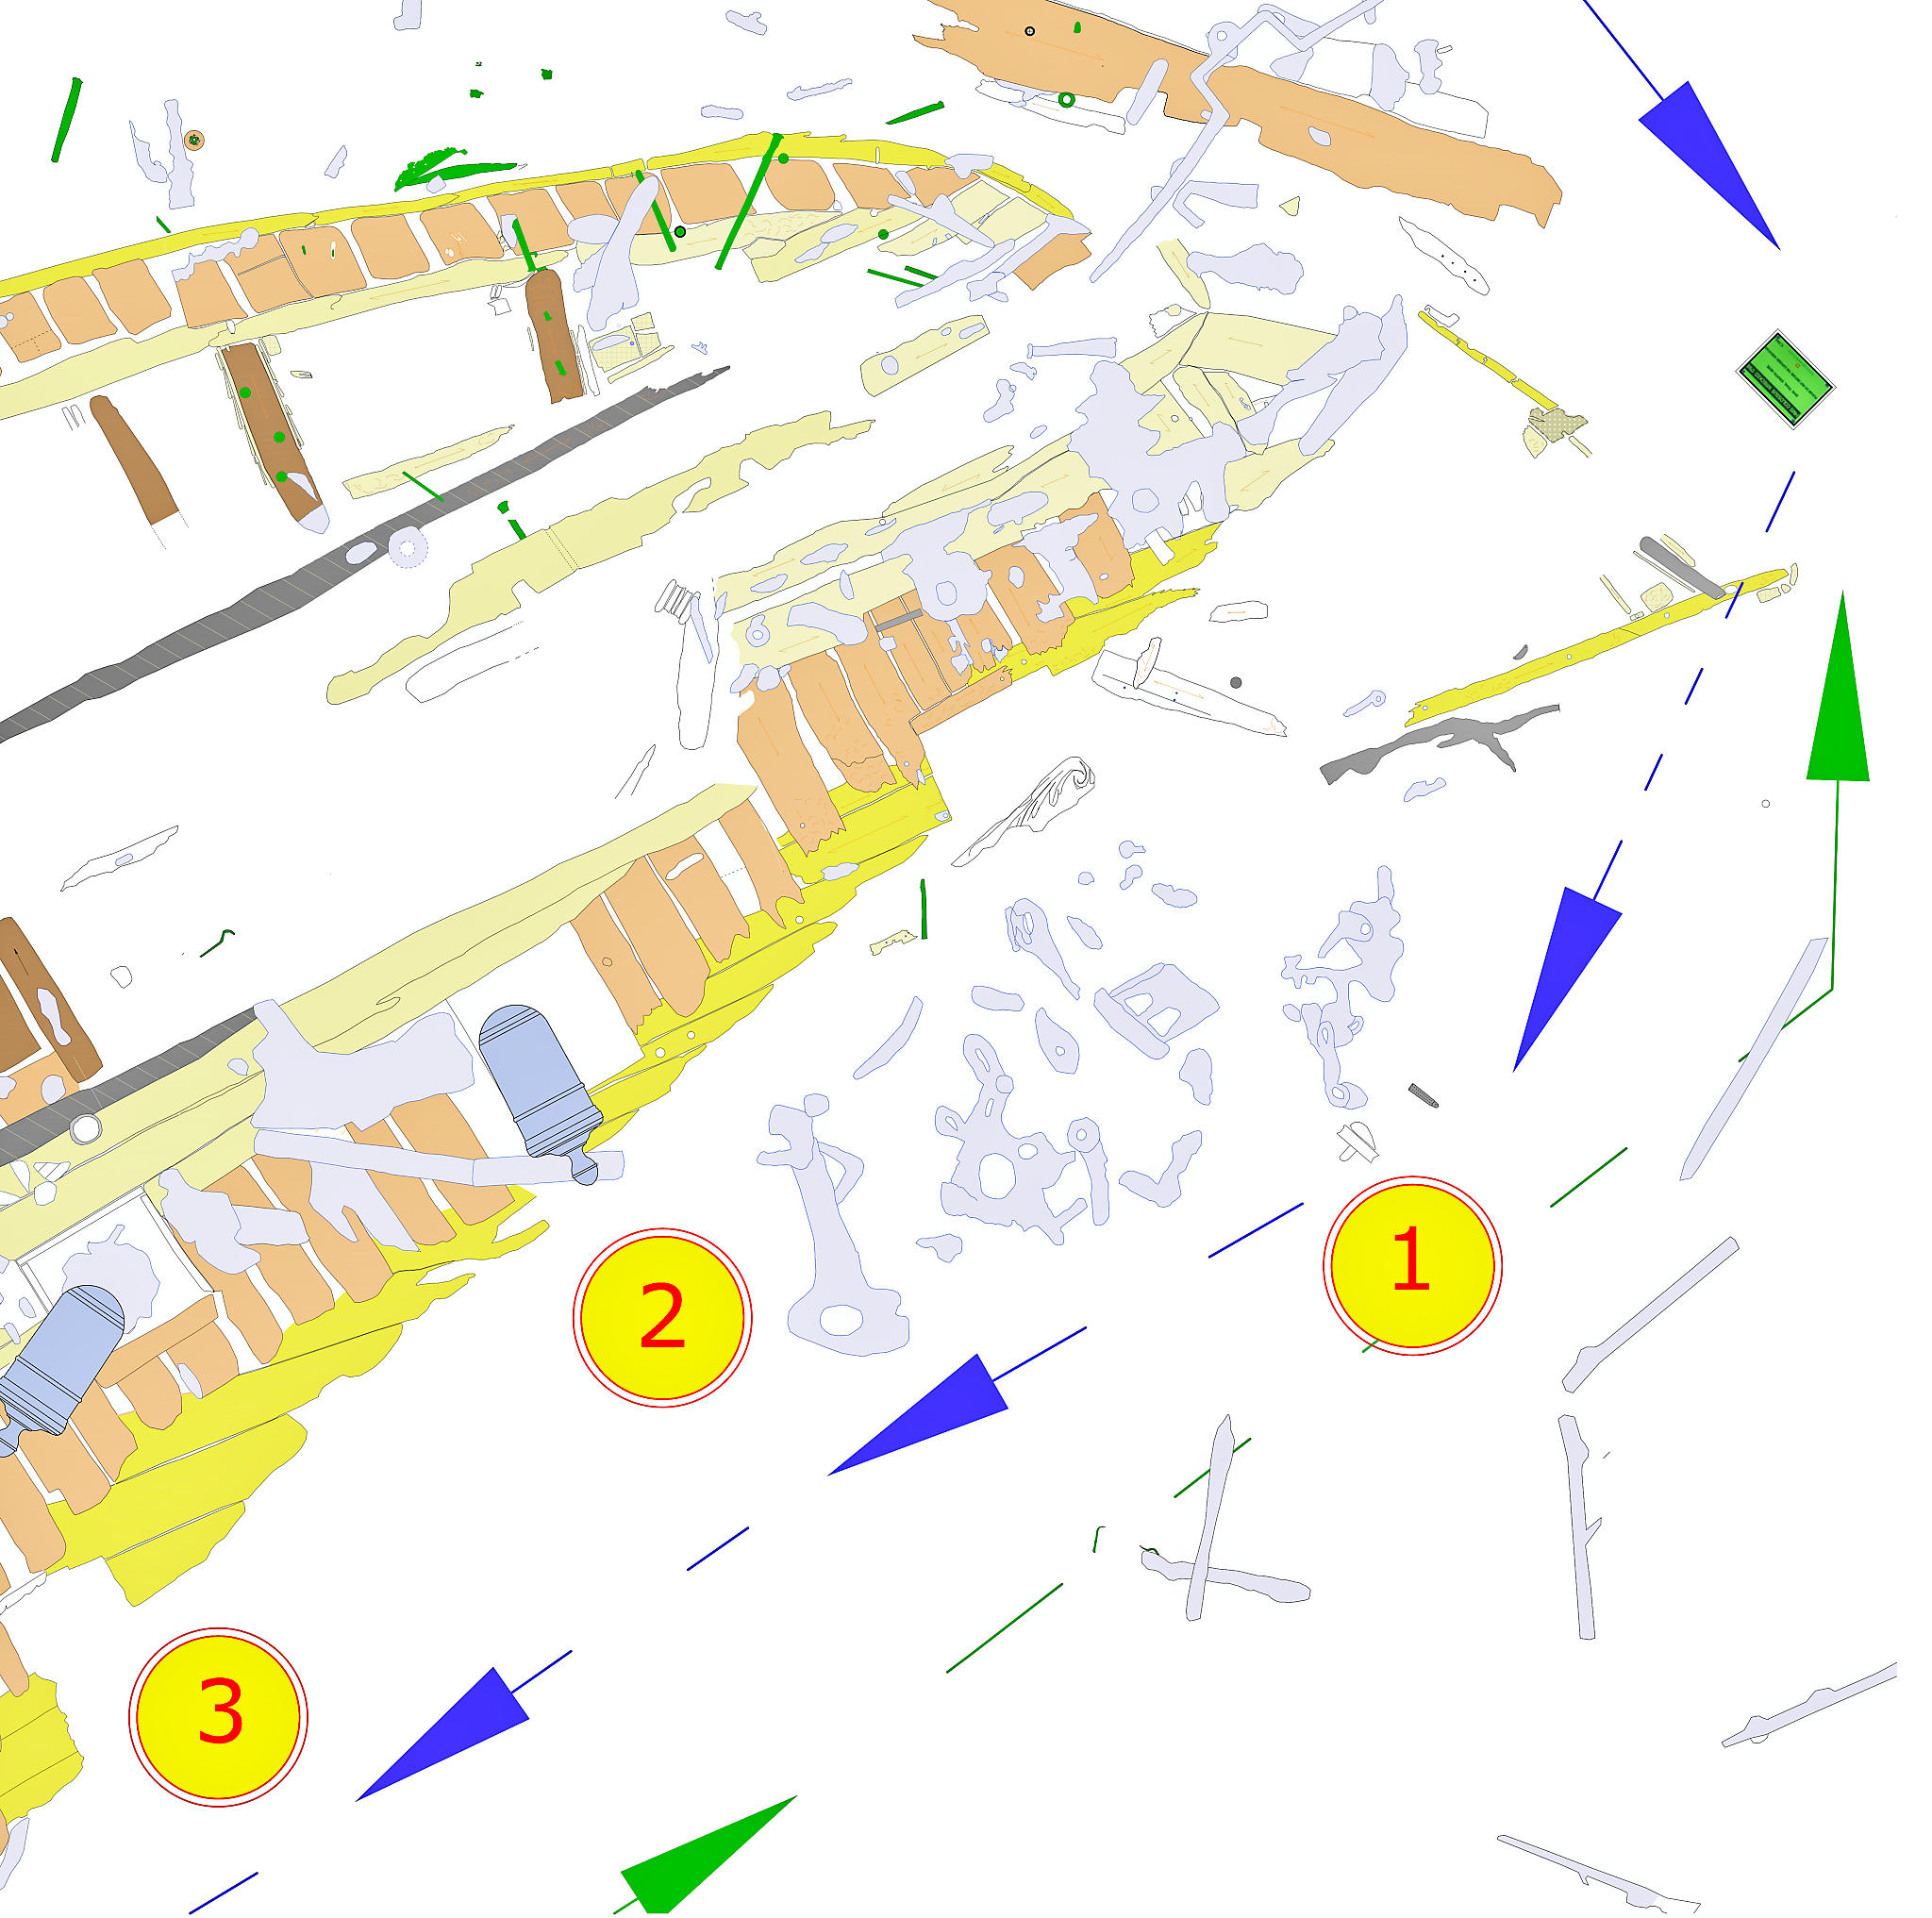
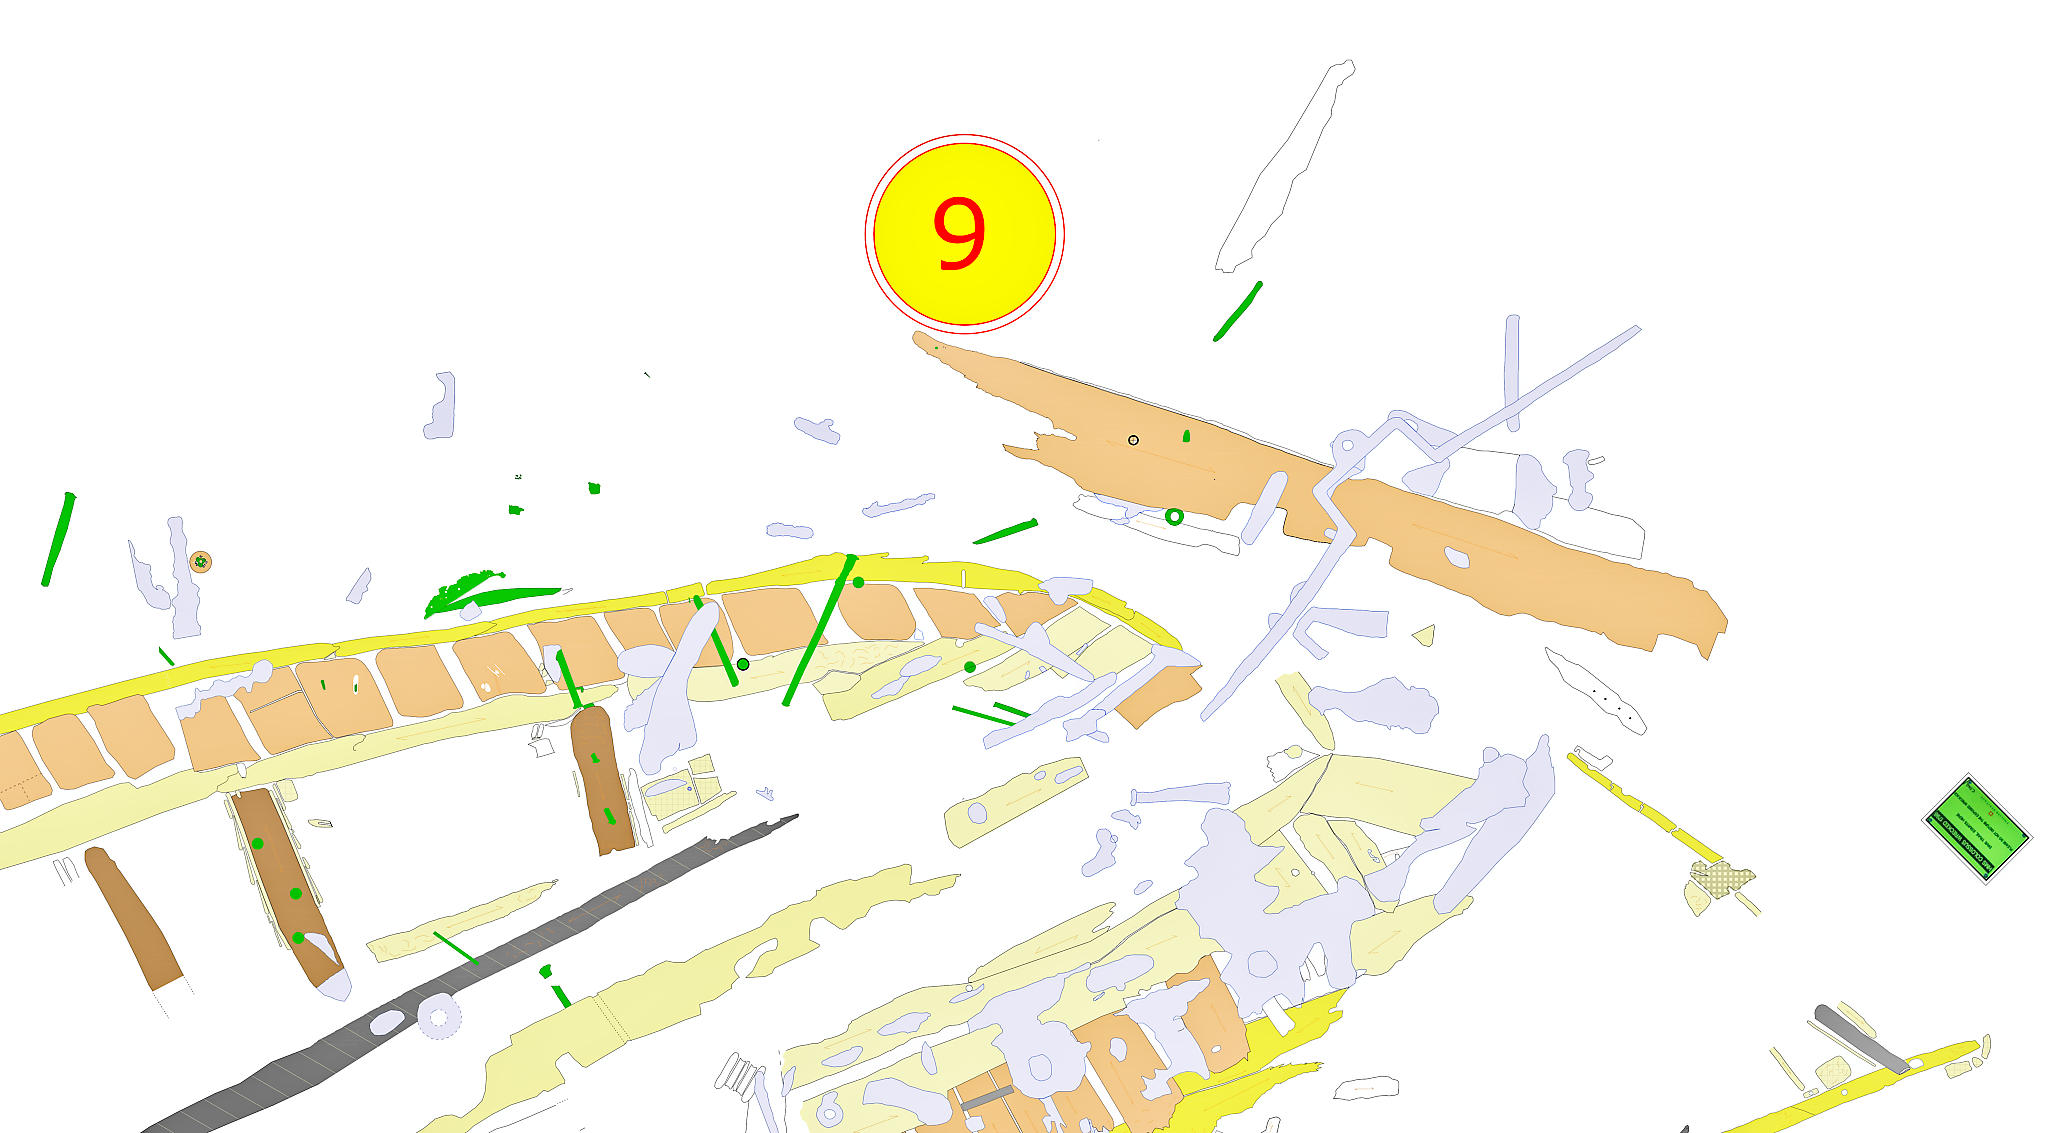
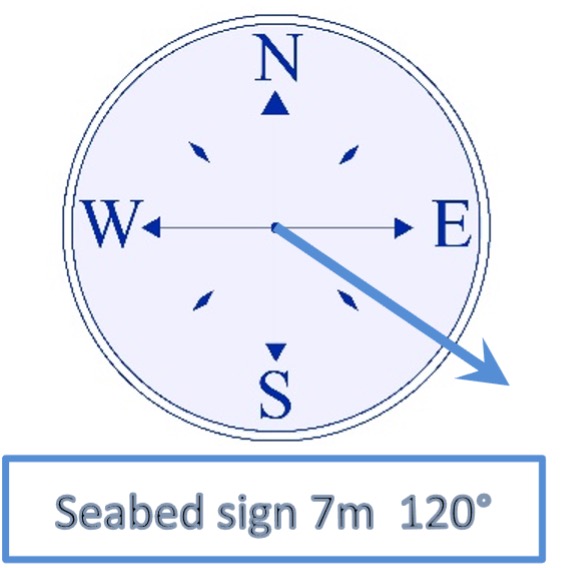
There is usually a permanent mooring on the site at 49° 55.479N 006° 20.485W. Follow the shot line to the seabed, and the site is 20m south west of the shot line – there is a bottom line you can follow leading from the bottom of the shot to the beginning of the diver trails. The old seabed sign marks the beginning of both diver trail circular routes. You can explore either of the two circular routes but we recommend you follow the Blue Route around the main wreckage first (stations 1 to 9) then, if you have time, explore the Green Route (dispersed objects) stations 10 to 13.The Blue Route will take 10 – 25 minutes to explore (75m) and the Green Route will take 15 – 30 minutes (178m), depending on how much time you spend at each diver station. Keep your eyes open: newly-exposed material is often to be seen around the site –frequently where there was only bare sand last time you visited.
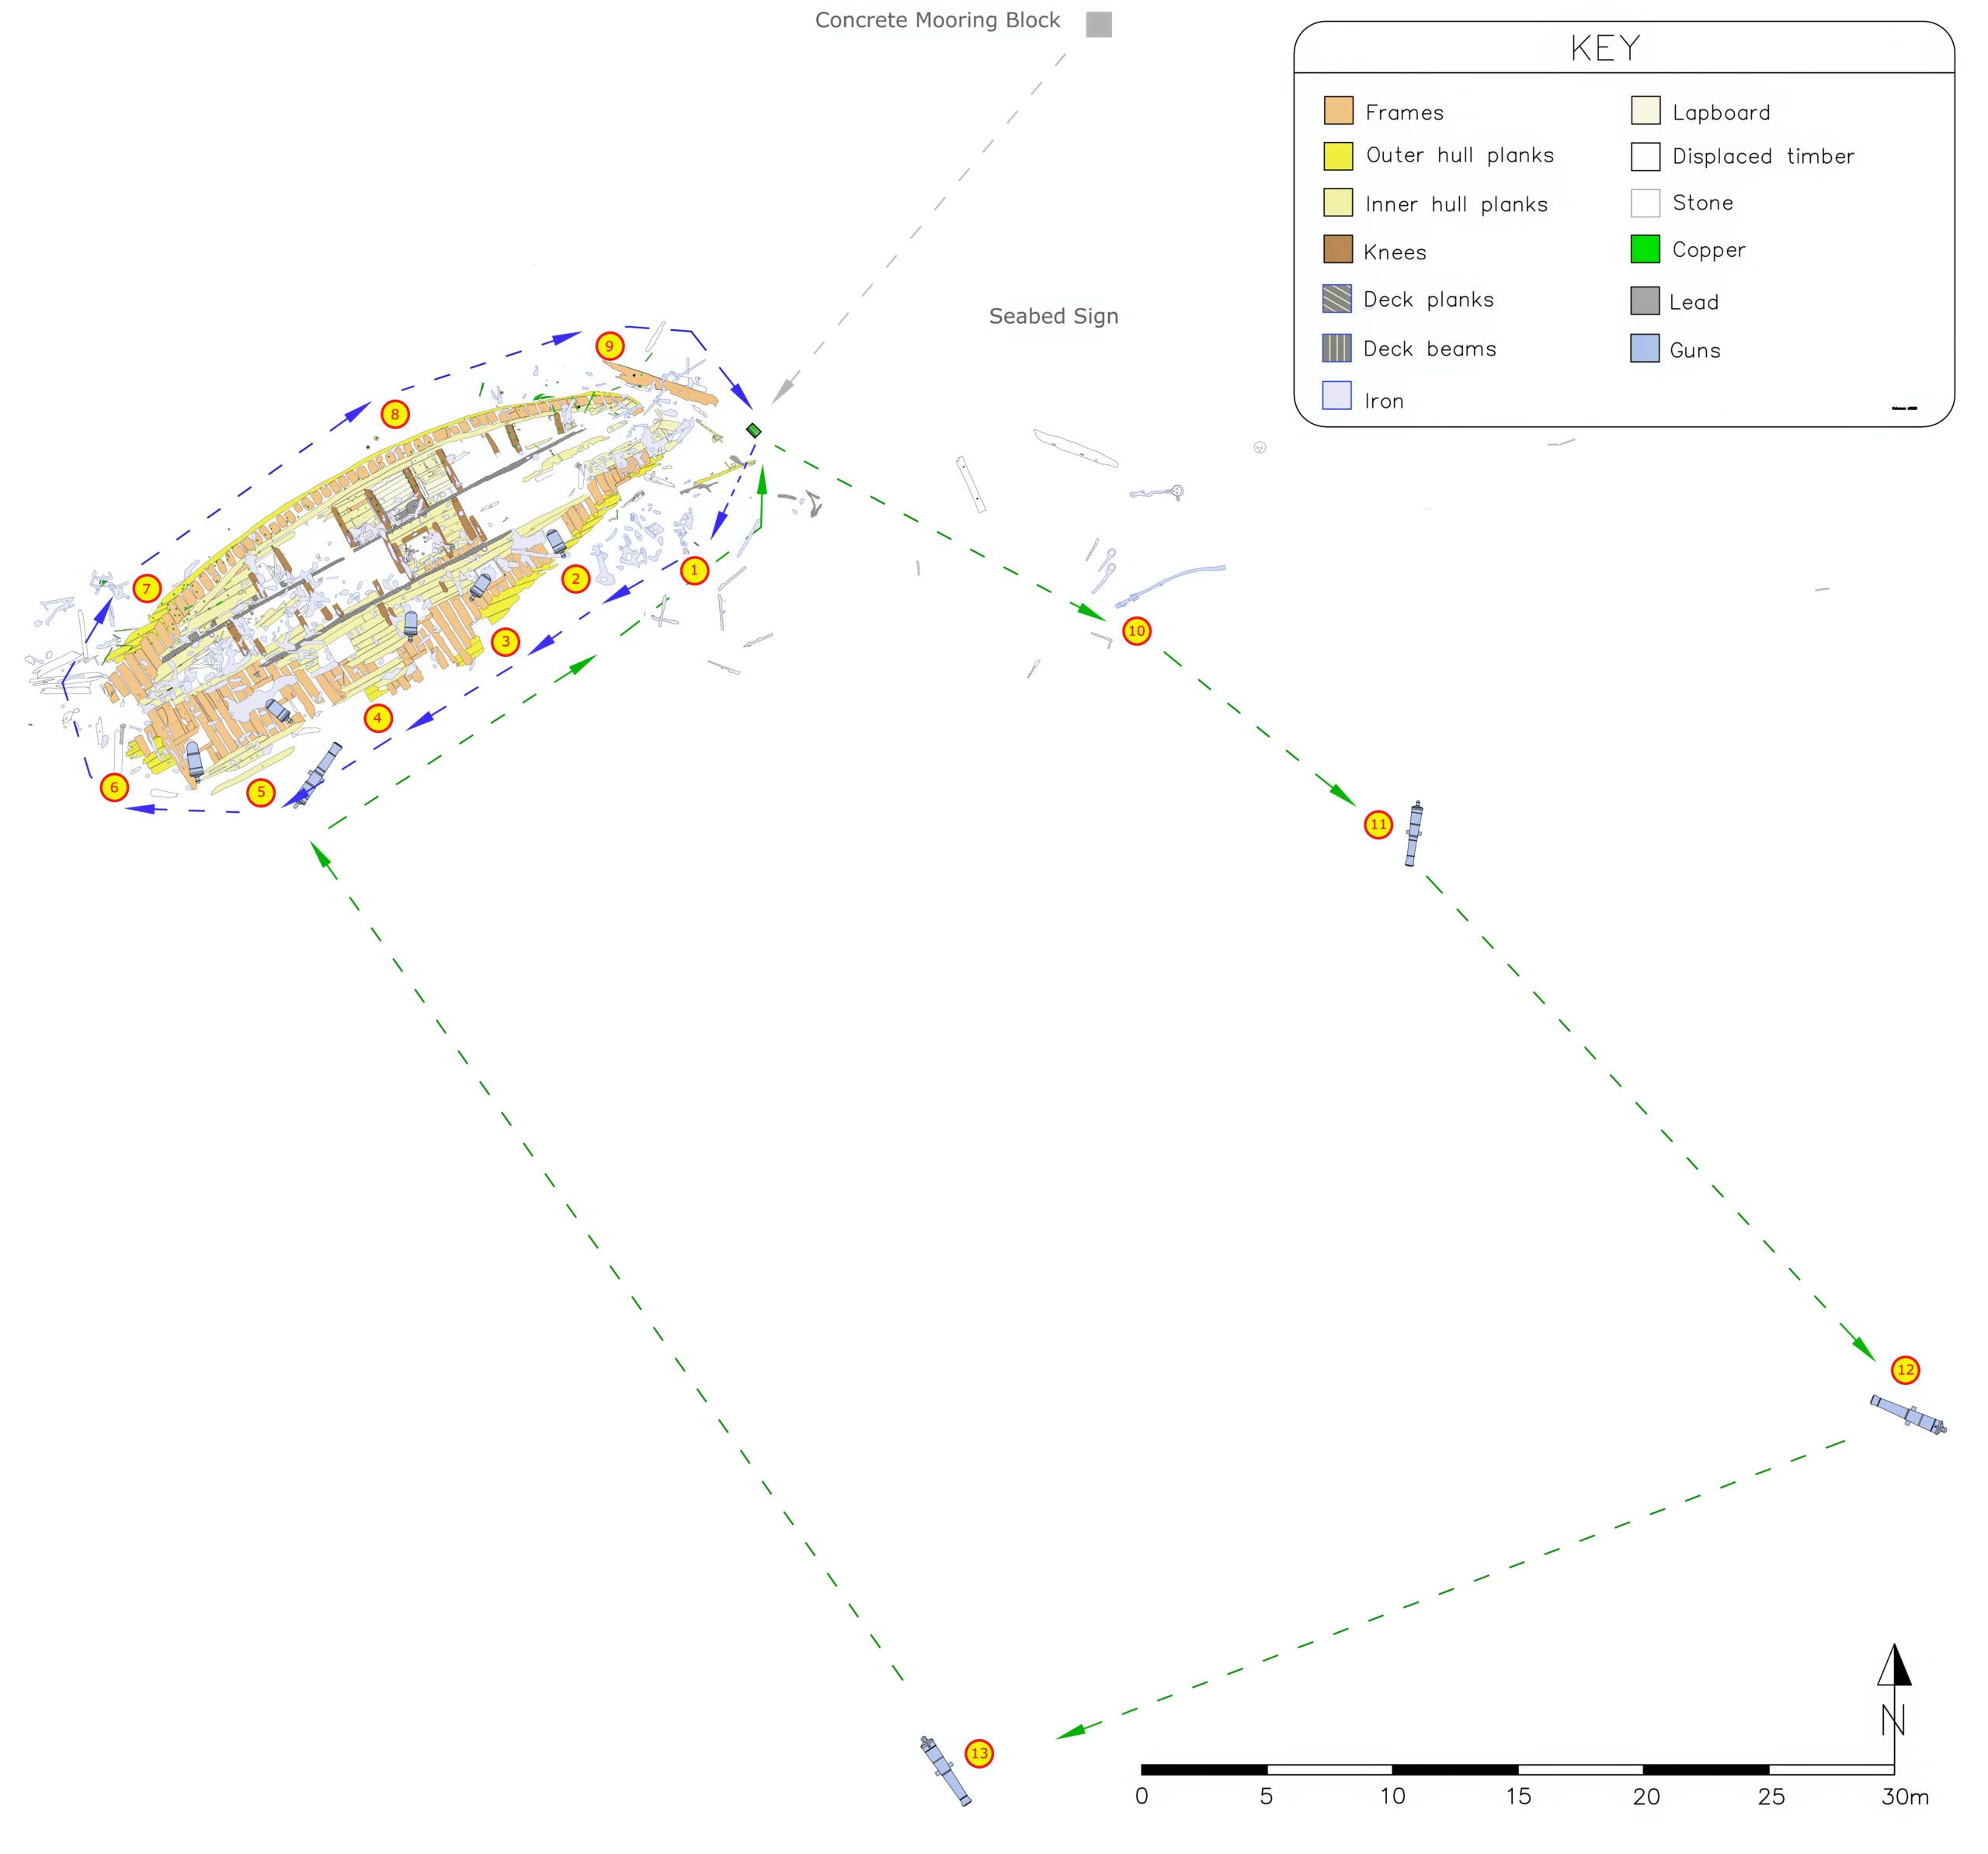
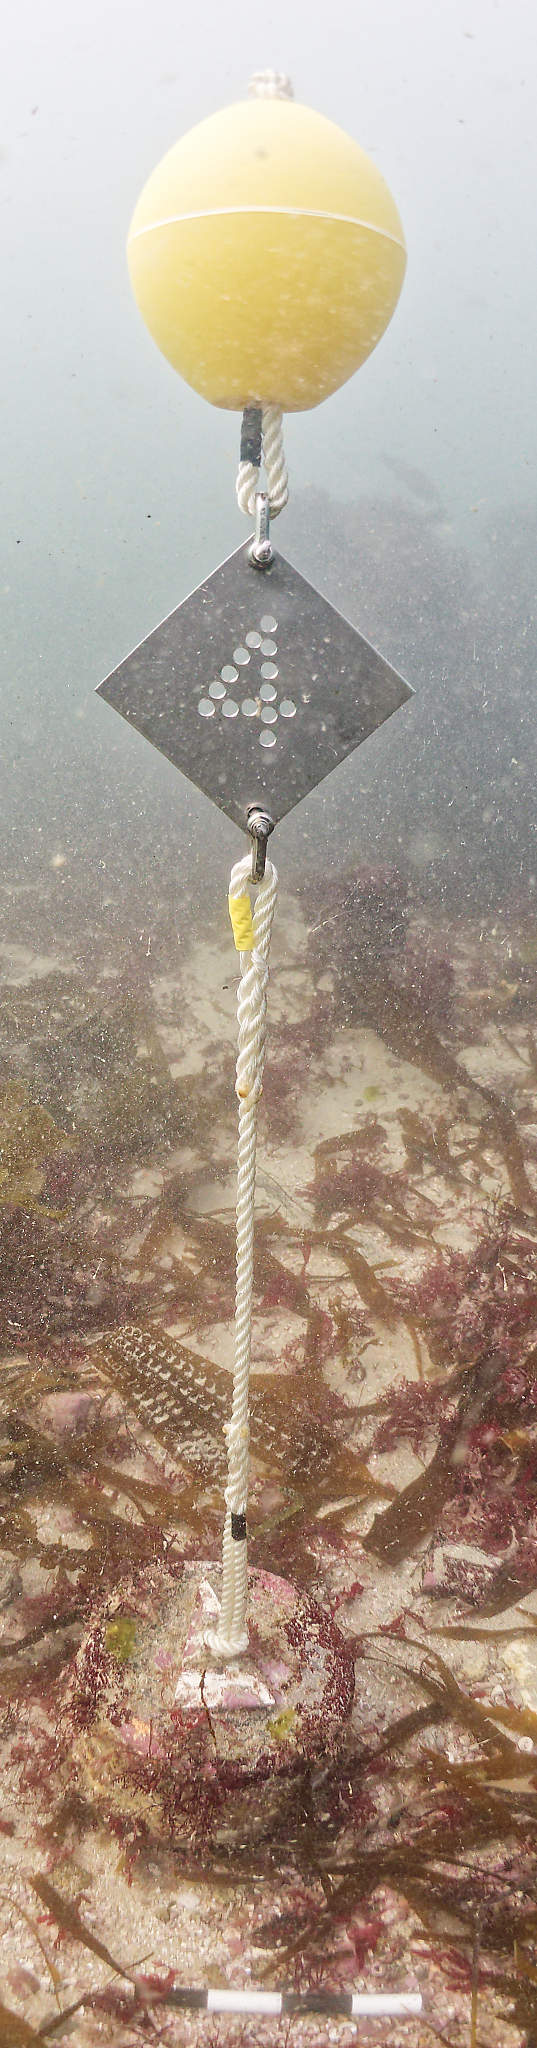
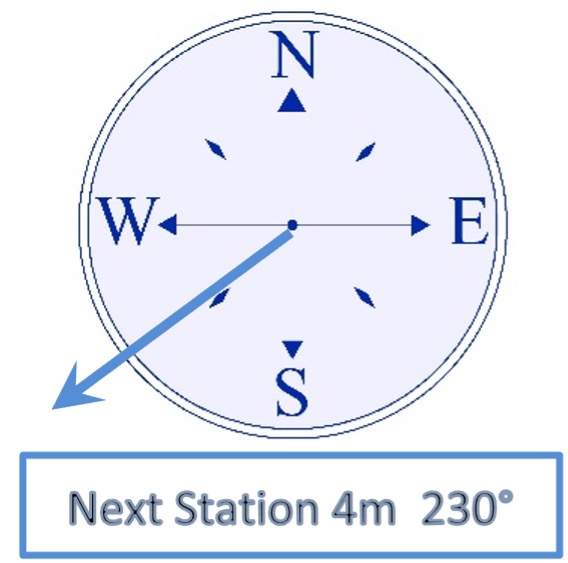
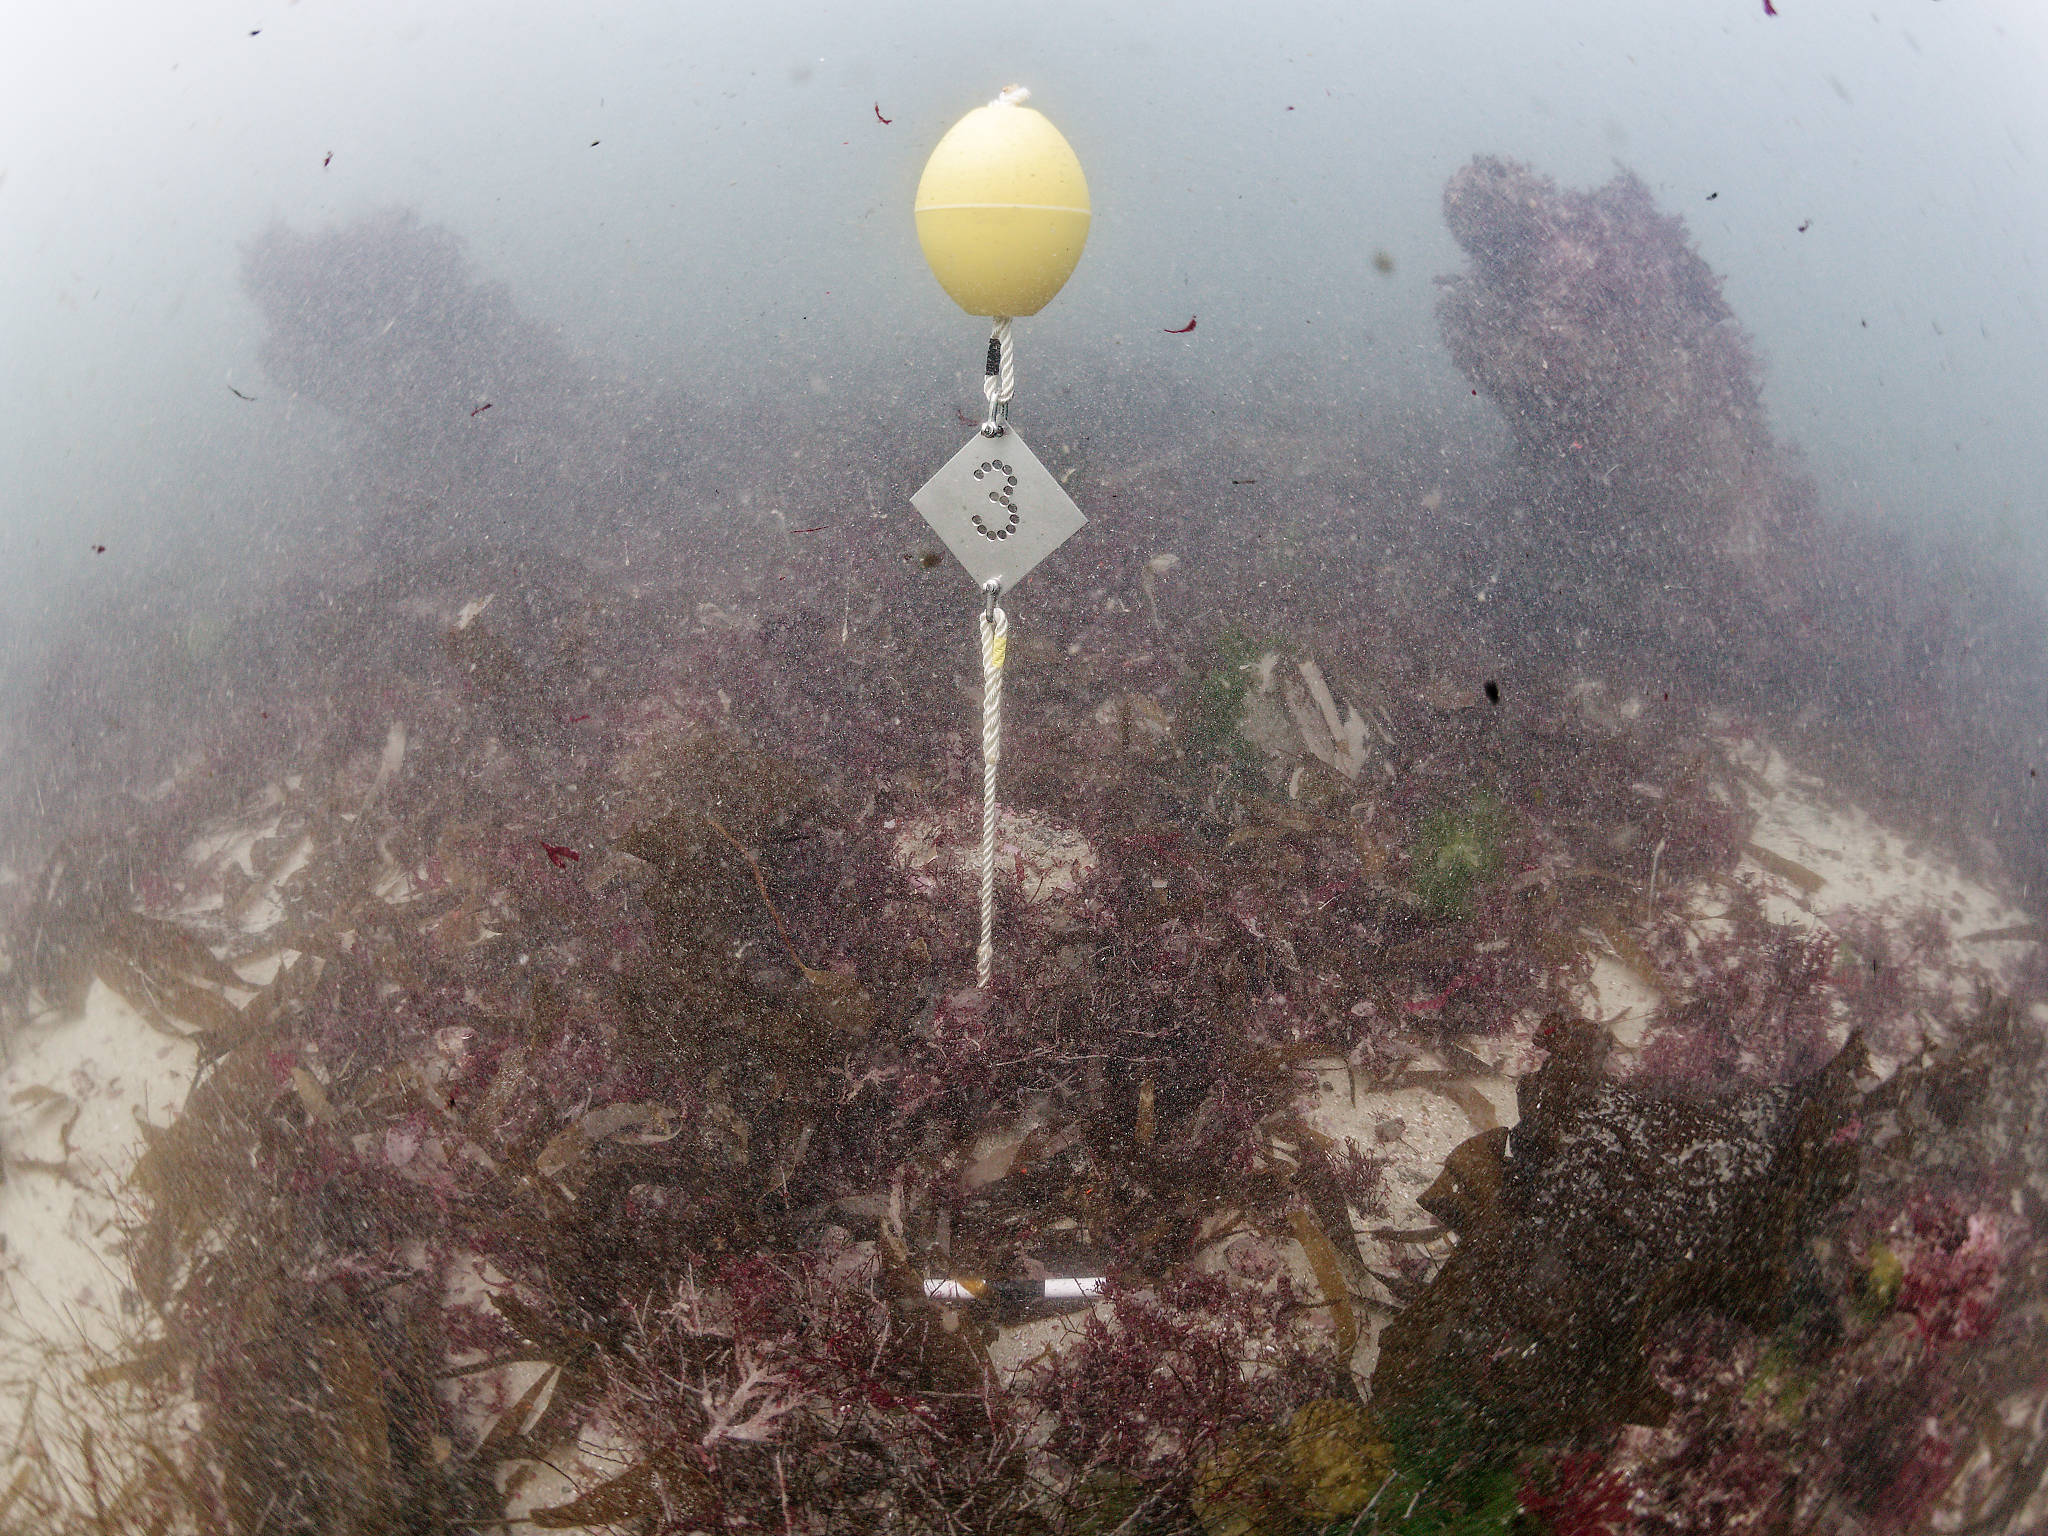
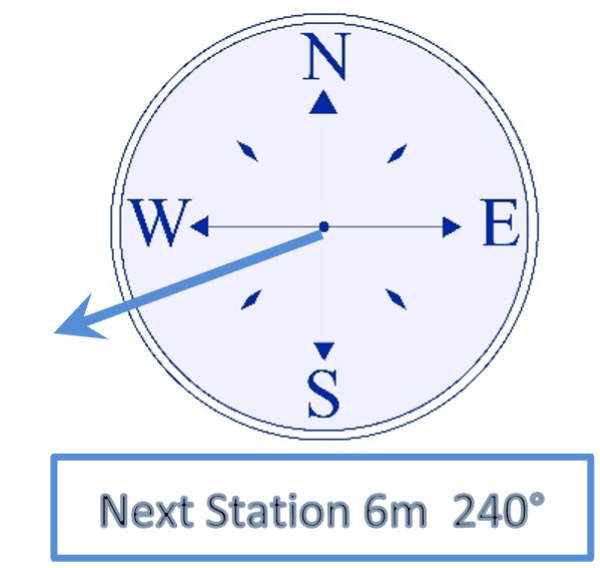
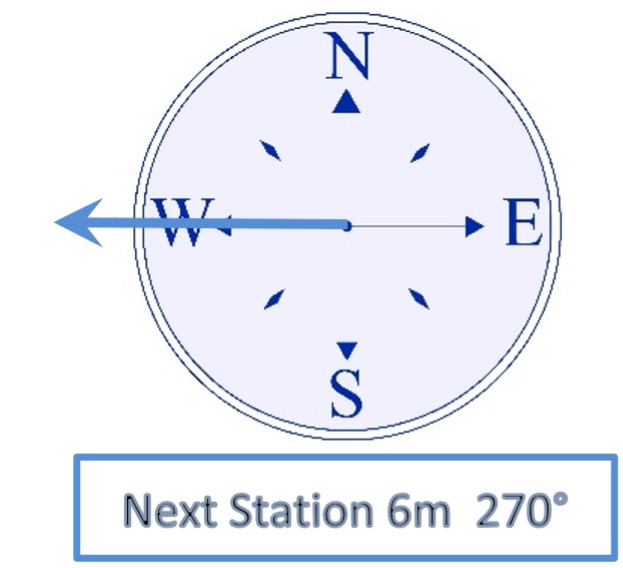
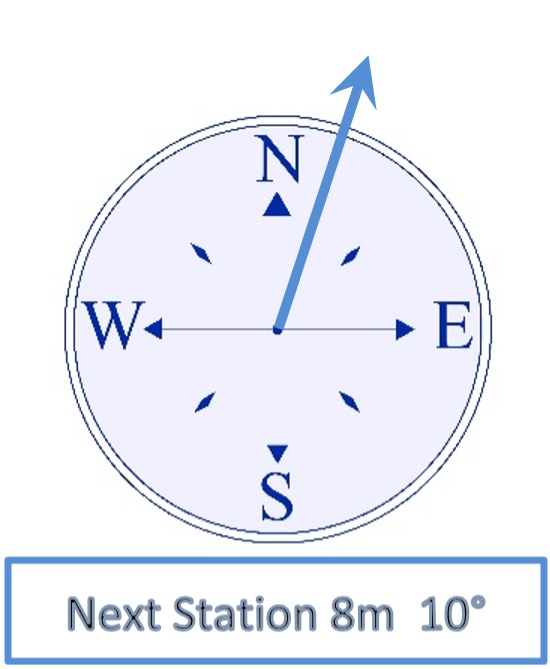
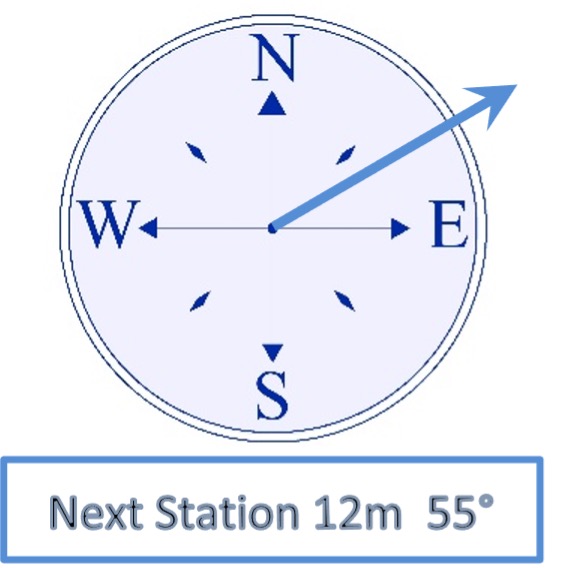
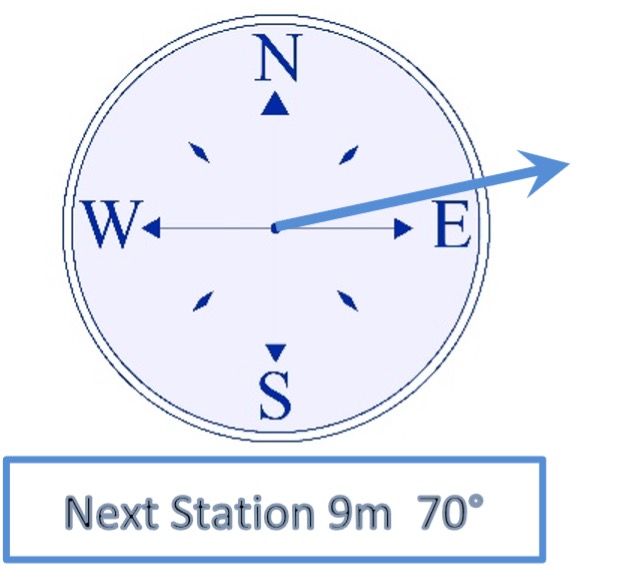
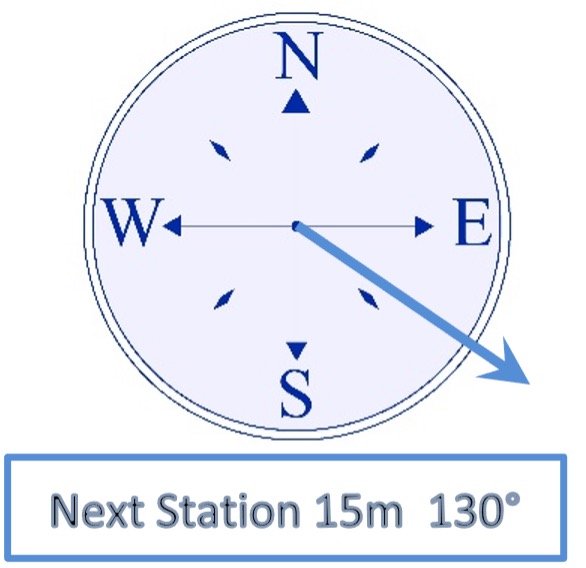
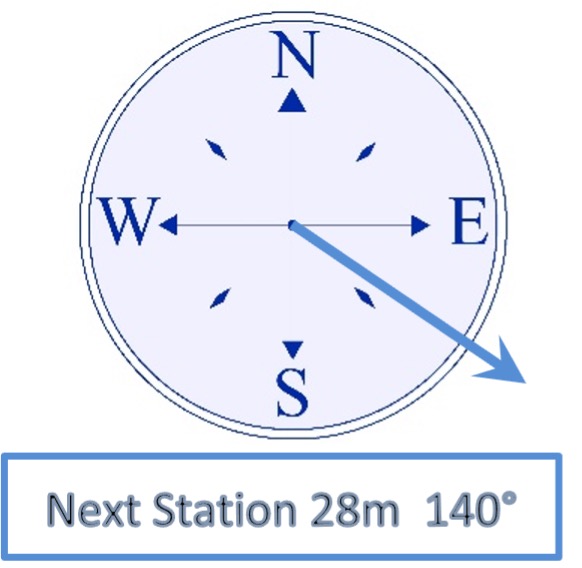
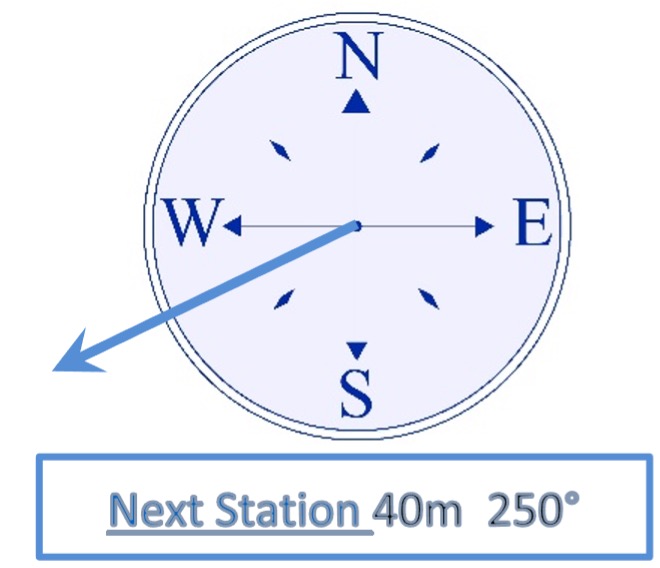
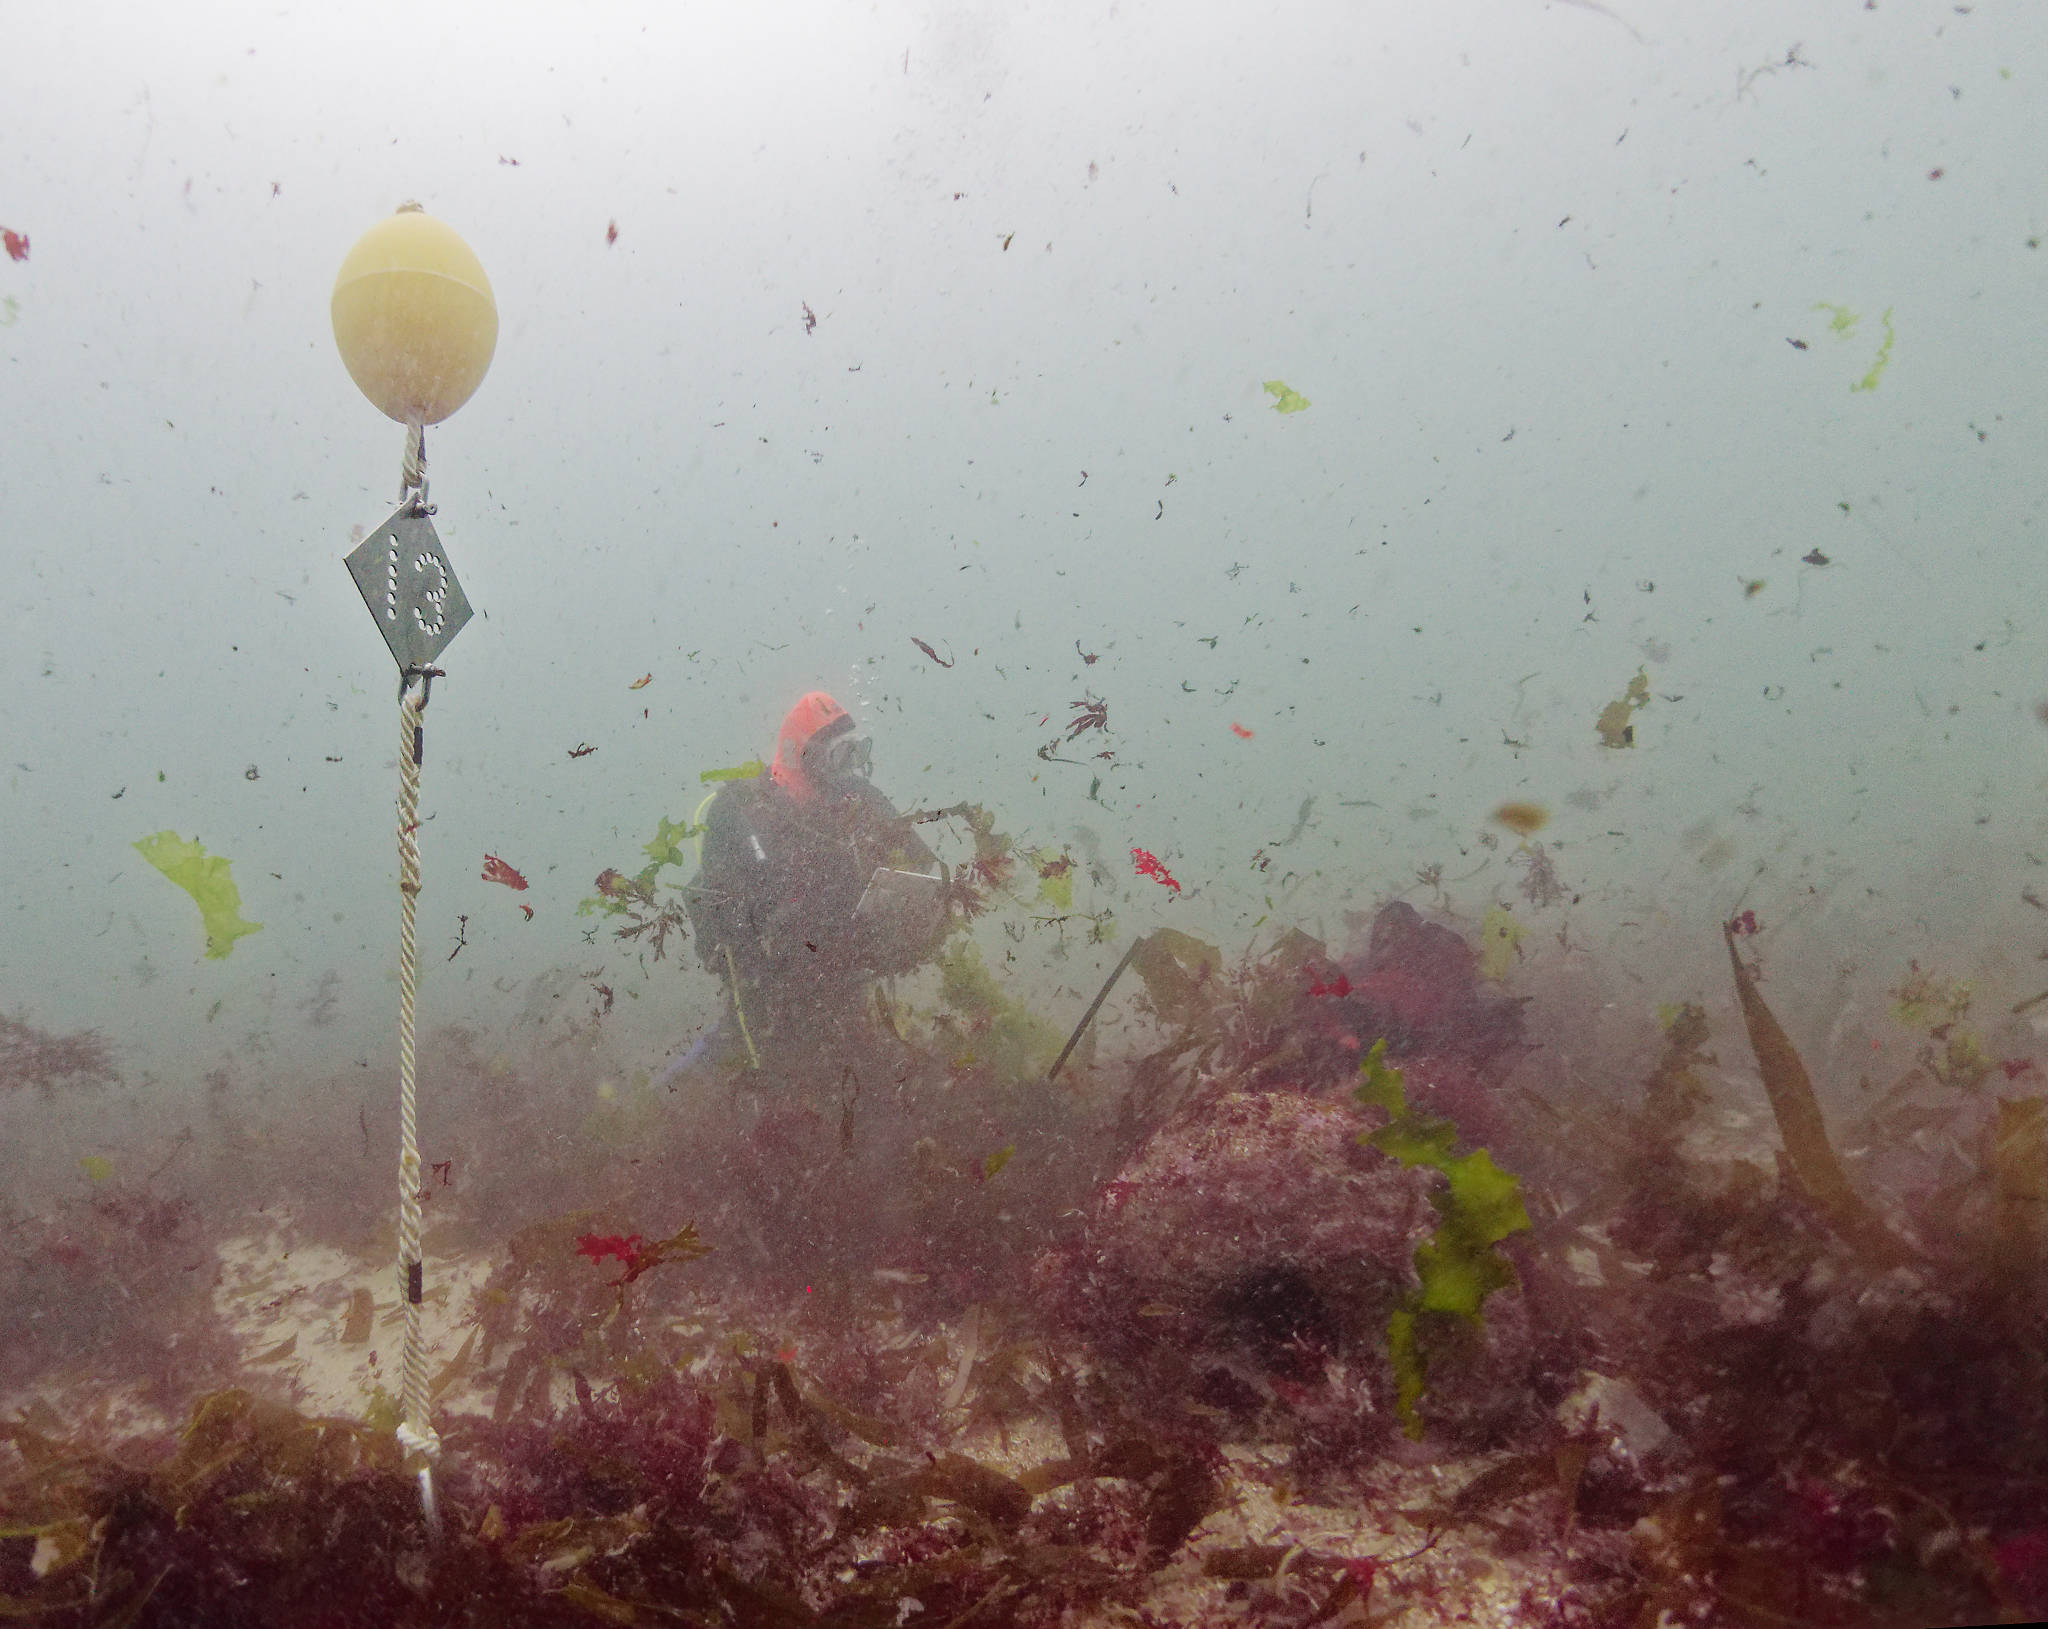
Each point of interest on the diver trail is marked with a numbered station marker. The number is drilled into a stainless-steel plate just below the float. A small white arrow on top of the base indicates the direction to the next marker. Please do not hang on the station markers, they will break!
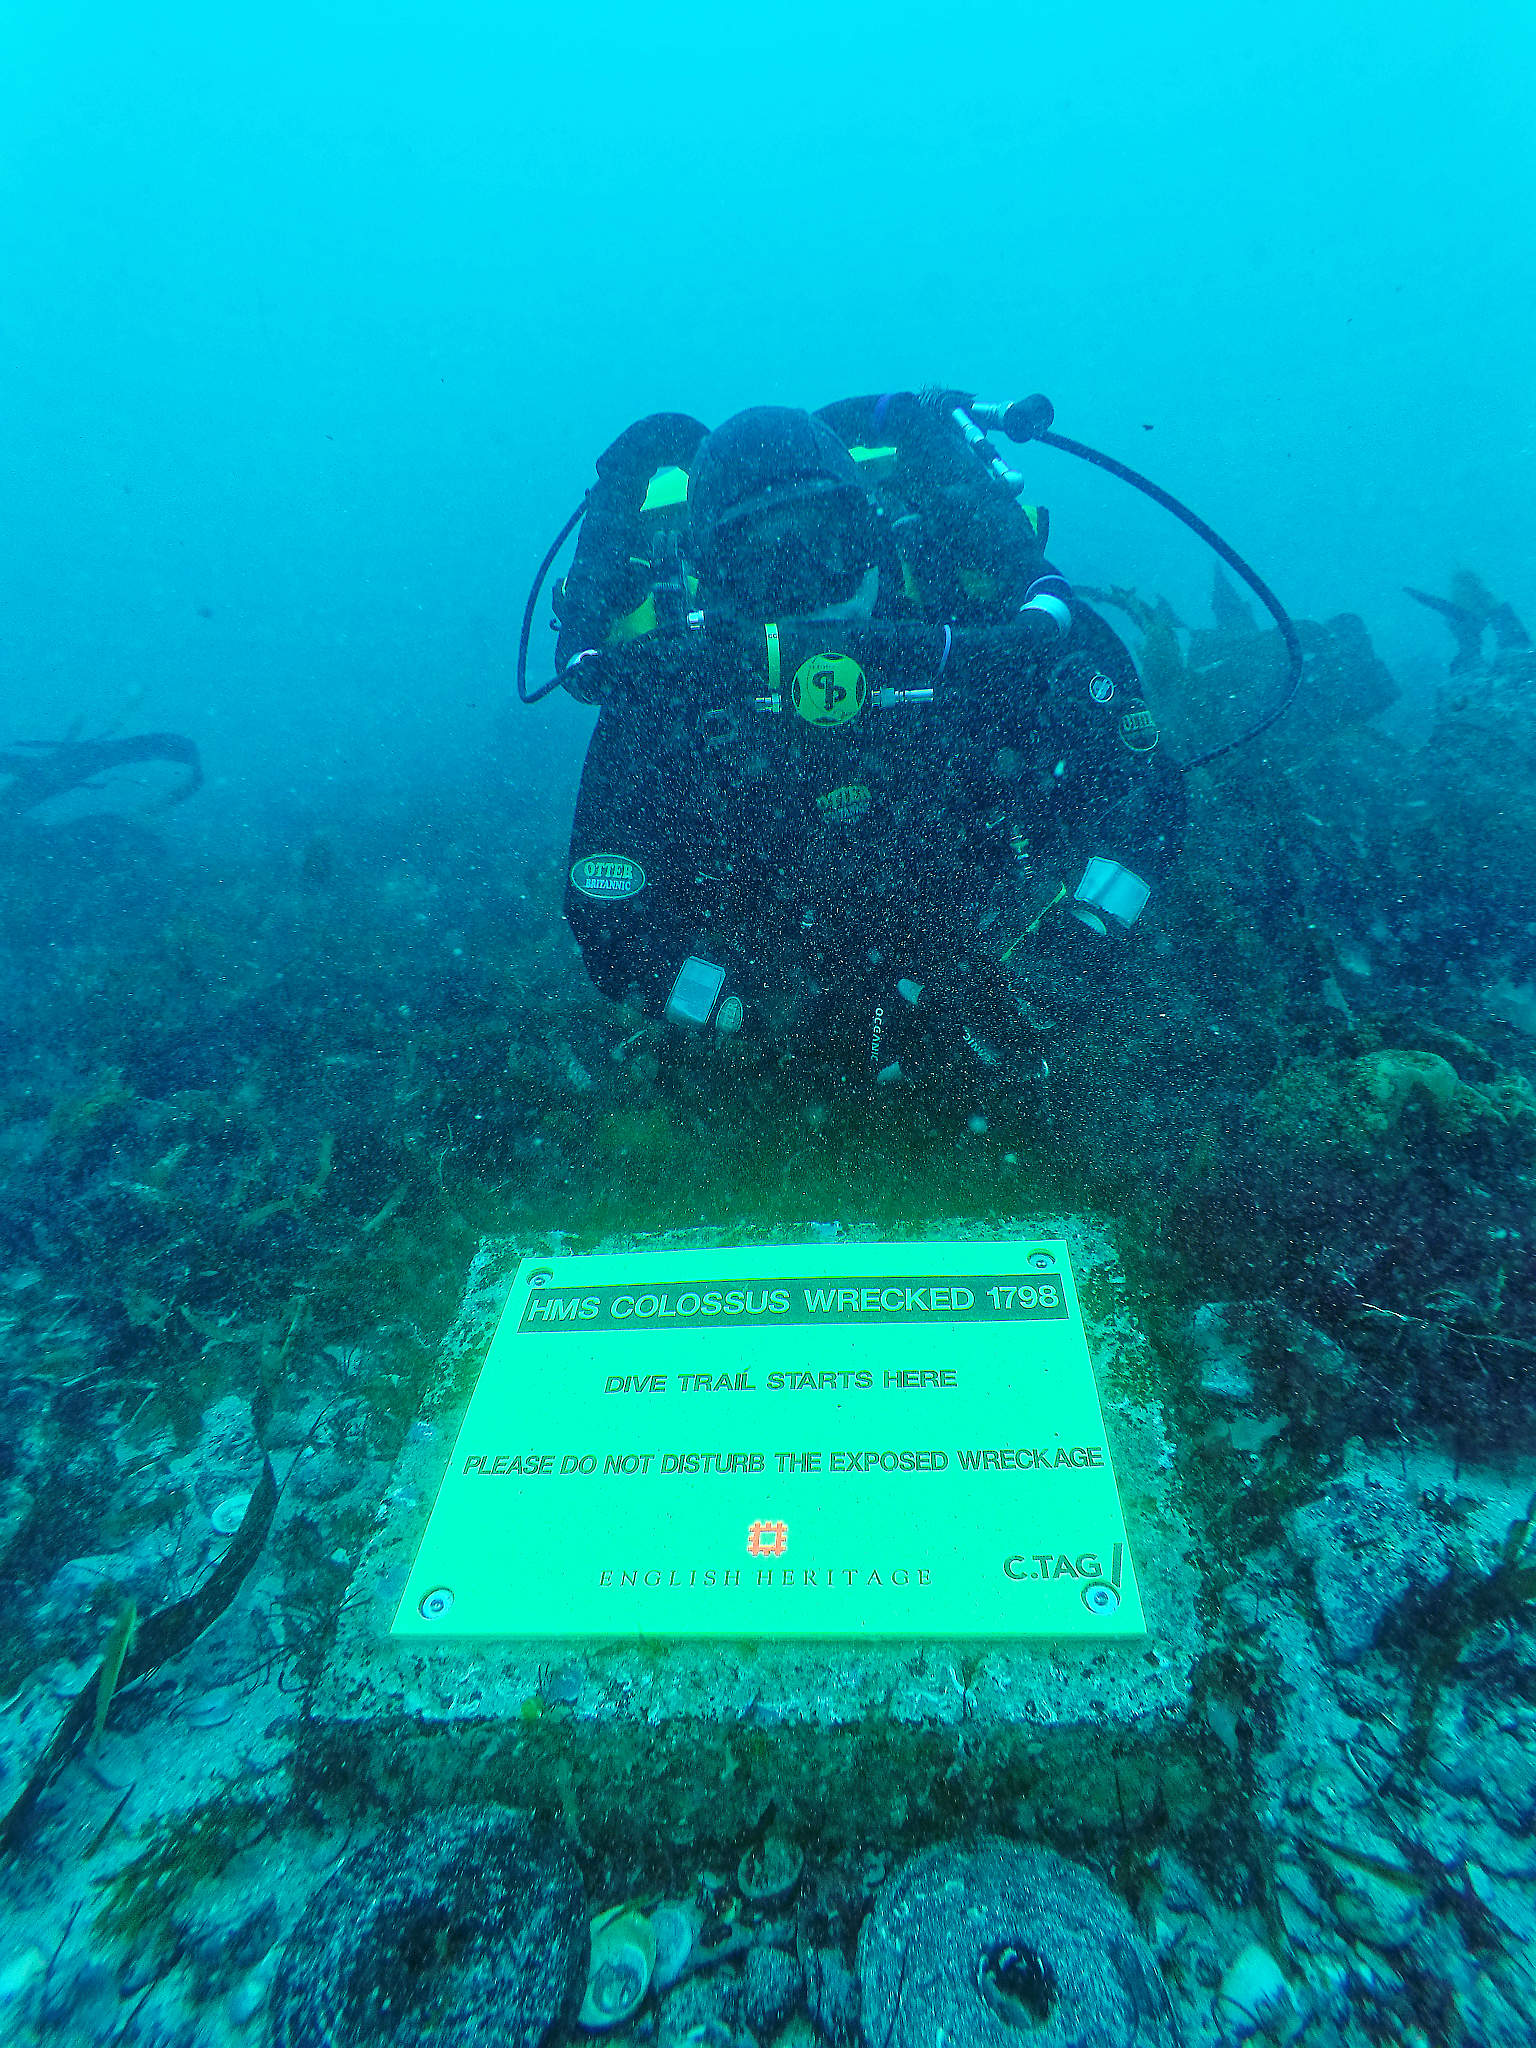
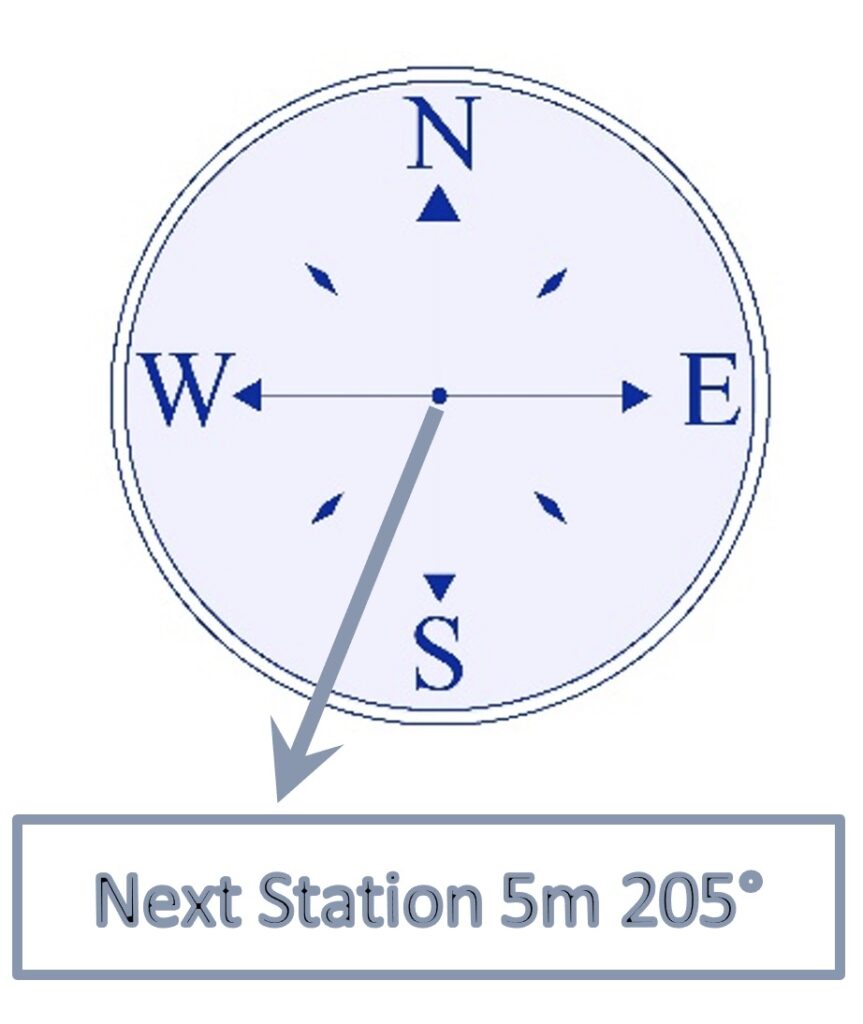
Here is the start of the diver trails at the seabed sign. The sign may have some marine growth covering the face – but even so is generally quite easy to spot. In front of you lies the stern of the wreck. To get to the first diver station you need to swim 5m to station number 1 – there is a bottom line to guide you.

Station 1
Here you can see the remains of several muskets. These were used by the 120 marines on board Colossus, as well as by the ordinary seamen. These are sea service muskets, similar to the well-known ‘Brown Bess’ of the British Army, but simpler and slightly shorter than the standard land musket. They were smooth-bore flint-lock weapons and fired a lead ball of 0.75 inch diameter.
The accuracy of this type of weapon was low; the effective range would have been well under 100m. The barrel is made from steel, the stock is wood and the trigger guard and butt plate are copper alloy. To the north of the muskets are a number of large iron objects. These are the remains of the mizzen chains, the iron fastenings which held the shrouds (supporting ropes) which ran from the mizzen mast to the outside of the ship’s hull.

This is what the now corroded muskets would have looked like. The musket was fired using black powder (gun powder), which was ignited by sparks generated by a flint striking a steel plate.
Station 2
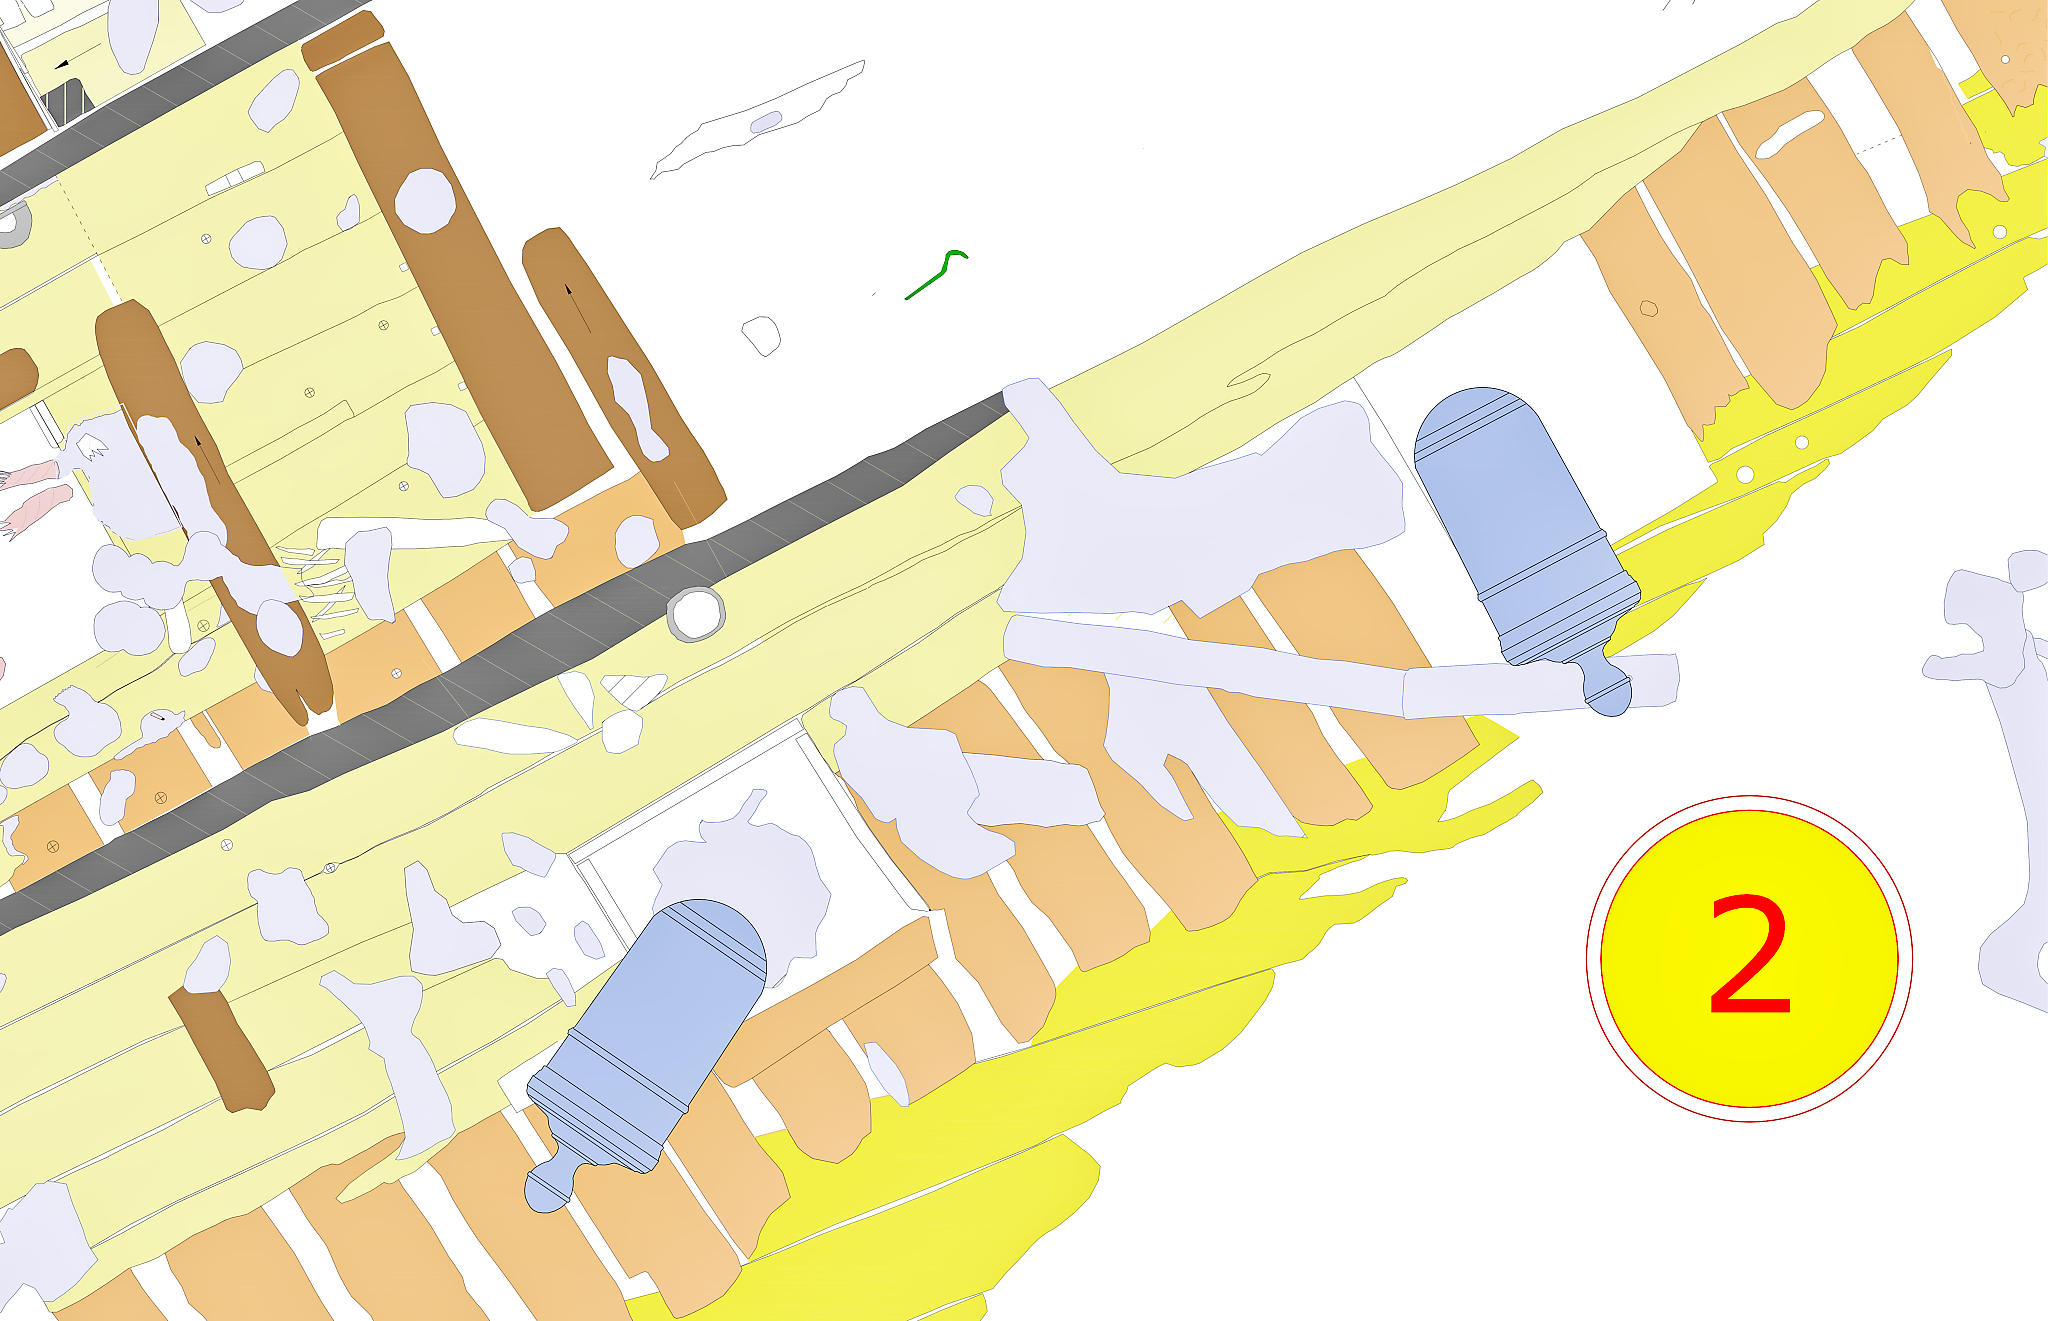
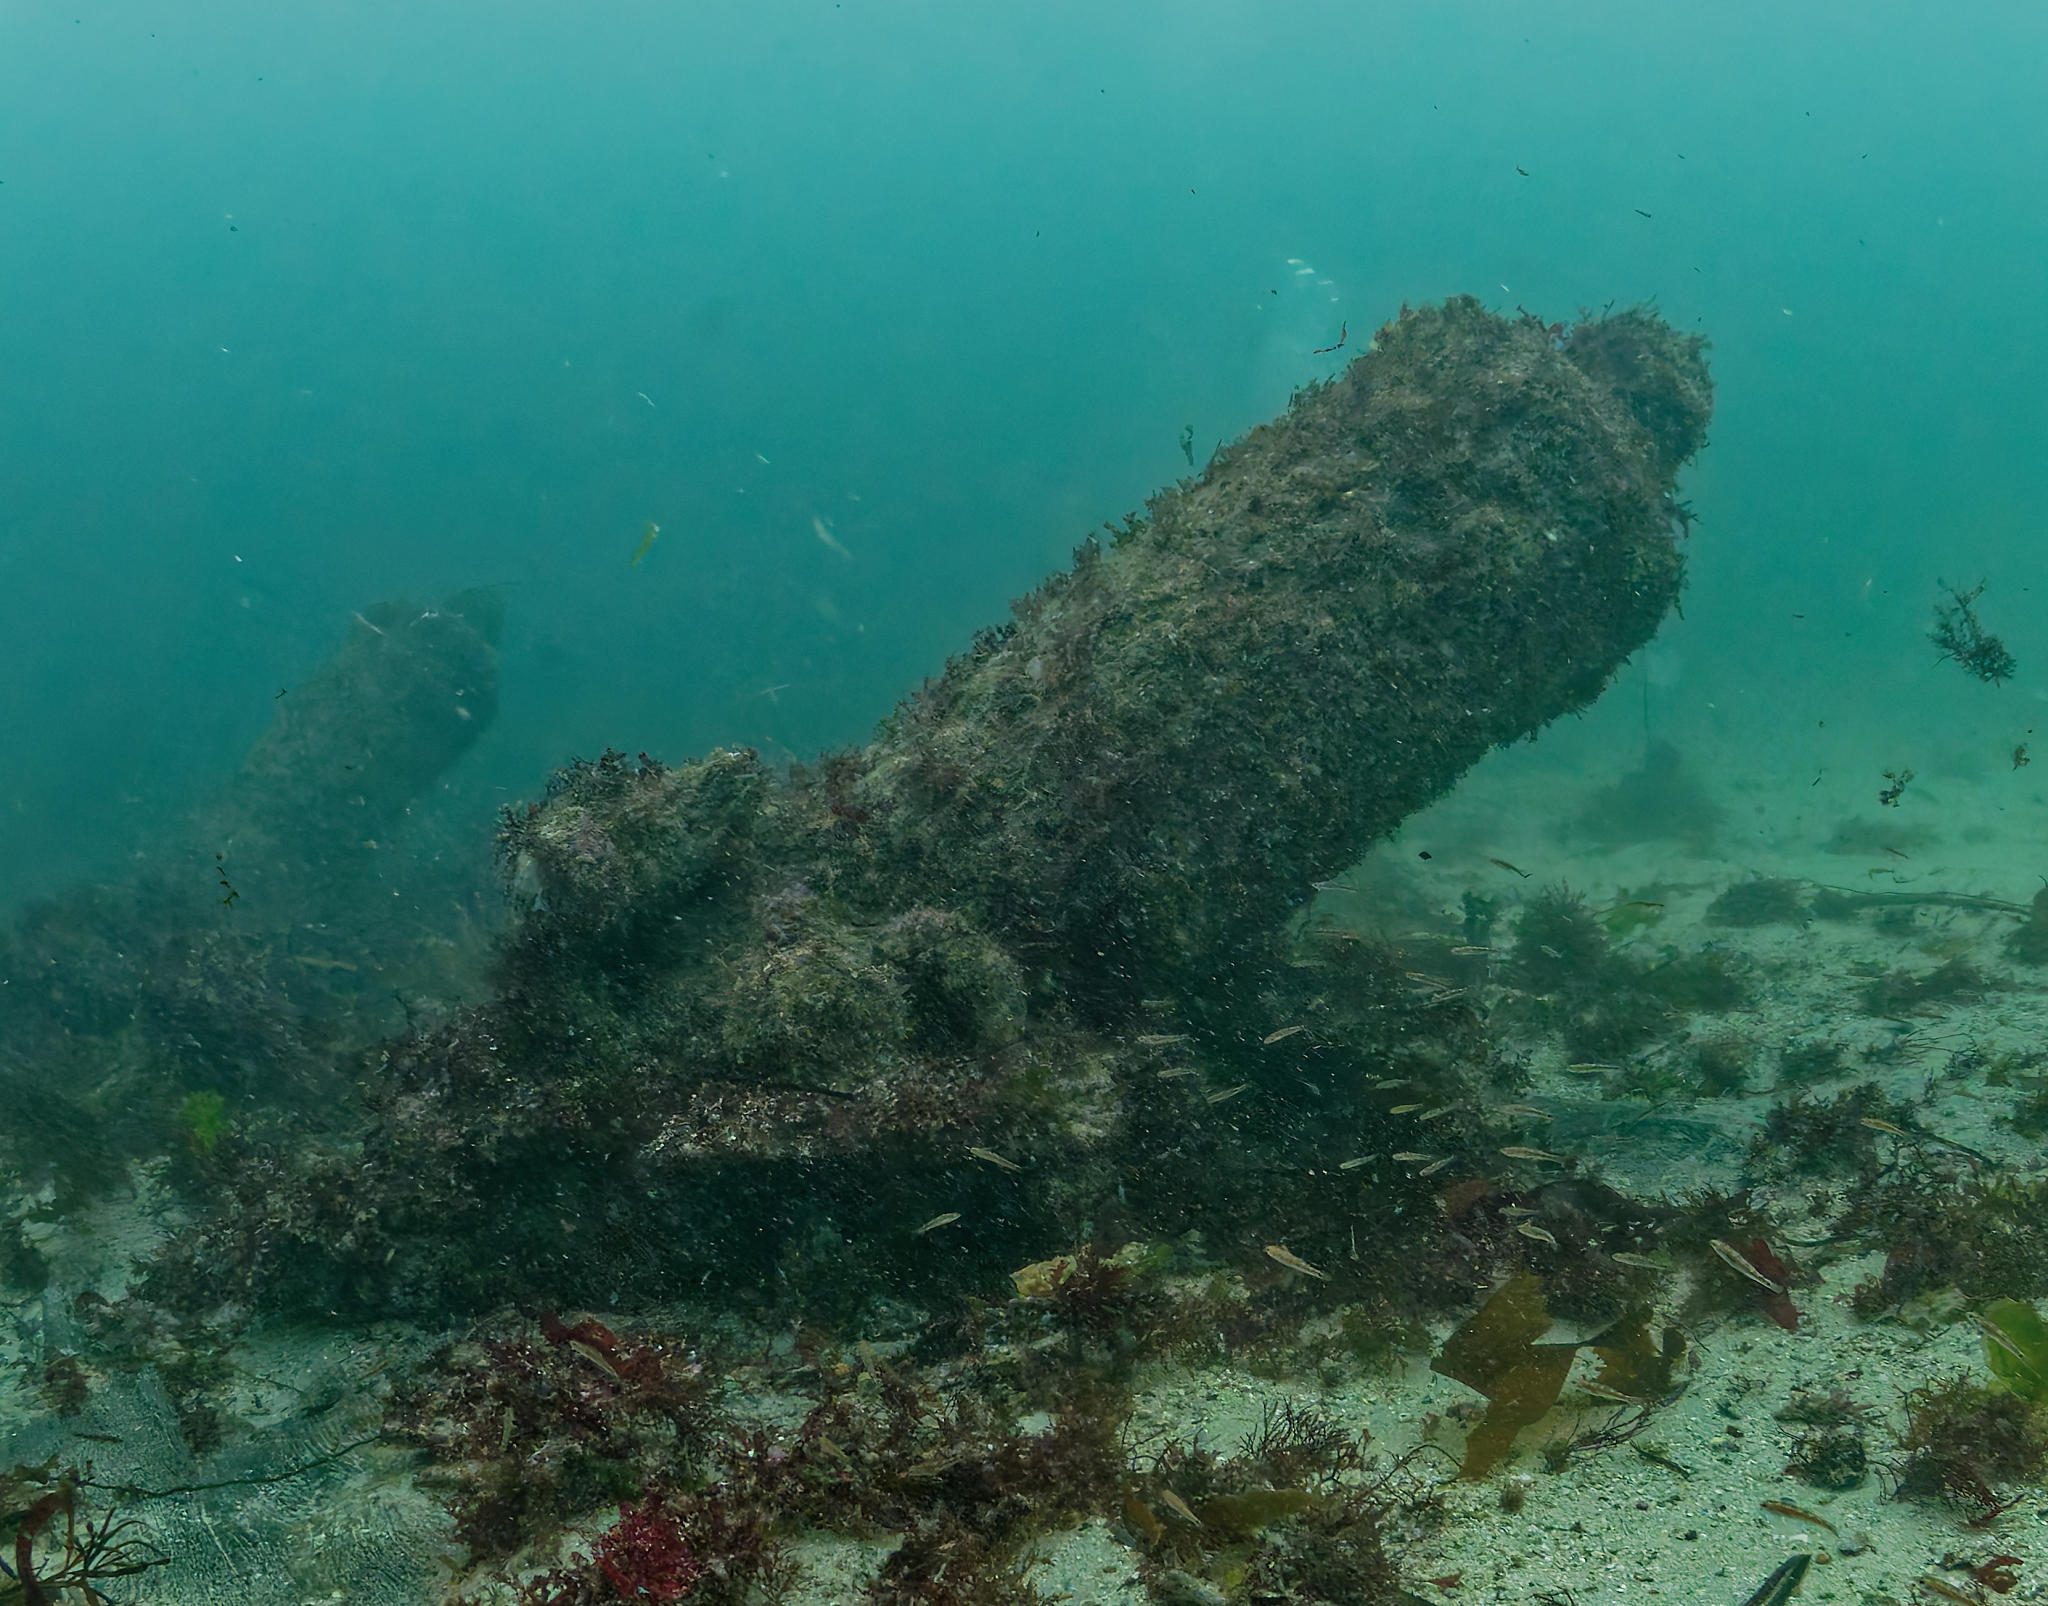
At station 2 you should be looking at what appears like a giant iron bollard sticking up from the seabed.

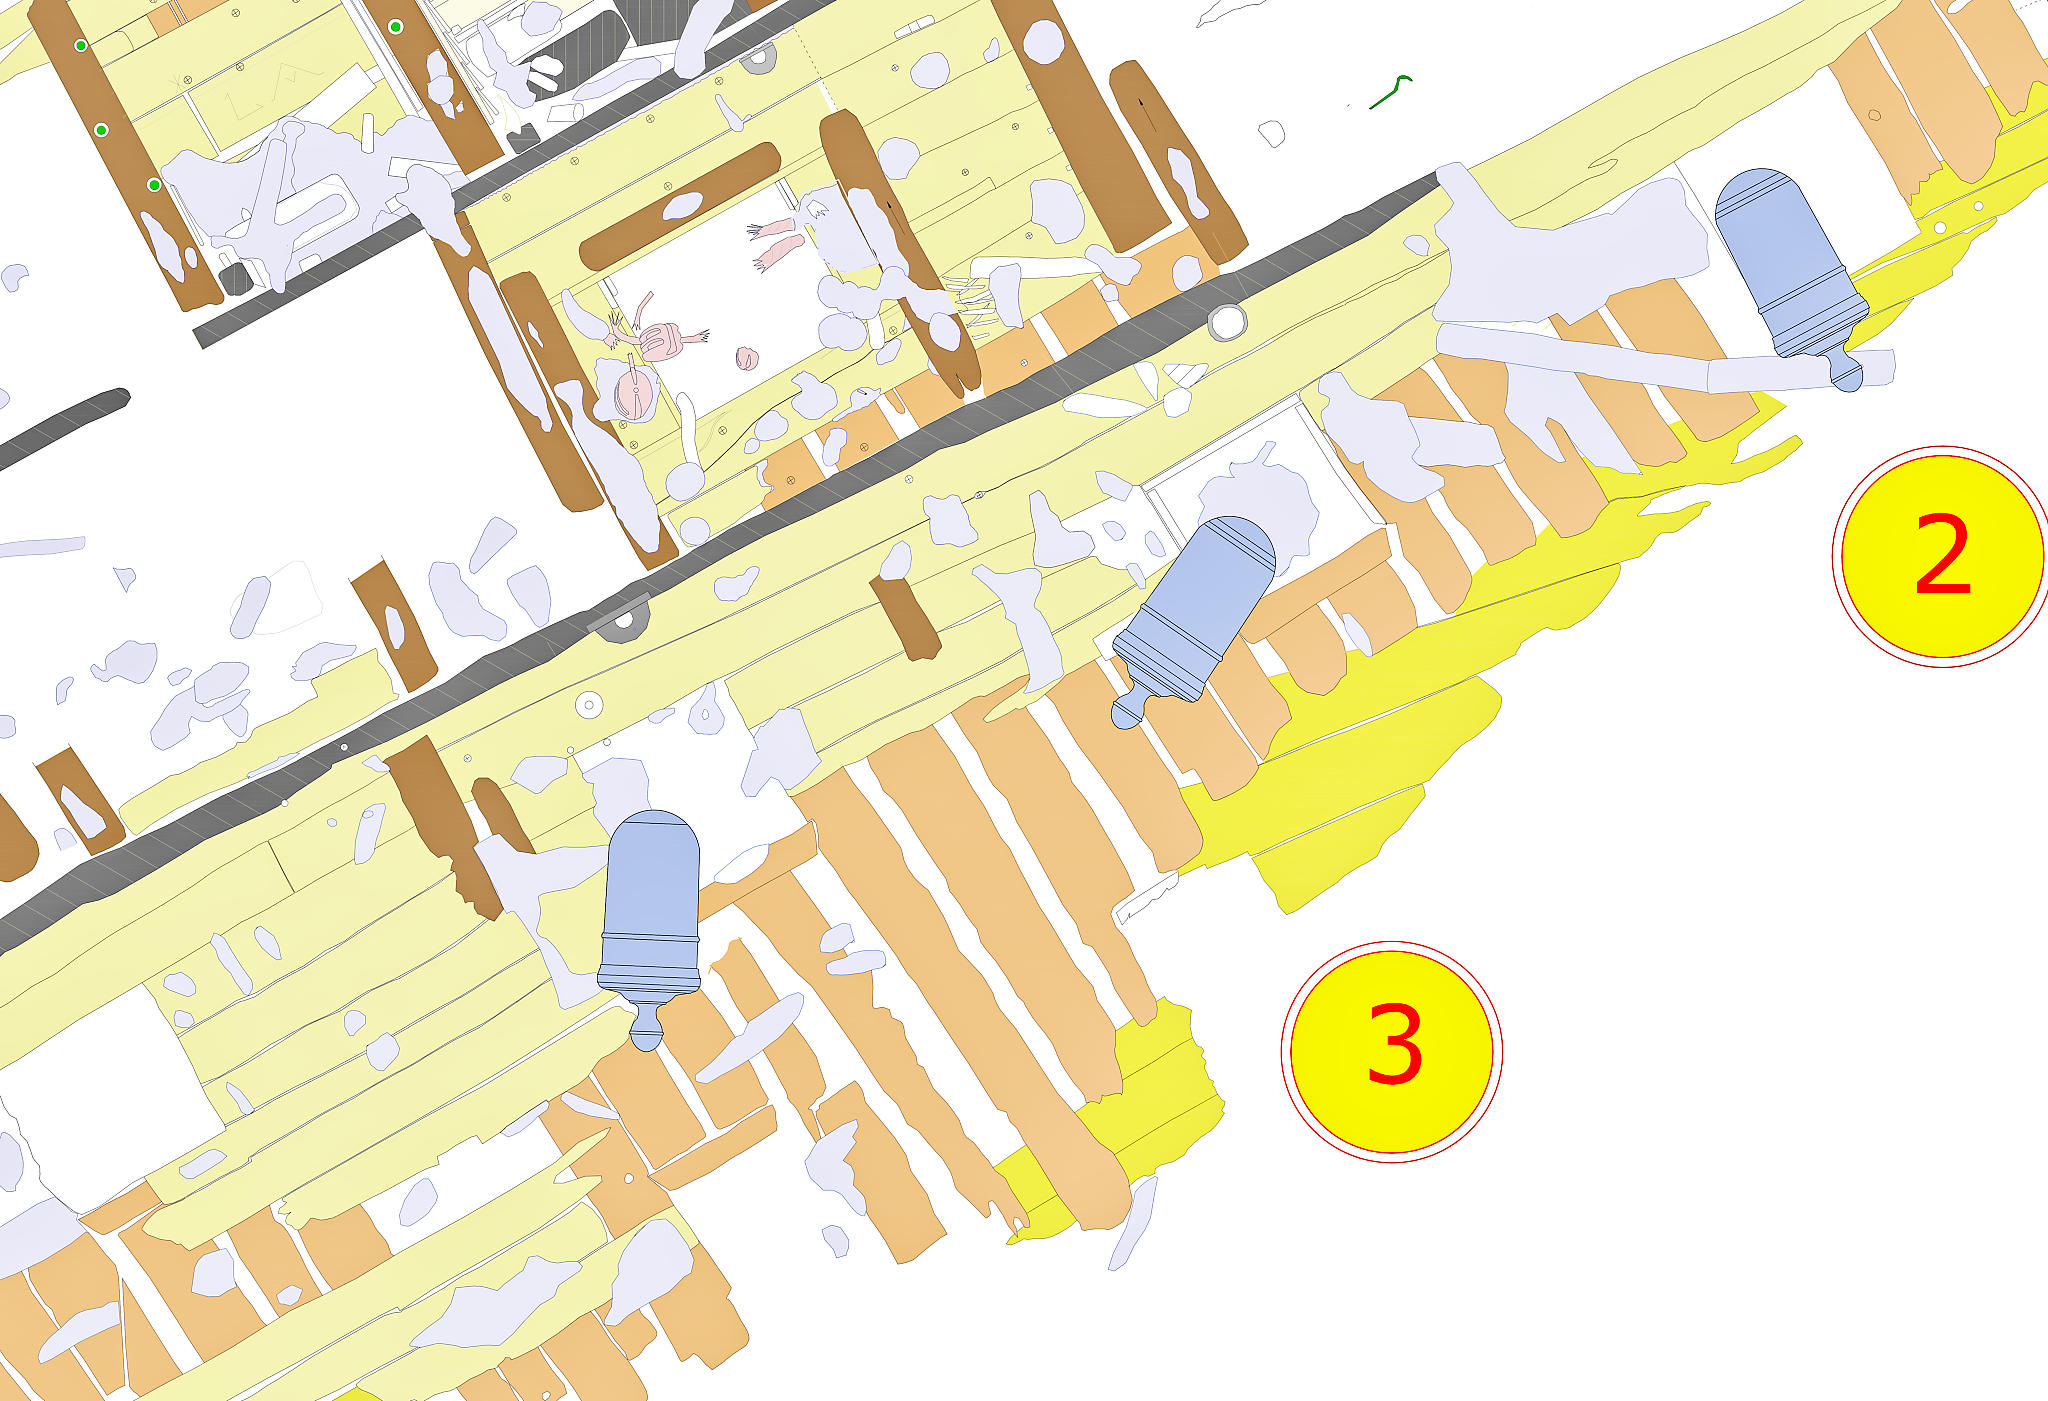
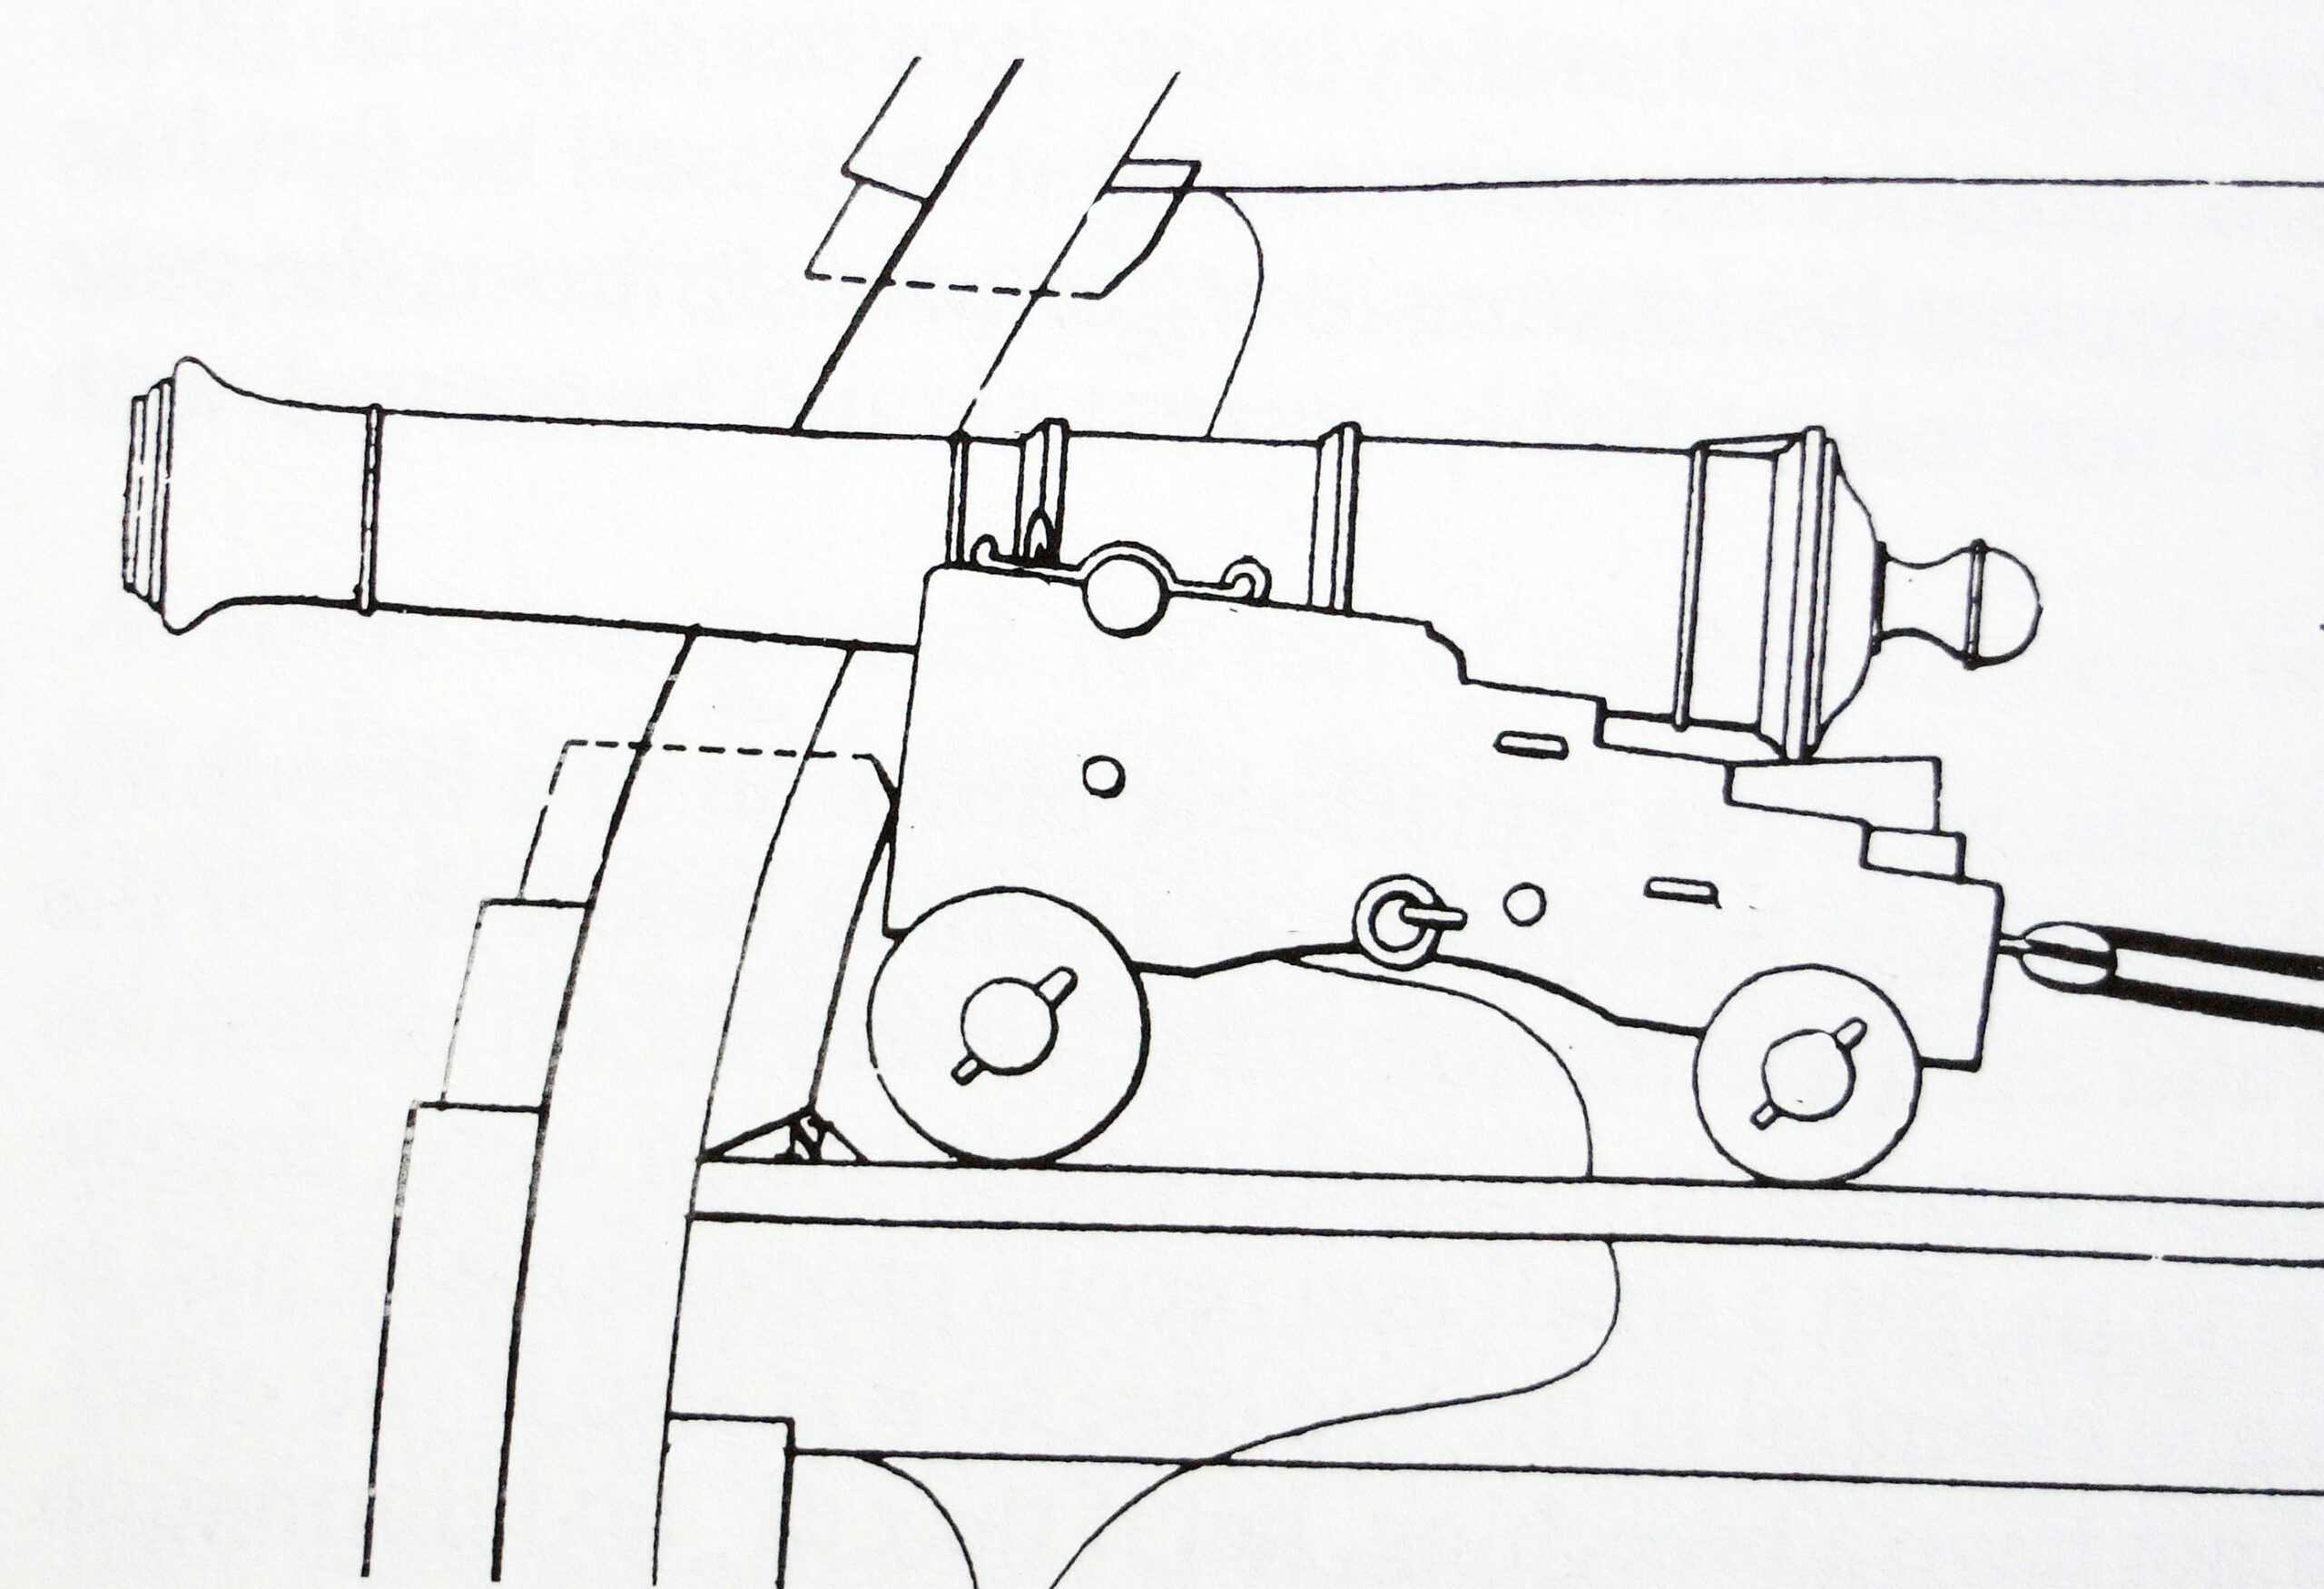
This is one of the upper gun-deck 18-pound guns, standing where it crashed through its gun port when the ship fell onto its beam ends. Look carefully at the gun and you will see the remains of the iron bolts which held the wooden gun carriage together (the wood has rotted away but the iron bolts are still there). There is a row of six of these guns, and you will see them all.
These sketches explain how the guns came to be standing upright on the seabed. On the left is a schematic section of the hull after it turned over, as the upper deck guns crashed through their gunports and came to rest on the seabed, held upright by the gunports. On the right is the same view but after sediment had accumulated under the hull, trapping the muzzles of the guns. The London bus is shown to give an idea of the scale.If you look at the seabed below the gun you will see a long, slightly bent bar of iron. We did not know what this was until in 2024 we removed all the weed from this bar and it became apparent that it was in fact the shank of a broken iron anchor.
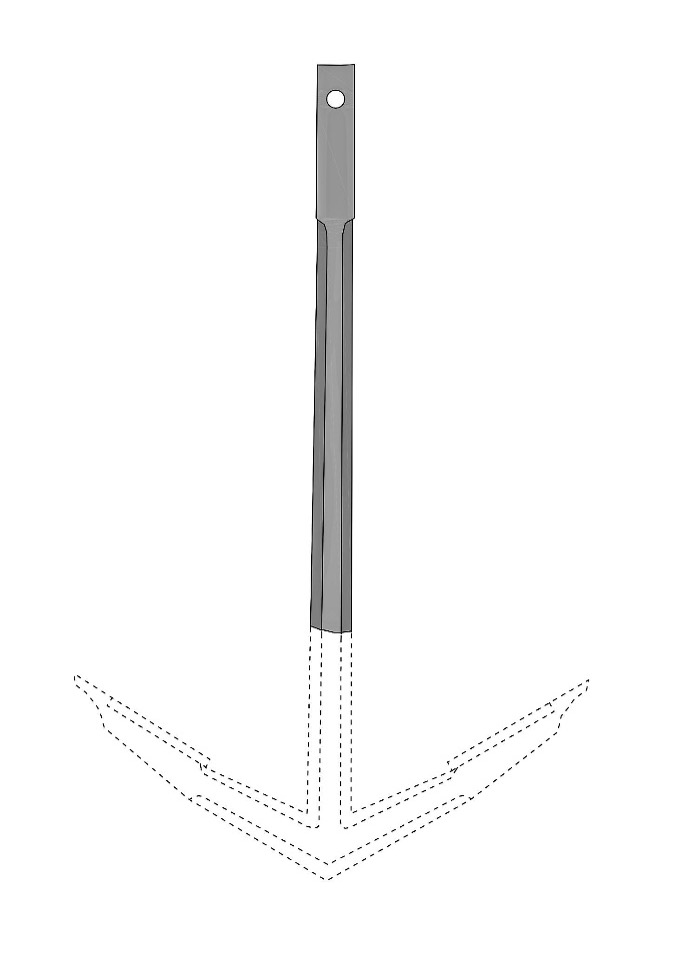
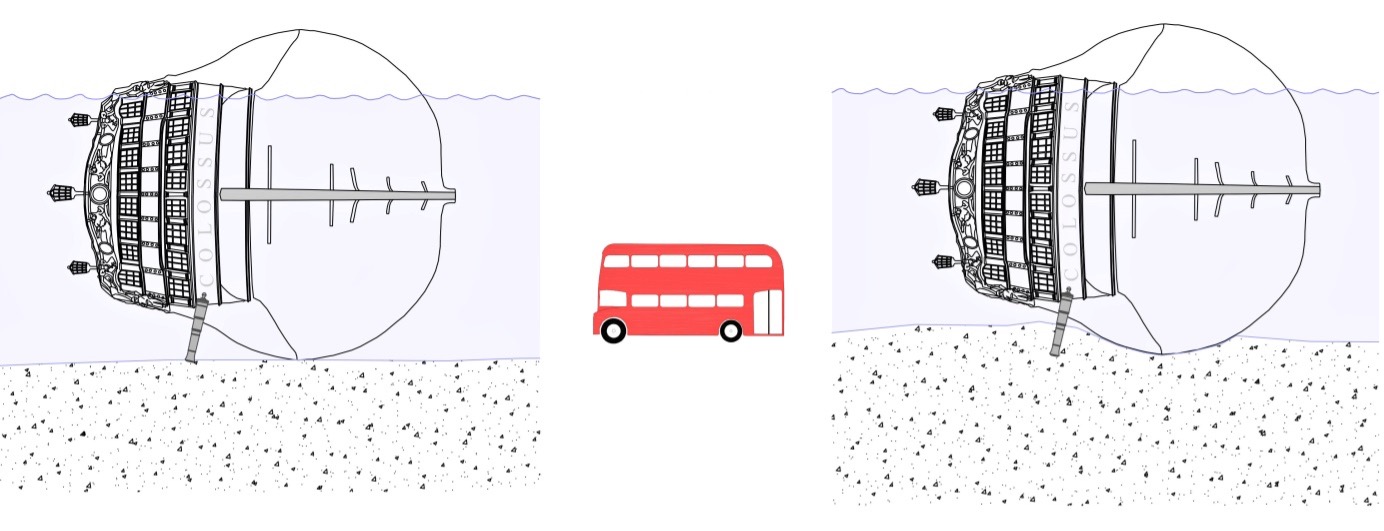
This sketch of an angle-crown anchor (the type carried by Colossus) shows the part lying on the seabed shaded and the missing arms and crown dotted. From the dimensions of the iron, it is clear this is too small to be from one of the main (bower) anchors of Colossus. It is, however, the correct size to have been the smaller stream anchor. Colossus had three bower anchors (18’ 6” long), a stream anchor (12’ 6”) and a kedge anchor (9’ 6”) when it sank.
But what is a broken anchor doing here? A search of the surviving logbooks revealed that in 1797, on the eve of the battle of Cape St Vincent, Colossus was involved in a collision ‘[Culloden] came aboard of us which broke the shank of the stream anchor’ – Masters Log, 12 Feb 1797. This is probably that same anchor shank, stored in the hold and on its way back to England for recycling.
If you look closely, you will see where the anchor ring and the wooden stock were attached to the shank of the anchor.

Station 3
Turn to face north. In front of you now is one of the five eighteen-pound iron guns standing upright on the seabed, their muzzles buried in the sand. If you look carefully, you will see that the guns are still within their gun ports. Immediately in front of you there is timber exposed on the seabed. This is the inside face of the ship. You will also see an empty gun port very close to station 3. This is one of the quarter deck gun ports, where smaller nine-pound guns would have been.
Although classed as a 74-gun ship, Colossus actually carried 82 guns on four different levels. This was because the convention at the time was to only count the long guns and exclude the eight Carronades on the poop and fore decks. All the guns were smooth-bored cast iron, and designed to fire a variety of projectiles (grape, case, bar, chain and round shot). The guns were classified according to the weight of round shot they fired. The lower gun deck had 28 thirty-two pound guns; the upper deck had 28 eighteen-pound guns while the quarterdeck and forecastle held the 18 nine-pound guns. The guns visible from this dive station are eighteen-pound guns of the Armstrong type, while the lower deck guns were the newer Blomefield 32-pound design.


Station 4
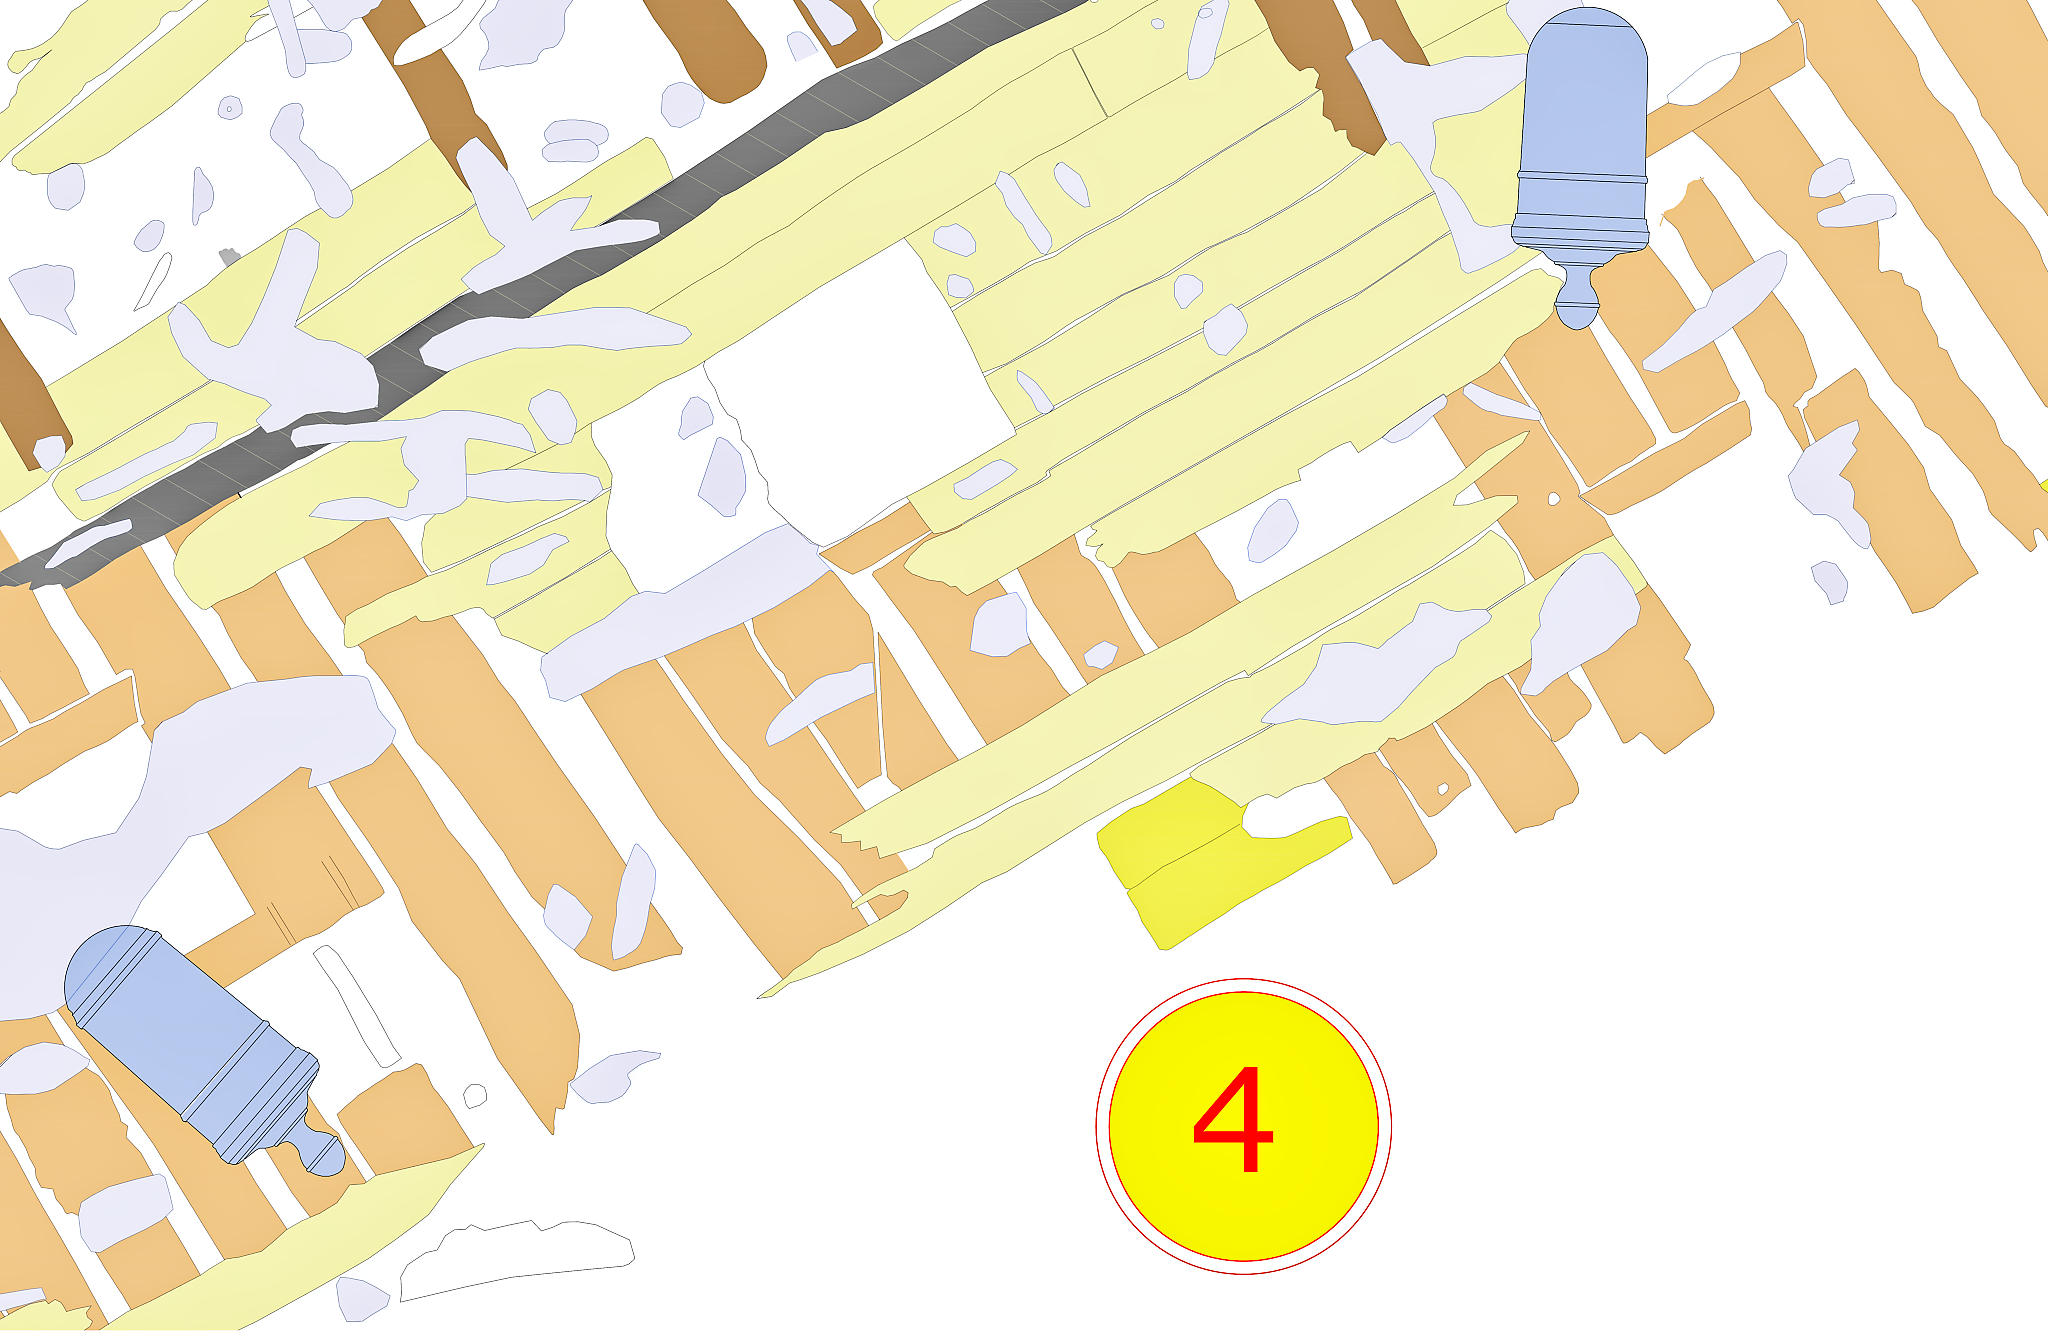
About two metres to the north of station 4 you will find an empty gun port. This gives a clear idea of what the gun ports looked like. Remember you are looking at the inside of the gun port.
Notice the corroded iron ring bolts at the side of the gun port, which would have been used to secure the gun carriage to the side of the ship. If you look at the timber on the seabed, you will see the tunnels in the timber created by the wood-boring organisms (ship worm) which are attacking the hull timbers.
Three metres to the west of station 4 you will find another of the upstanding eighteen-pound guns. Notice a number of iron rods attached to the barrel of the gun. These are the iron fastenings which held the wooden gun carriage together. The timber of the carriage has now decayed, leaving only the remains of the iron fastenings.

Station 5
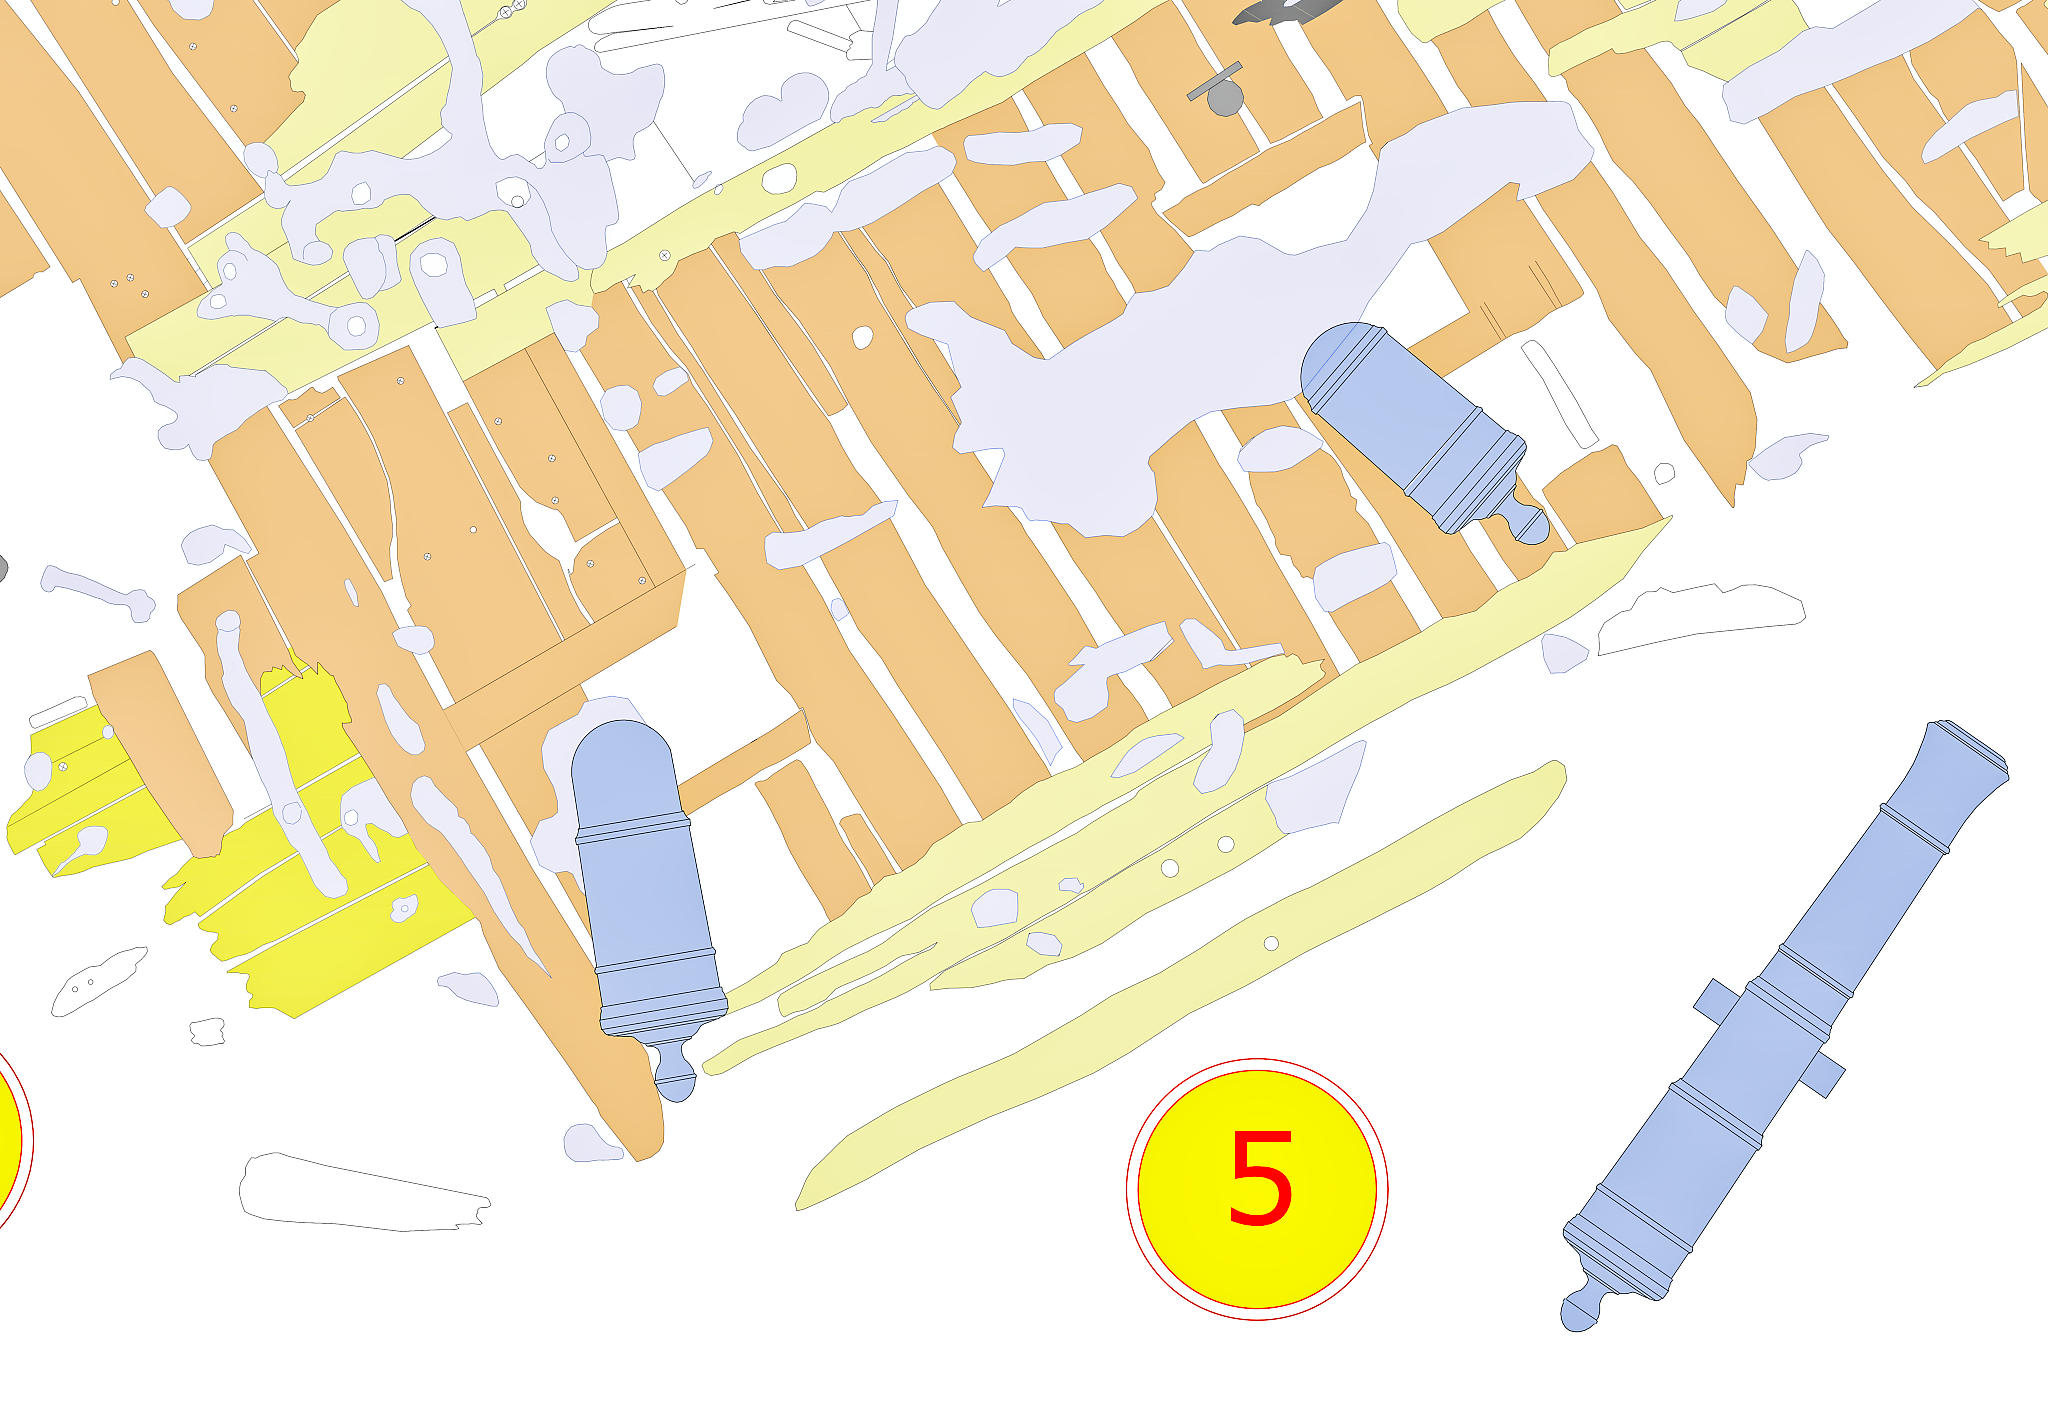
At station 5 you can see one of the eighteen-pound guns lying flat on the seabed. This gun is probably the one which was originally sited at the empty gun port you saw at station 4. Here you can see just how large these guns are. They are 2.75m (9 ft) long and weigh almost two tonnes each. The lower deck guns (thirtytwo-pound) were even larger. We do not know why this gun did not remain within its gunport as the other five eighteen-pounders did.
The last of the line of eighteen-pound upper-deck guns lies just to the west of you. Around this gun the inner planking of the ship survives exceptionally well and is worth a closer look.
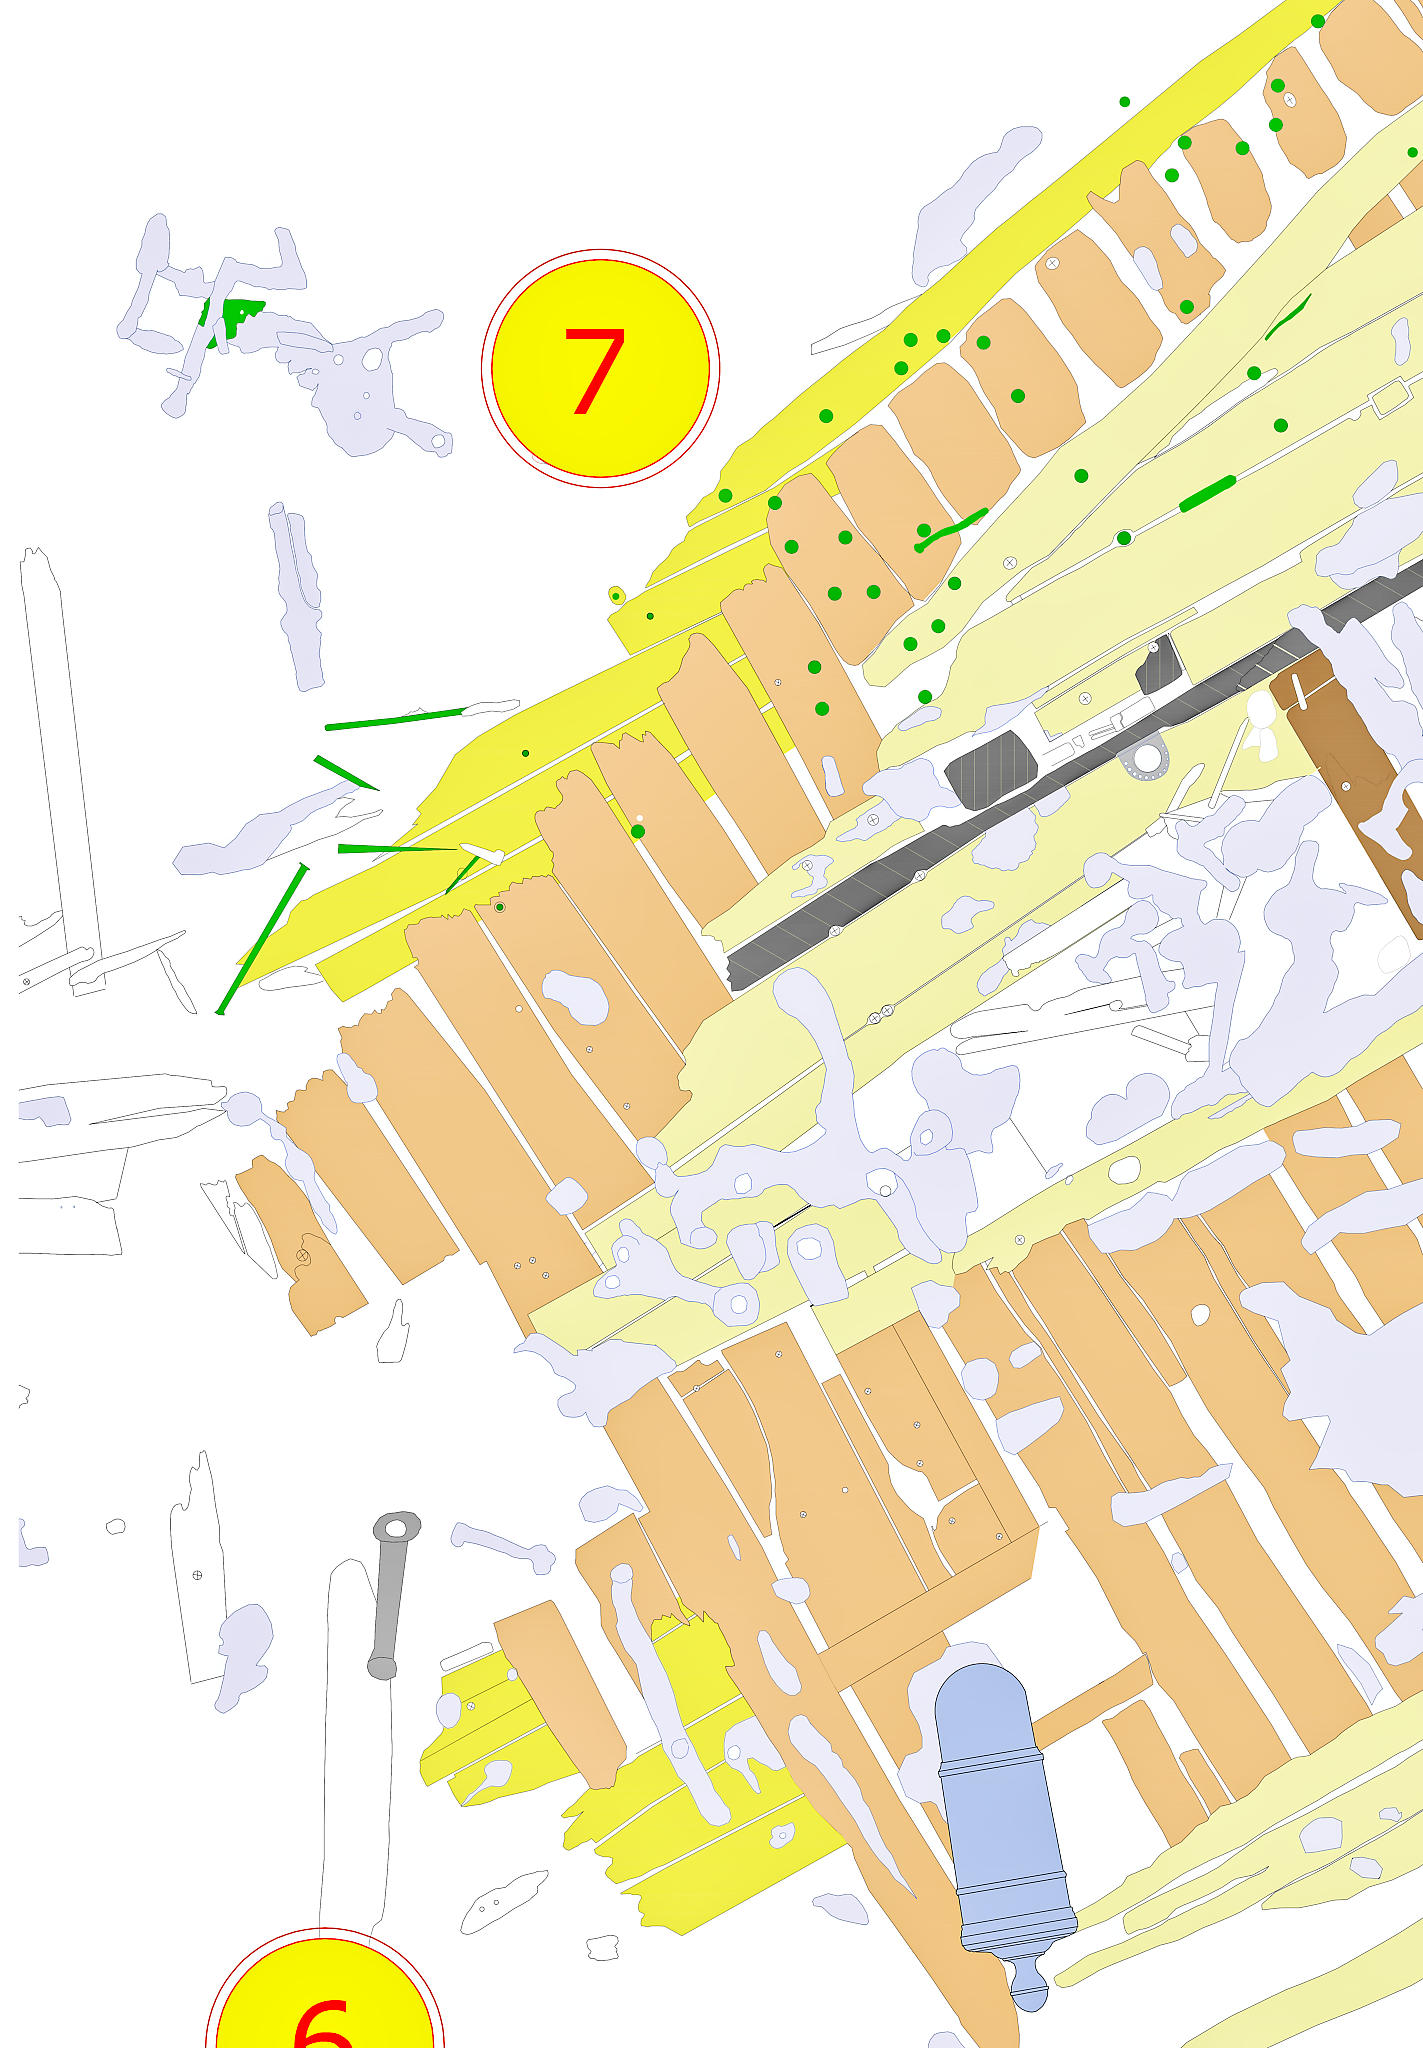
Station 6
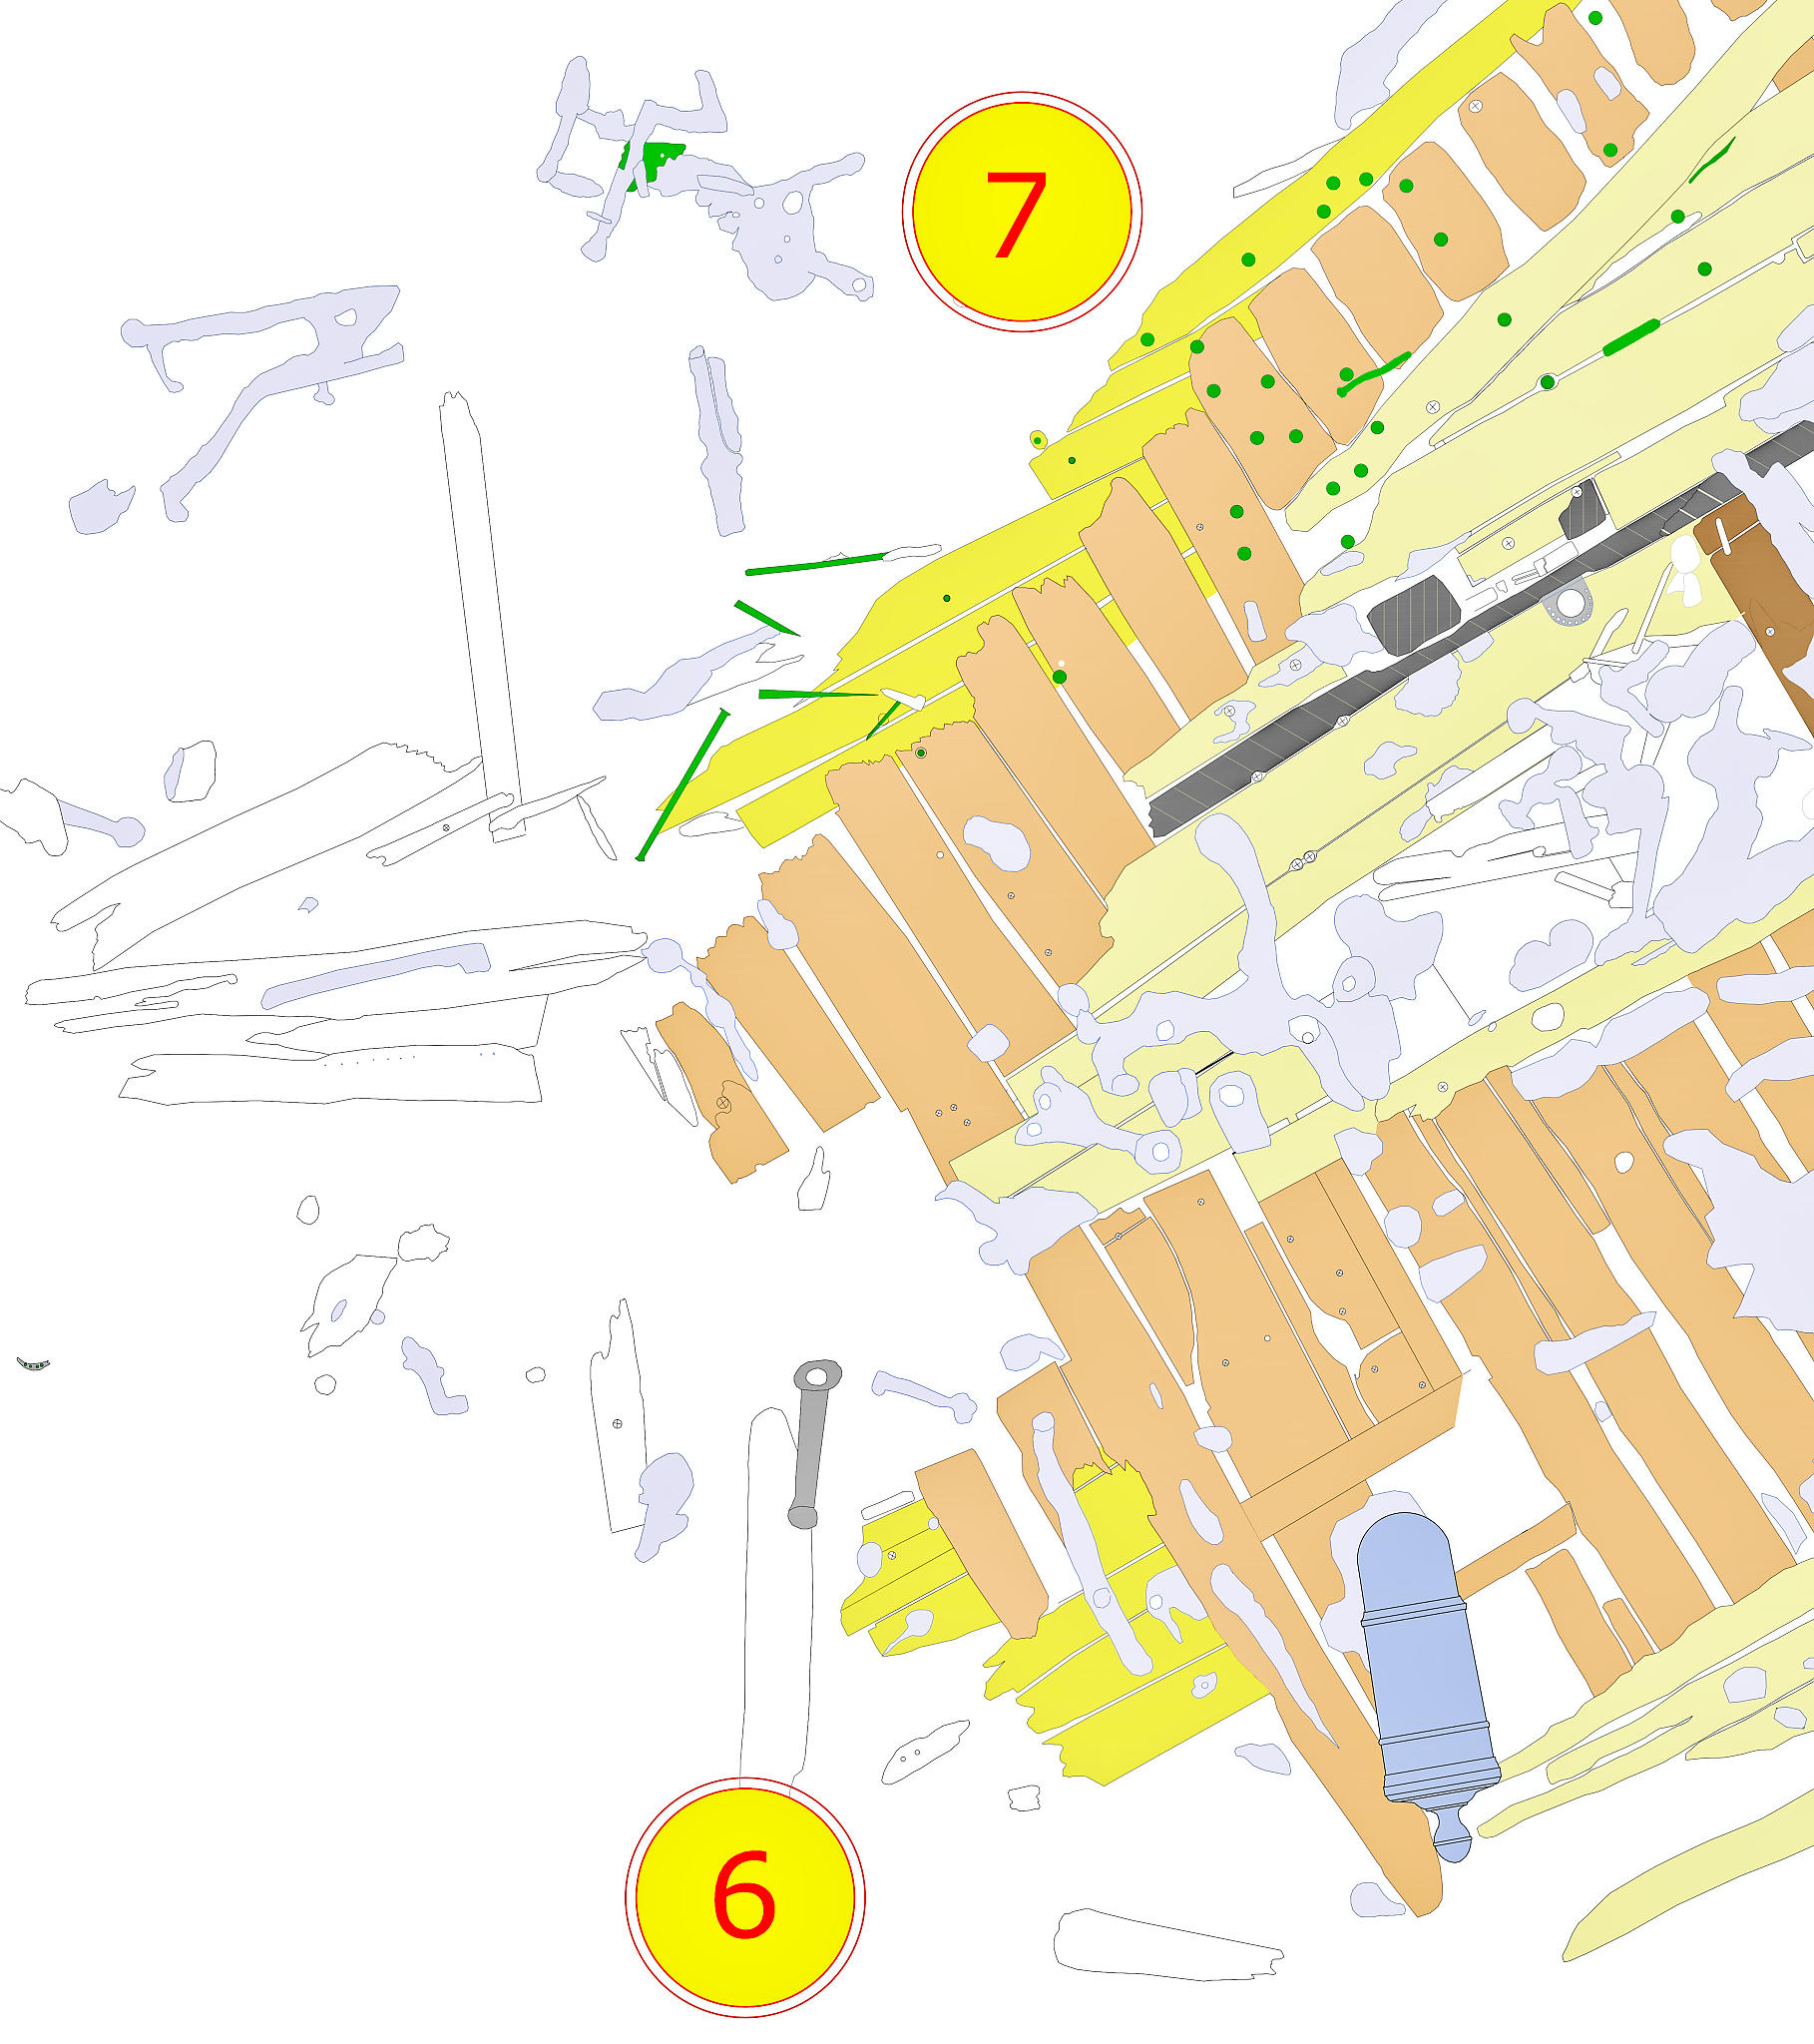
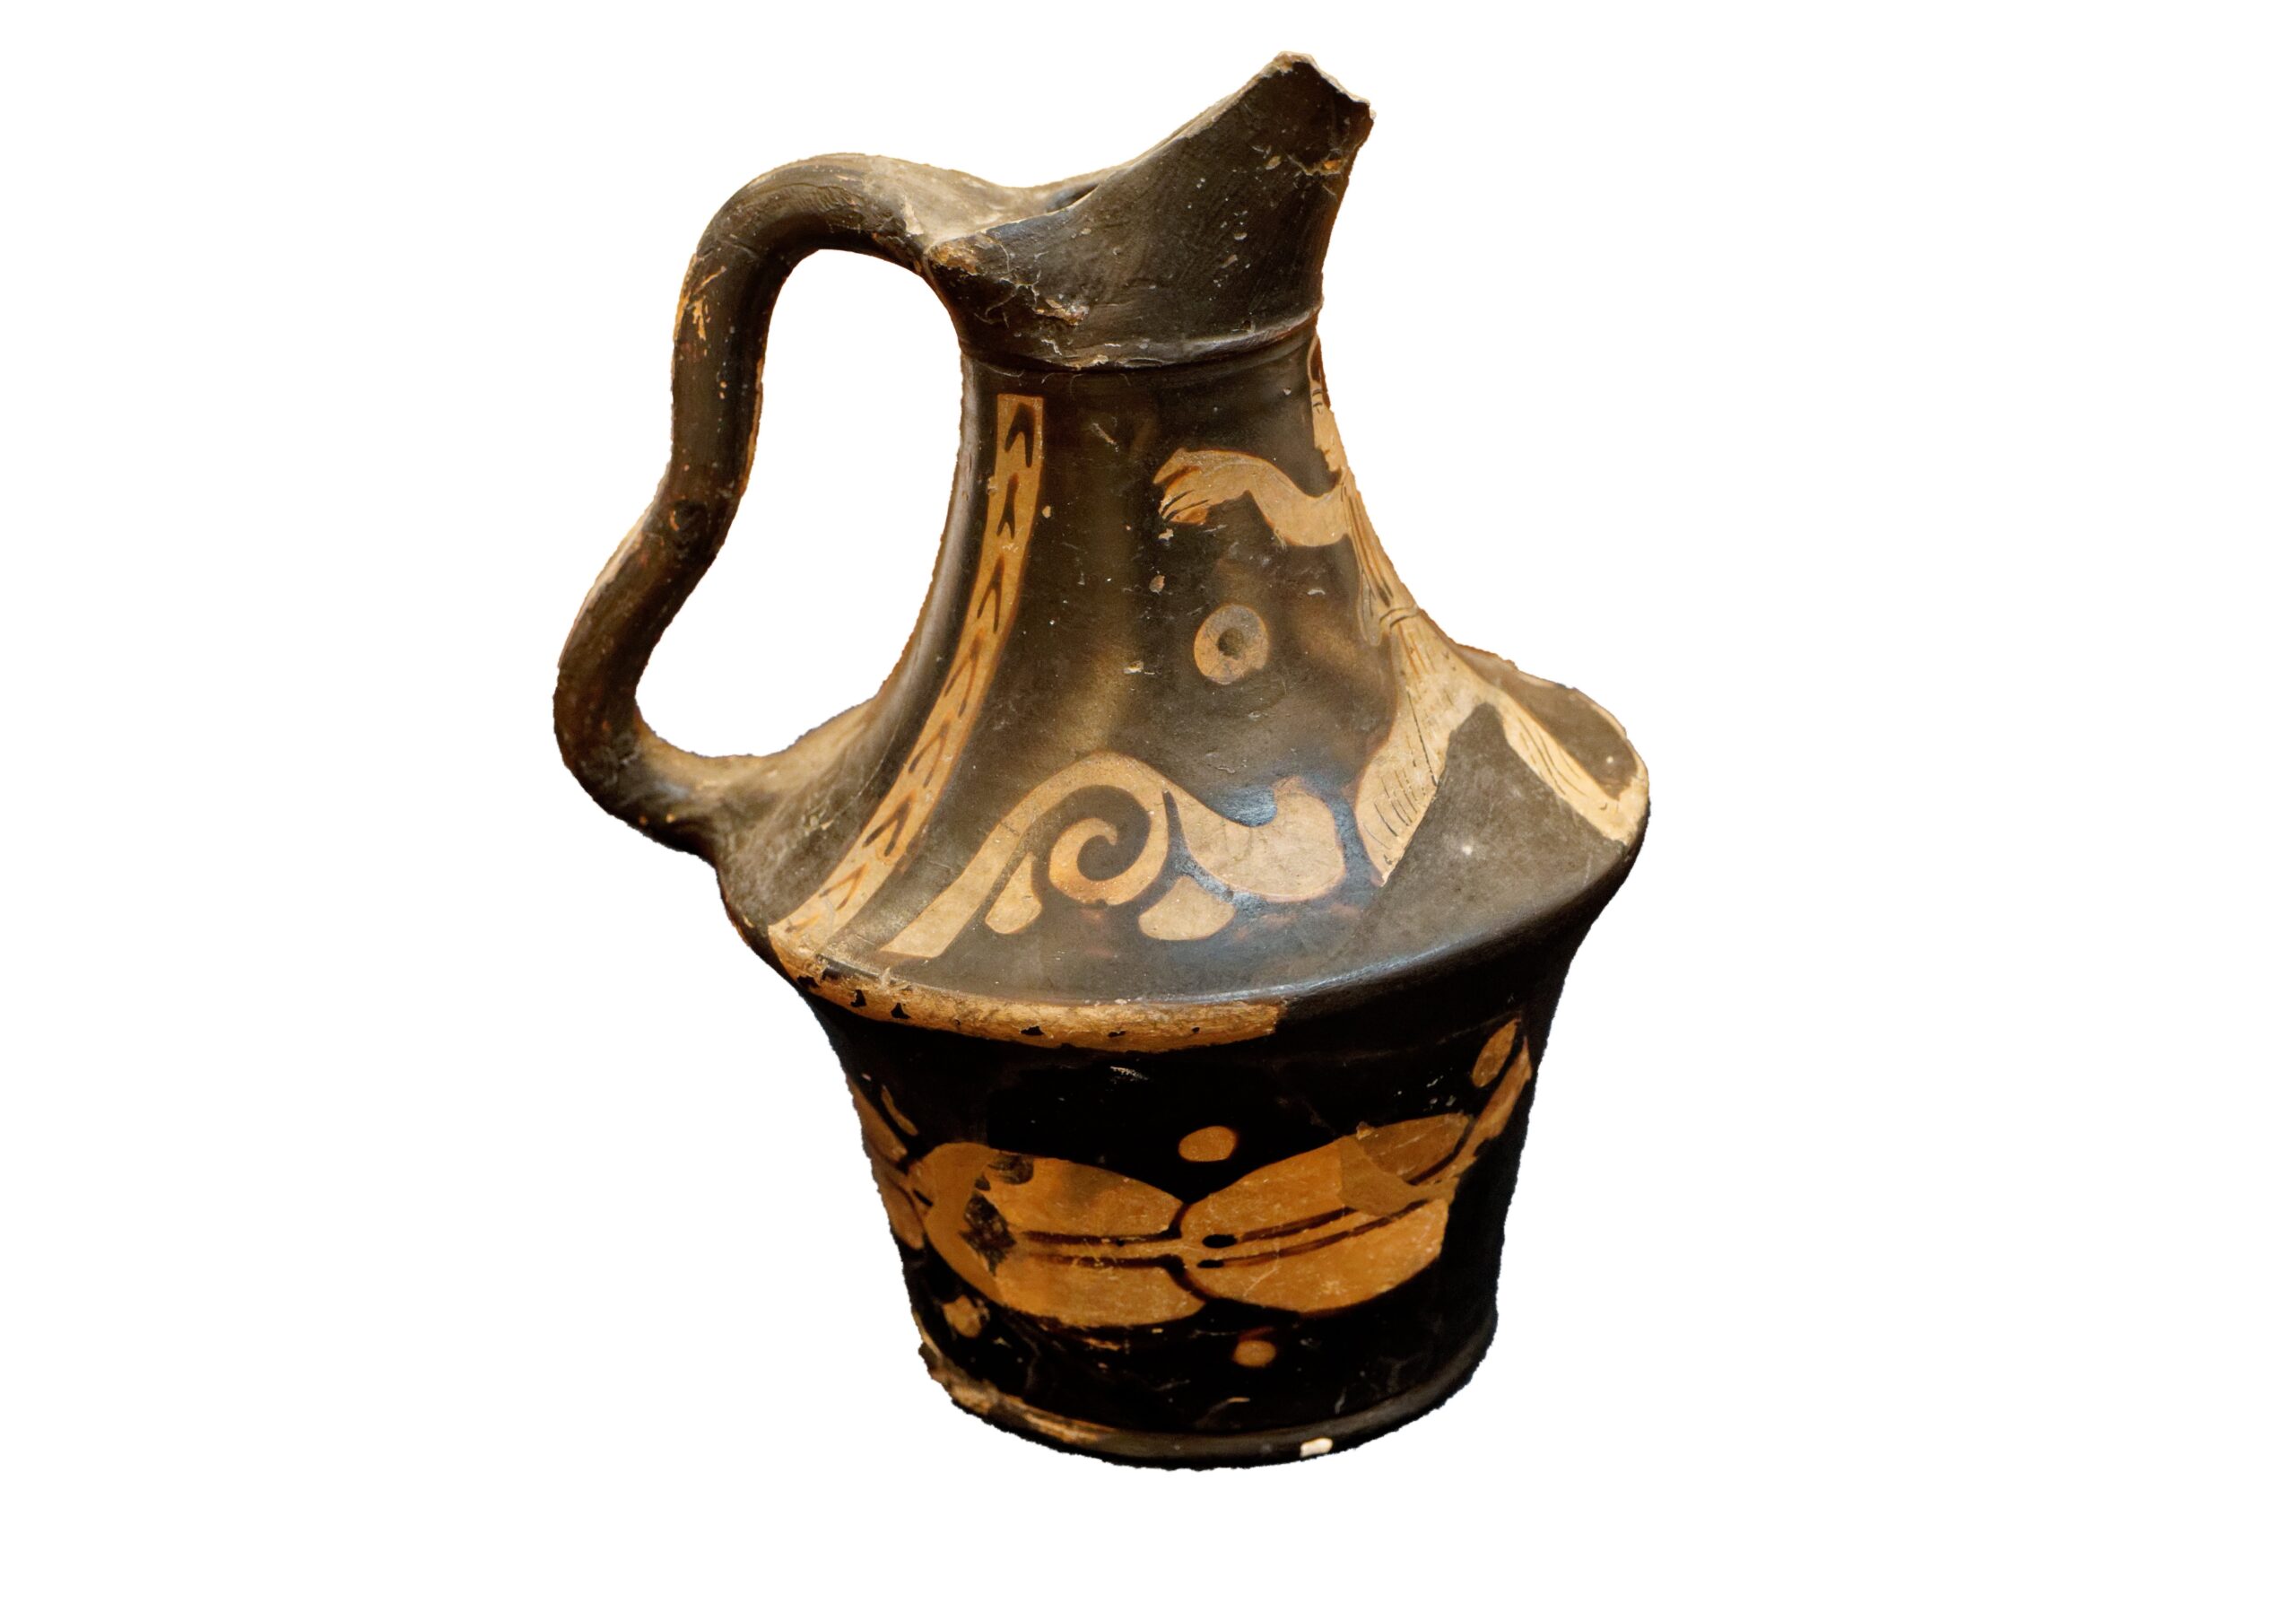
You are now at the point where the ship broke in half – roughly where the mainmast was. The bow fragments of the wreck were found over 300m to the west, and were excavated in the 1970’s by Roland Morris. He recovered thousands of pieces of ancient Greek pottery (now in the British Museum) which were part of the cargo of Colossus when it sank.
Why was a British warship carrying ancient Greek antiquities? Because Colossus was in Naples during Nelson’s 40th birthday celebrations organised by Nelson’s mistress Emma Hamilton. The Greek pots belonged to Emma’s husband Sir William Hamilton, who wanted to have his valuable collection transported to England. Little did he suspect that they would soon be lying on the seabed in the Isles of Scilly.

Station 7
You can now see a number of copper spikes standing upright on the seabed. These are the remains of the copper bolts used to fasten the timbers of the hull. Before 1780 ships were fastened using iron bolts.
After the introduction of copper sheathing below the waterline, it was soon discovered that the iron bolts corroded rapidly. The solution to this problem was to use copper fastenings below the waterline. Take care to avoid the sharp points on these copper bolts, which are caused by erosion of the exposed bolts on the seabed. The timbers you see here are the partly buried hull timbers. These consist of the inner planking, frames and outer planking. You are at the level of the orlop deck, where cables and sails were stored, below the water line of the vessel.

Station 8
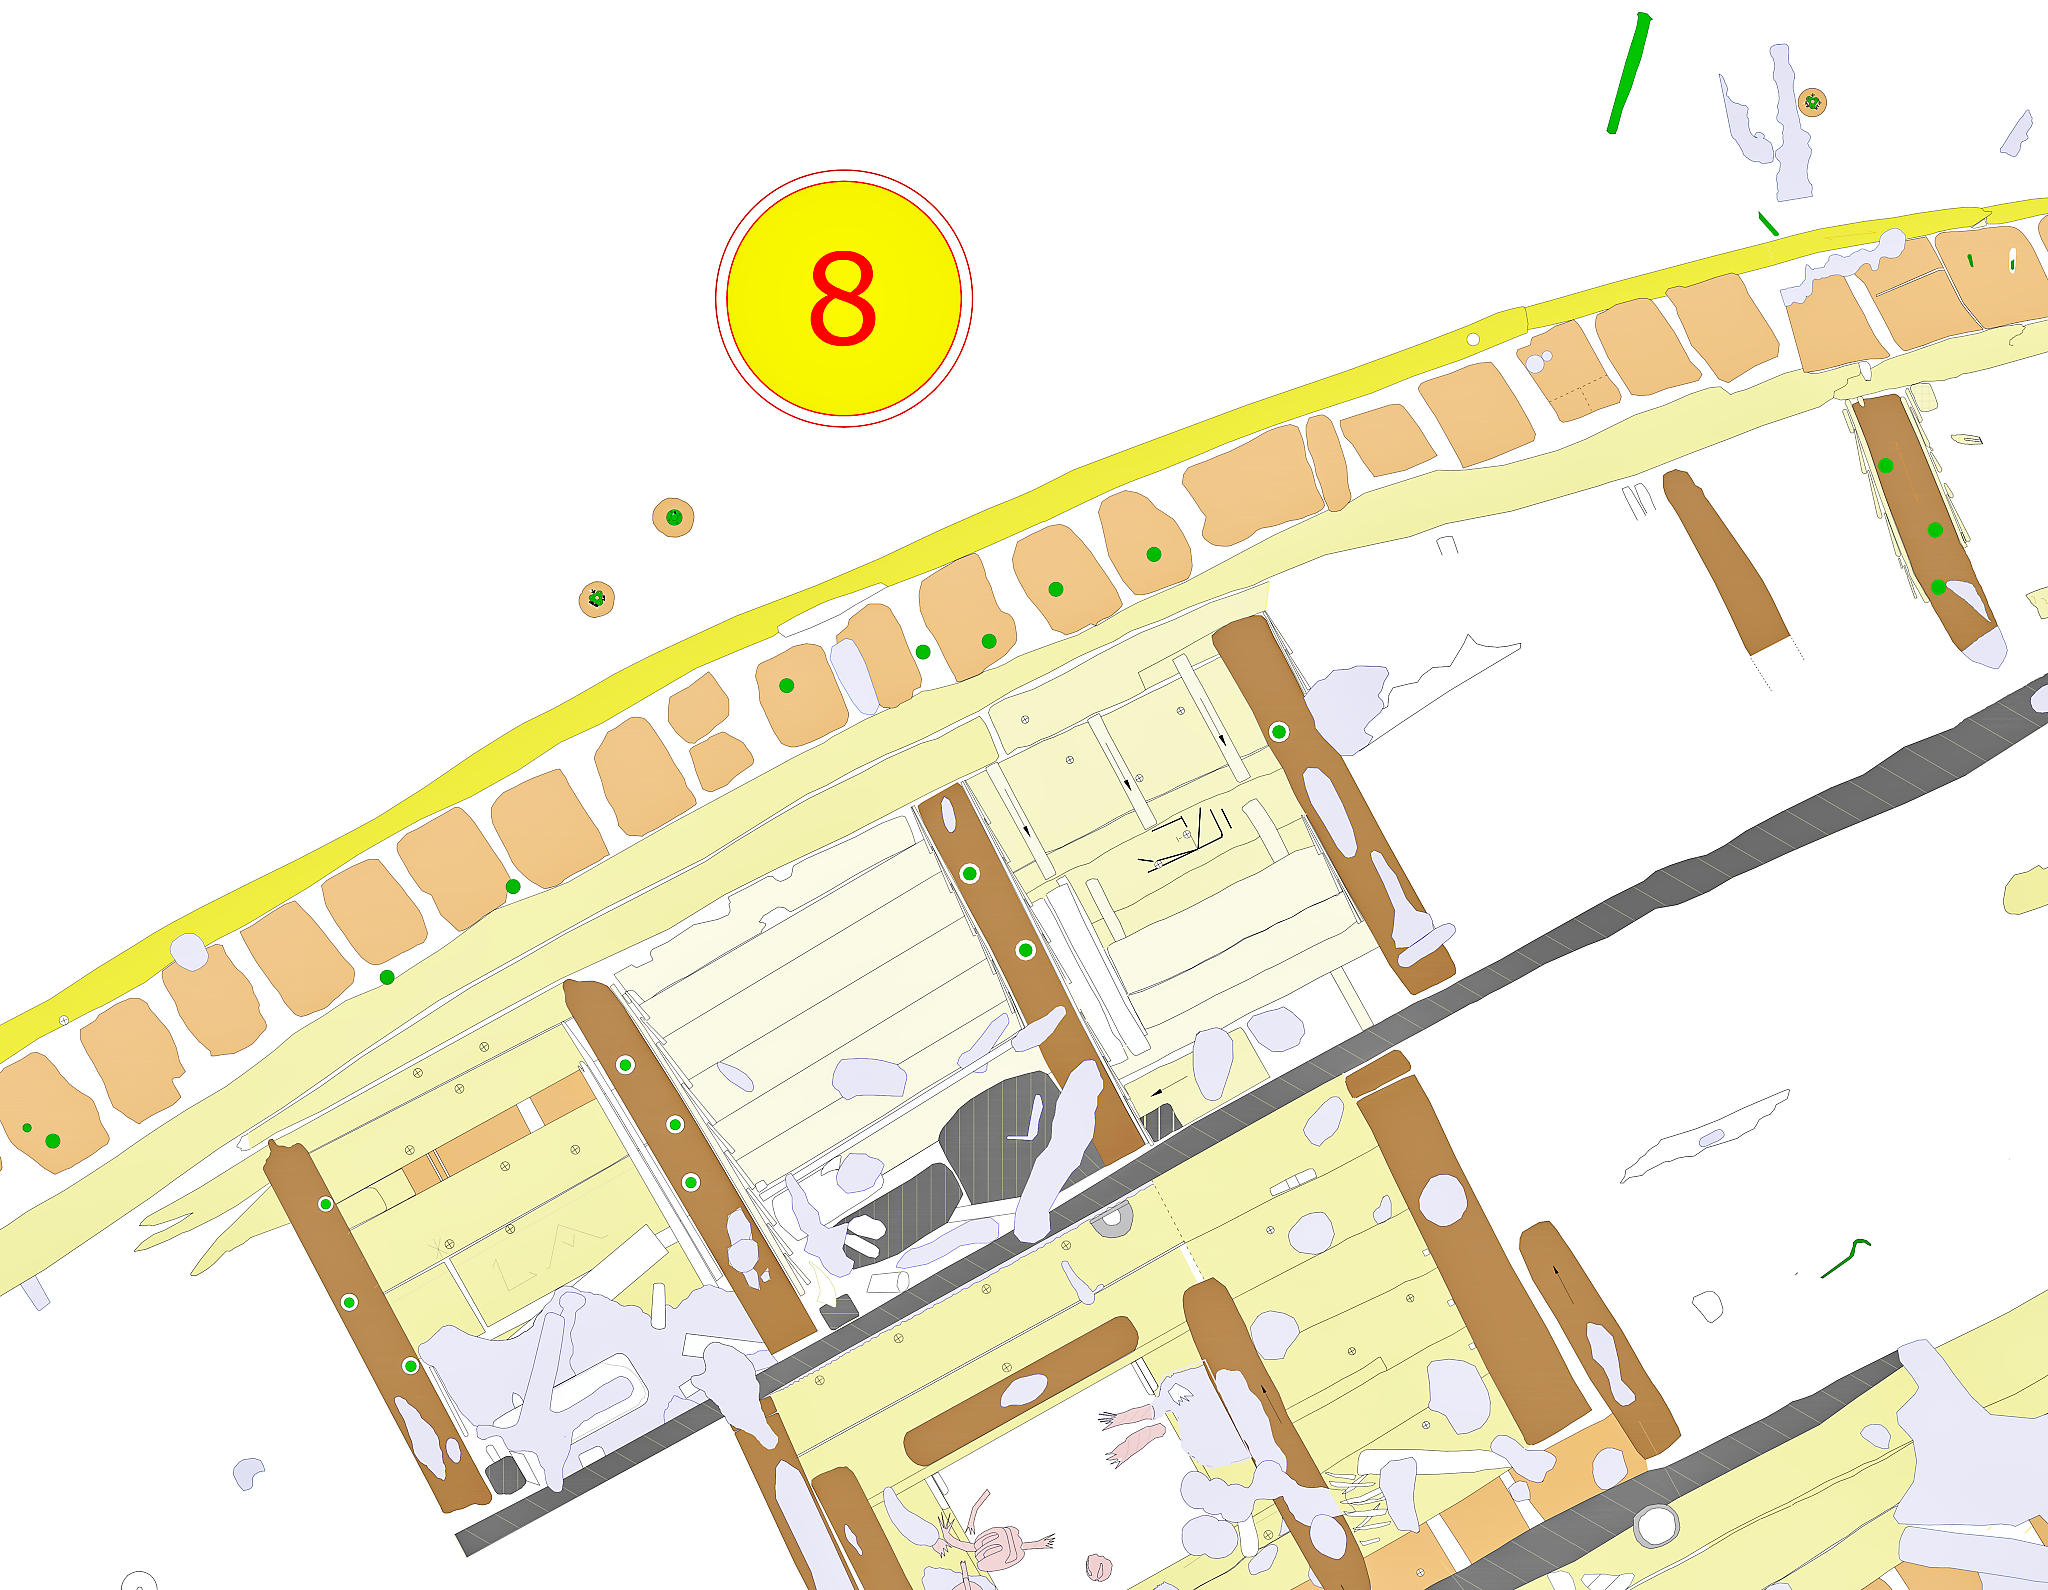
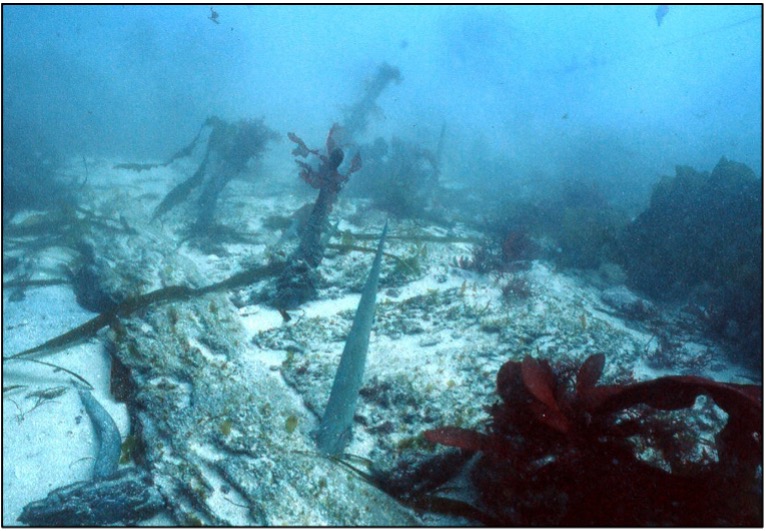
Turn so that you are facing south. In front of you are the timbers of the hull. You should also be able to see several copper fastening bolts similar to those you saw at the last station. At the outside of the hull (outer planking) you should be able to see some of the copper sheathing which covered the hull below the water line.
The photograph here shows you roughly what the hull timbers look like at this point (looking east). On the left is the outer hull planking. In the middle, the large square timbers are the frames of the ship. On the right-hand side is the inner planking. If you look carefully, you should be able to see the joins in the planking. Again, you will notice how the timbers are being attacked by wood-boring organisms – sometimes called gribble and shipworm.

Station 9
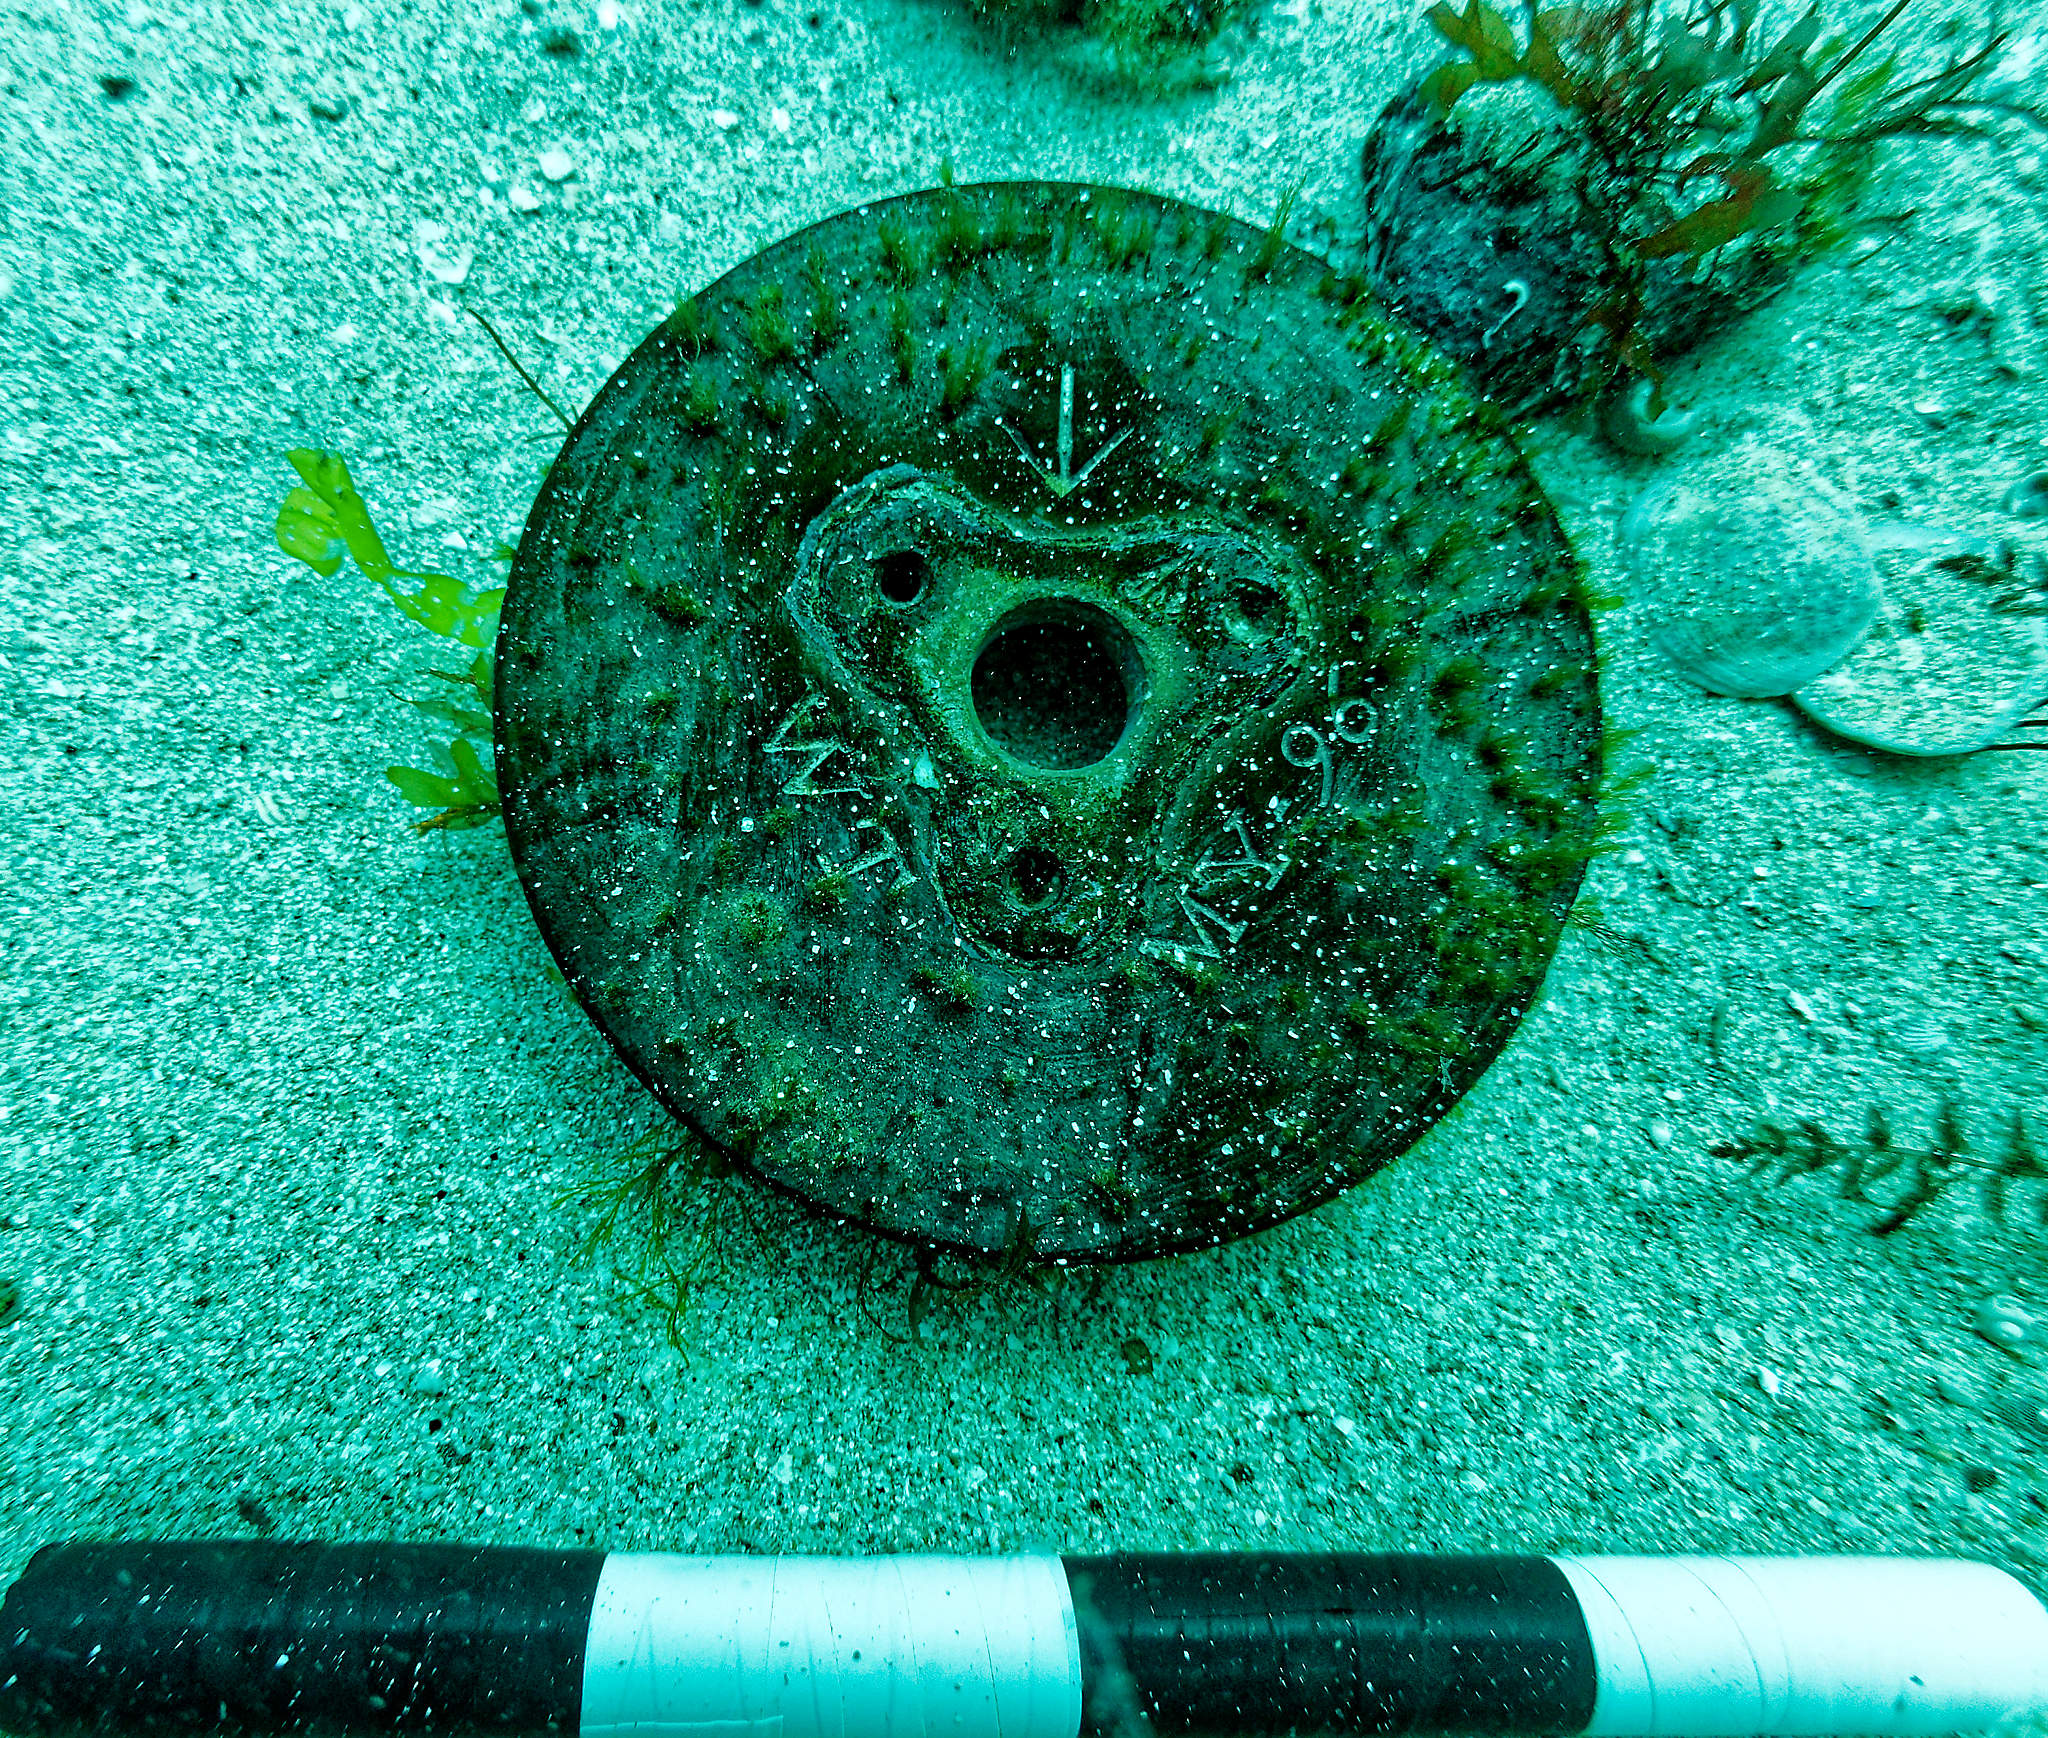
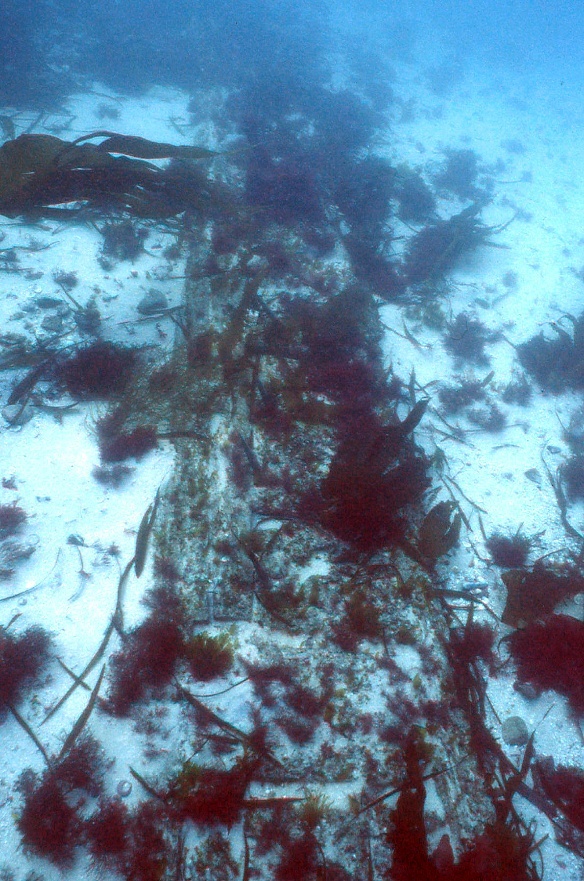
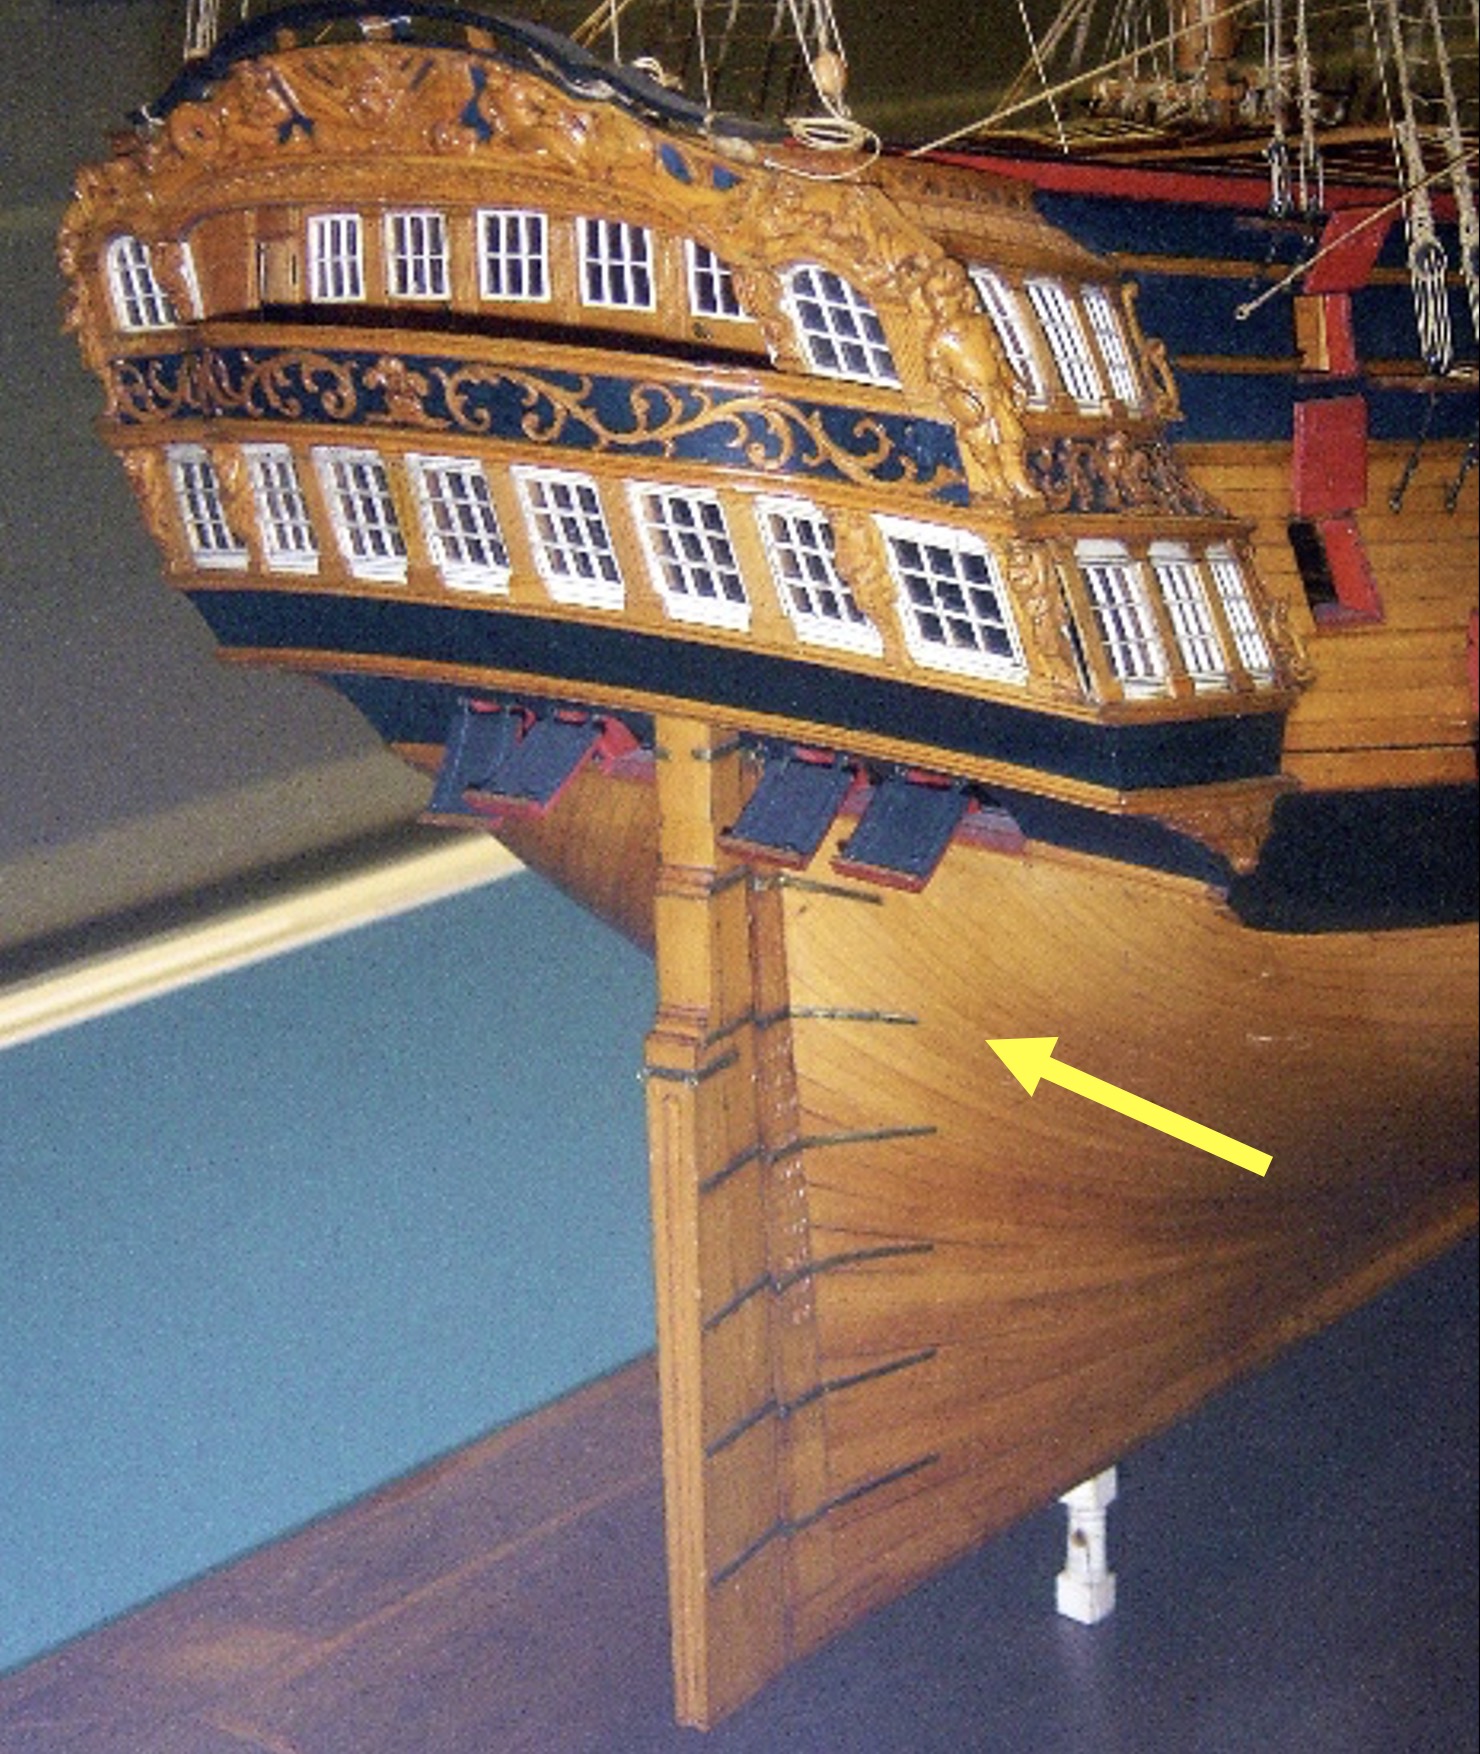
Here is part of the stern post of the ship. The large iron object on top of the timber is one of the rudder gudgeons, an iron strap used to attach the rudder to the hull (the gudgeons attach to the hull and the pintols (pin tails) attach to the rudder).
The hole in the centre of the gudgeon is where the rudder pivoted on the pintol pin. Colossus lost its rudder when it first grounded some 400 metres distance to the west of where you are now.
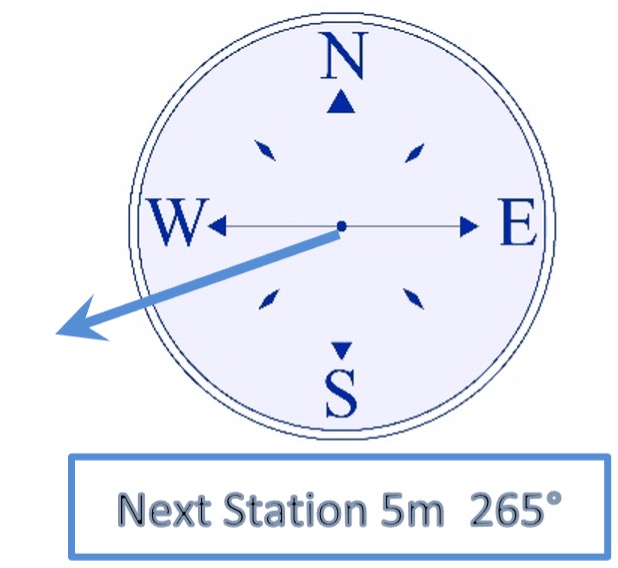
Station 9 is the final station on our tour of the wreck. Swim to the south-east to arrive back at the seabed sign where you started. There you will find a lead-line heading to the south-east which will take you on a tour of the outlying debris (the Green Route).
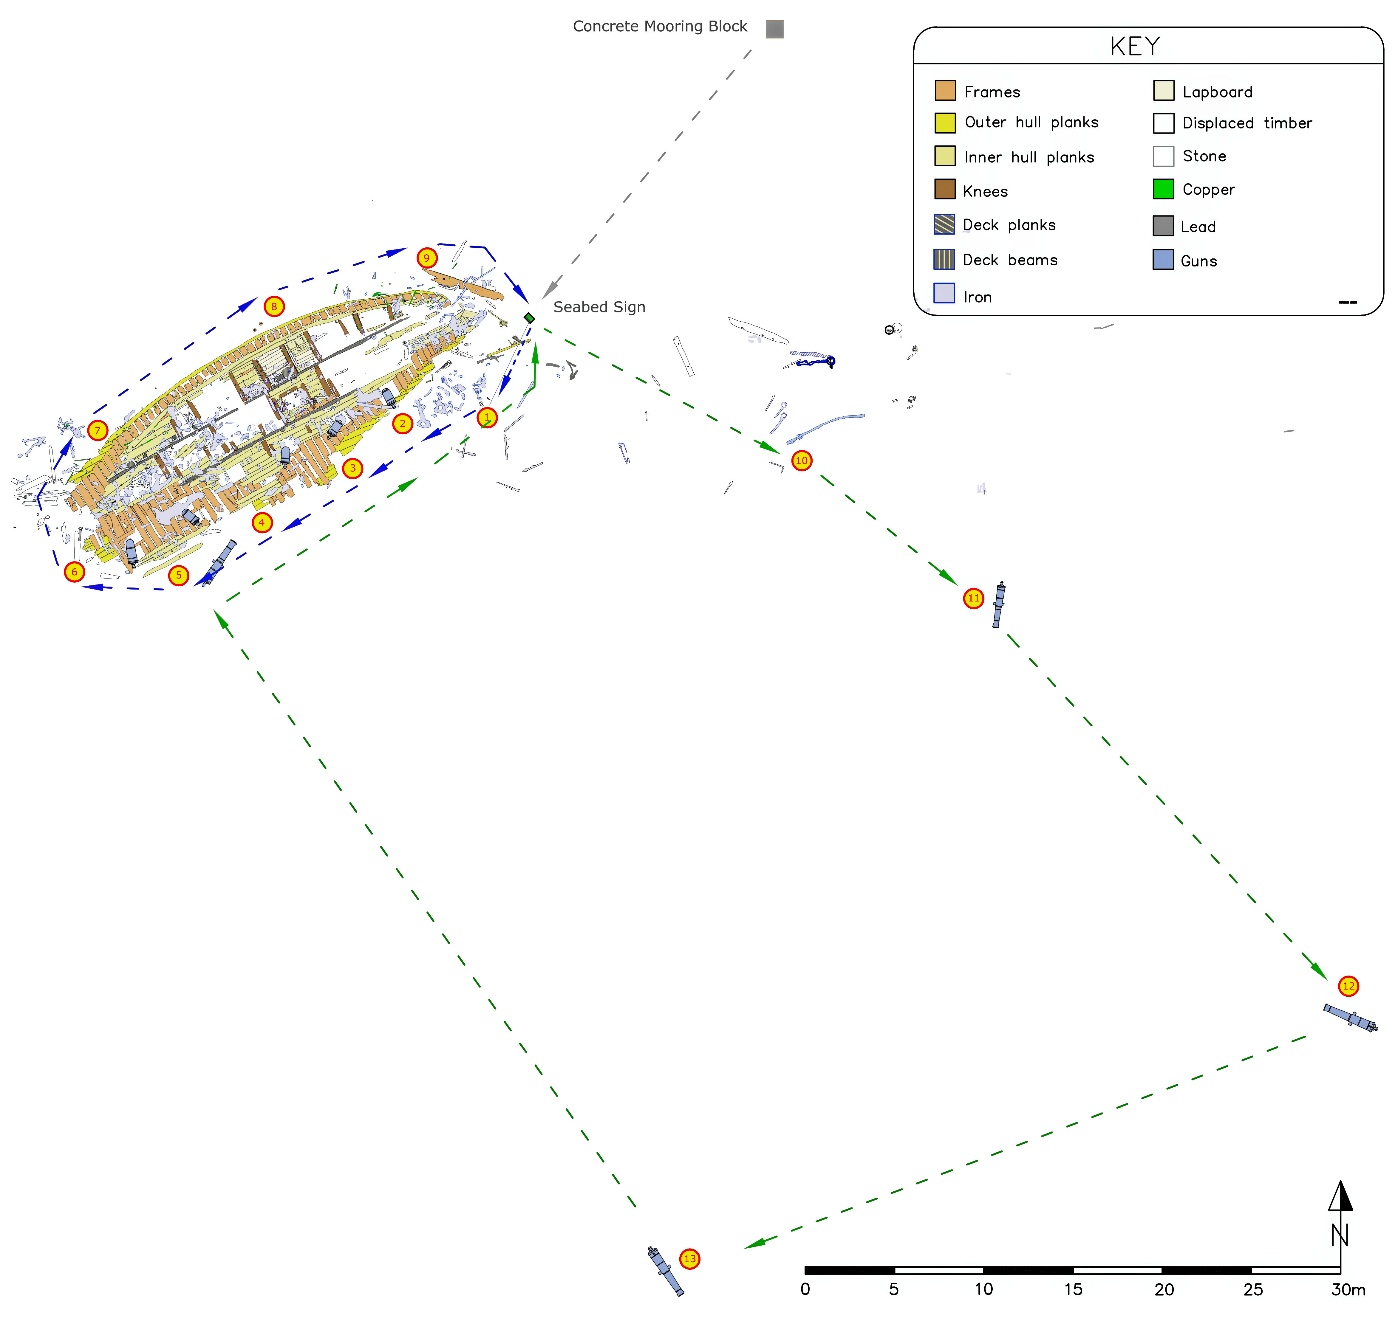
You are now back at the seabed sign. If you wish to explore the outlying objects, follow the bottom line to the south-east to complete the Green Route. This will take 15-30 minutes to complete. The dive stations are all much further apart on this route, so to help you find them there is a bottom line to guide you. PLEASE do not pull on the bottom line – if you do, you could pull out the staples anchoring the line to the seabed.
Station 10
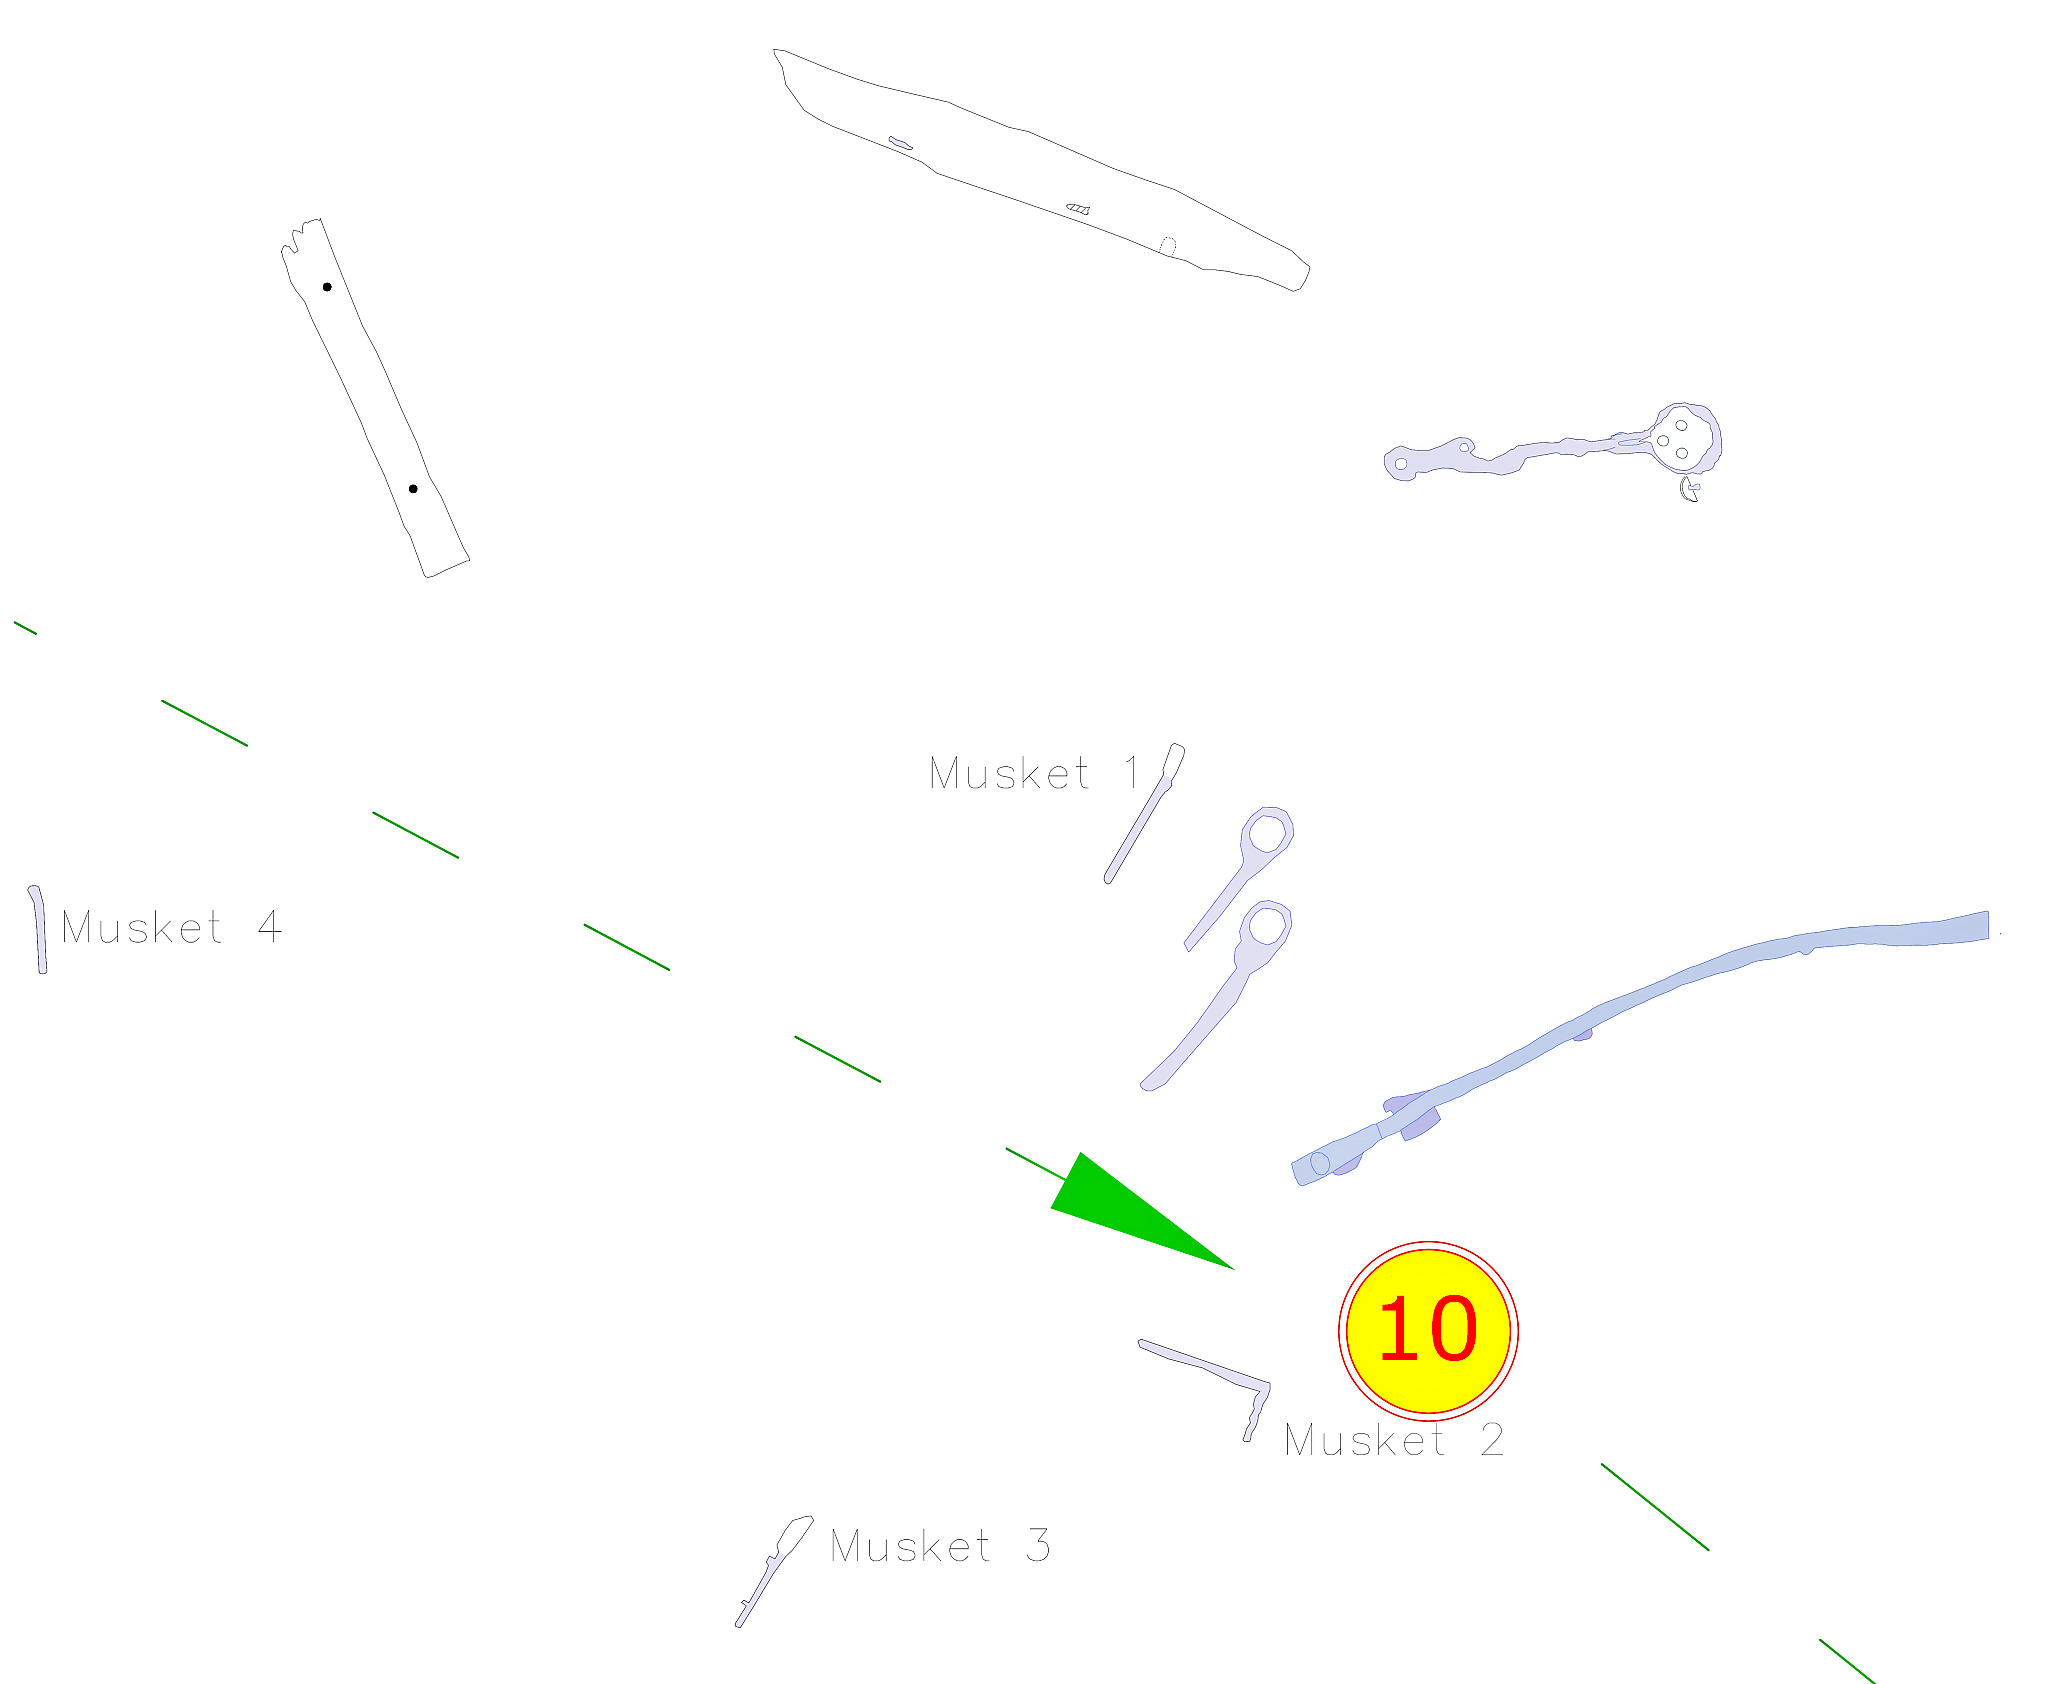
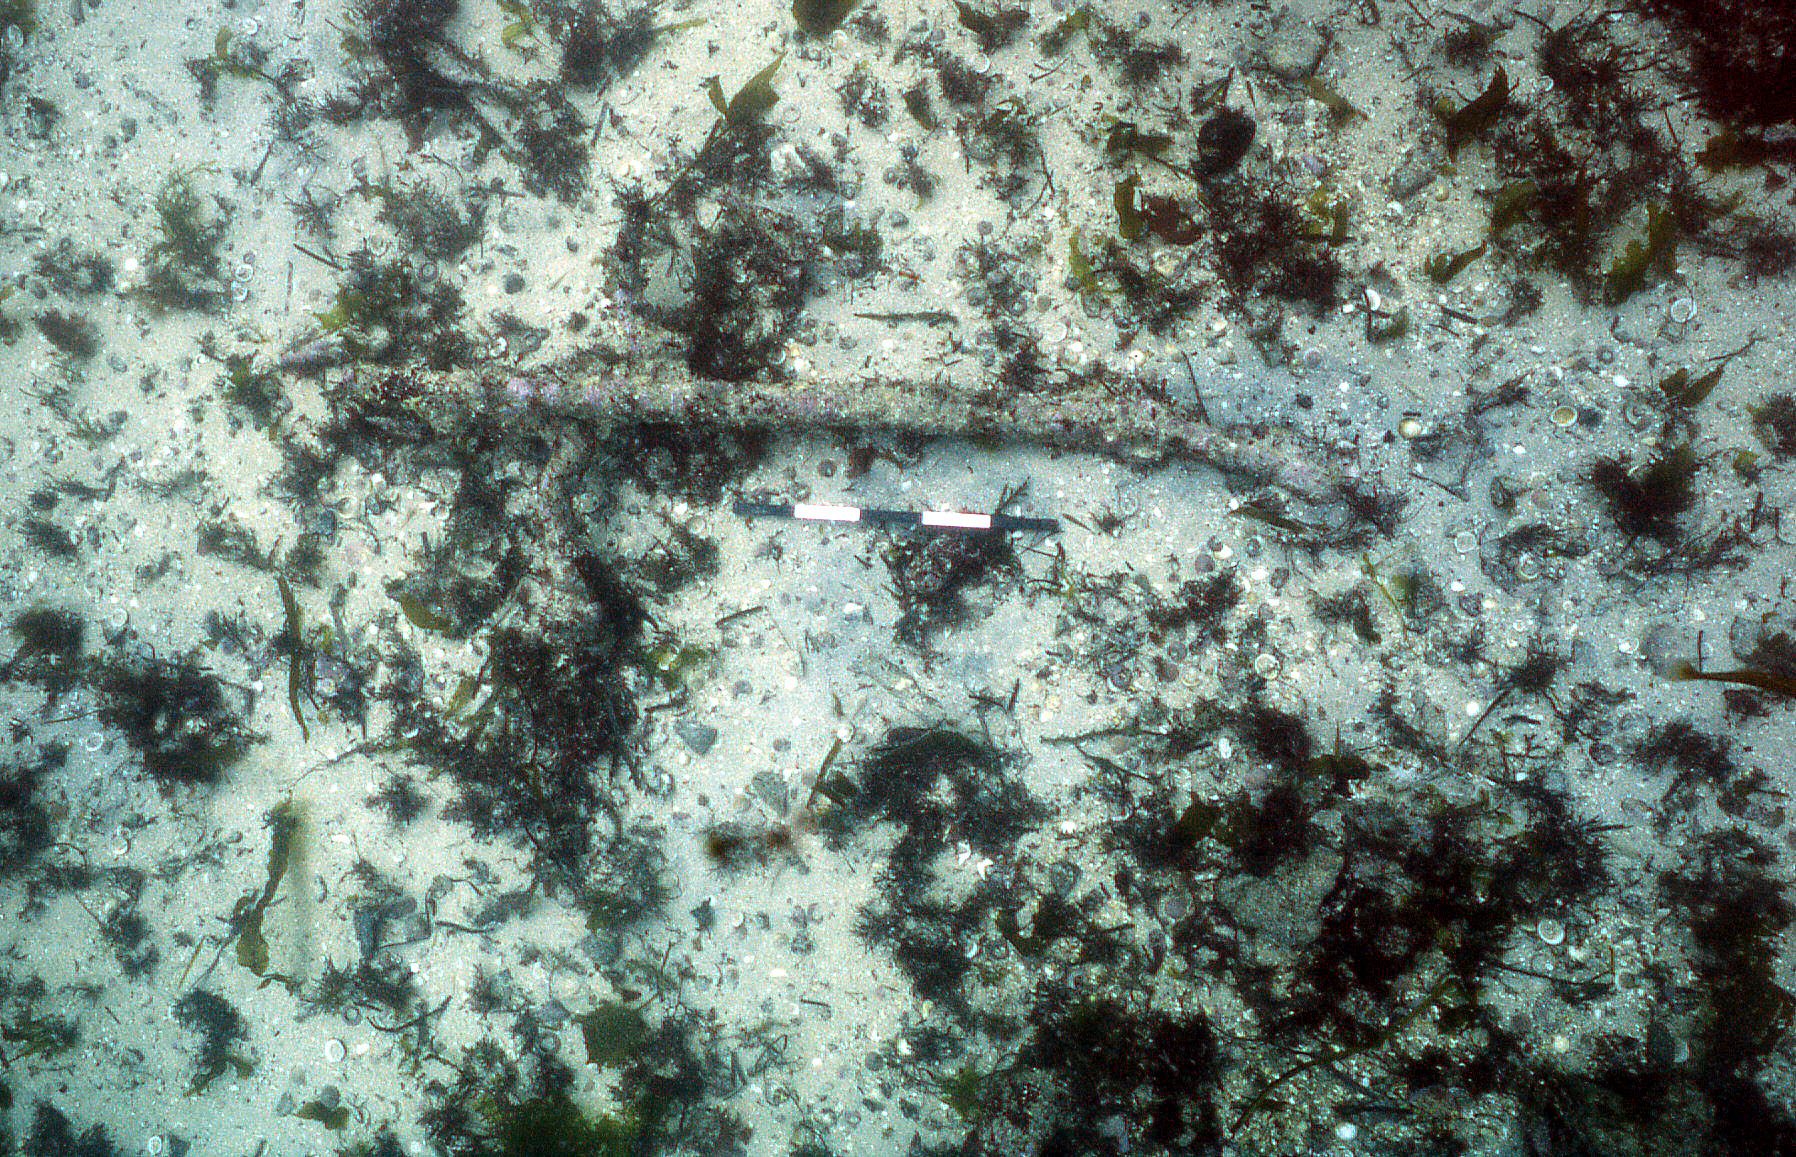
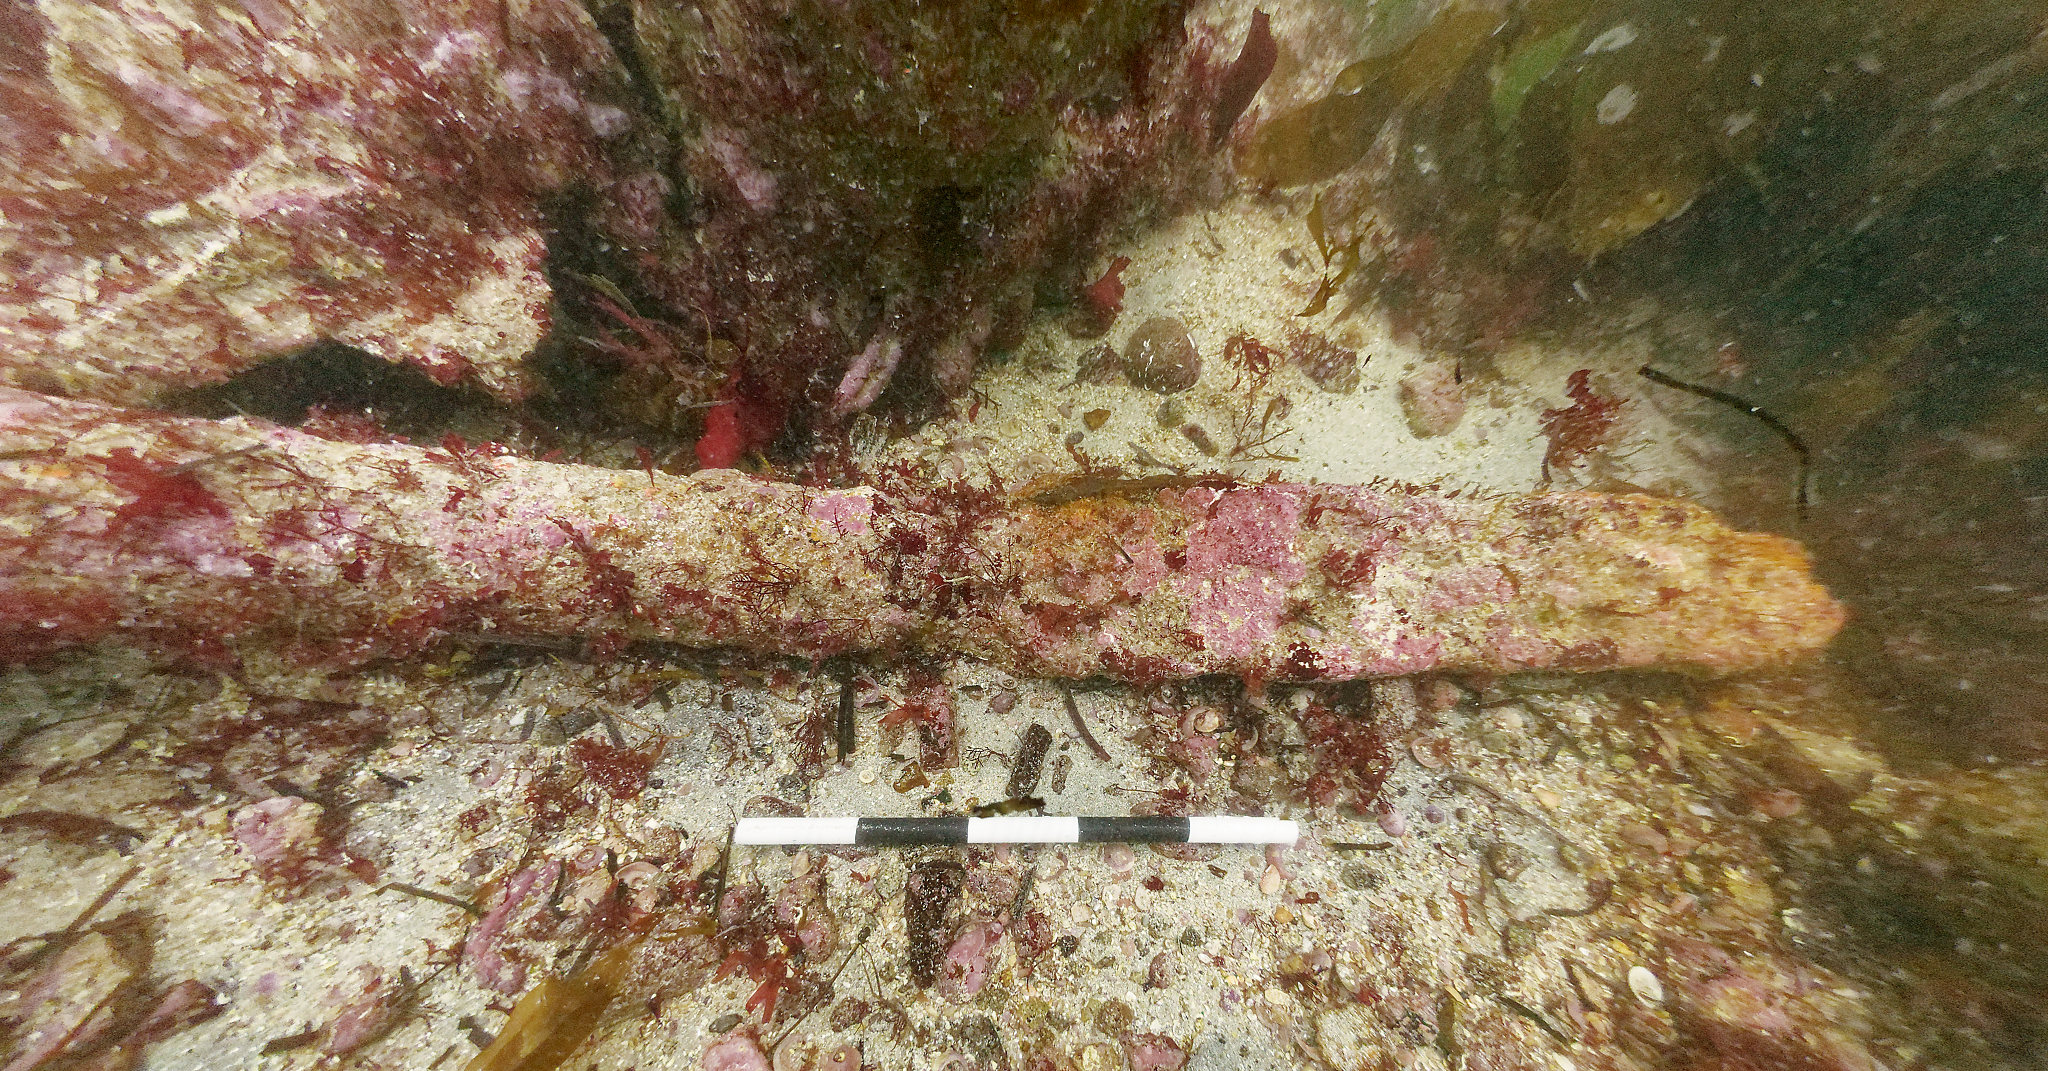
You should be looking at a long iron object on the seabed. It is 4.65m (15 ft) long and slightly curved throughout its length. For many years we were not certain what this large iron ‘spar’ was used for – but we now know that it was the emergency tiller for Colossus. It could be fitted to the top of the rudder if the normal wooden tiller (which was fitted immediately below the Gunroom ceiling) was damaged or broken. The emergency tiller would be fitted just above the Wardroom deck.
If you look to the west of the iron spar you will see three more muskets exposed on the seabed. These are sea-service muskets just like those you saw at station 2. These muskets became exposed by falling seabed levels in 2014.

Station 11
At this station you can see one of the Armstrong pattern 9-pound guns from Colossus. This is the only 9-pound gun on the site, although there were 18 on Colossus.

This gun would originally have been on the quarter deck of the ship. Notice that the gun now lies upside down with the iron fastening bolts of the wooden gun carriage still attached to the gun. It is 2.35m (7ft 6 in) long and weighs over a tonne.
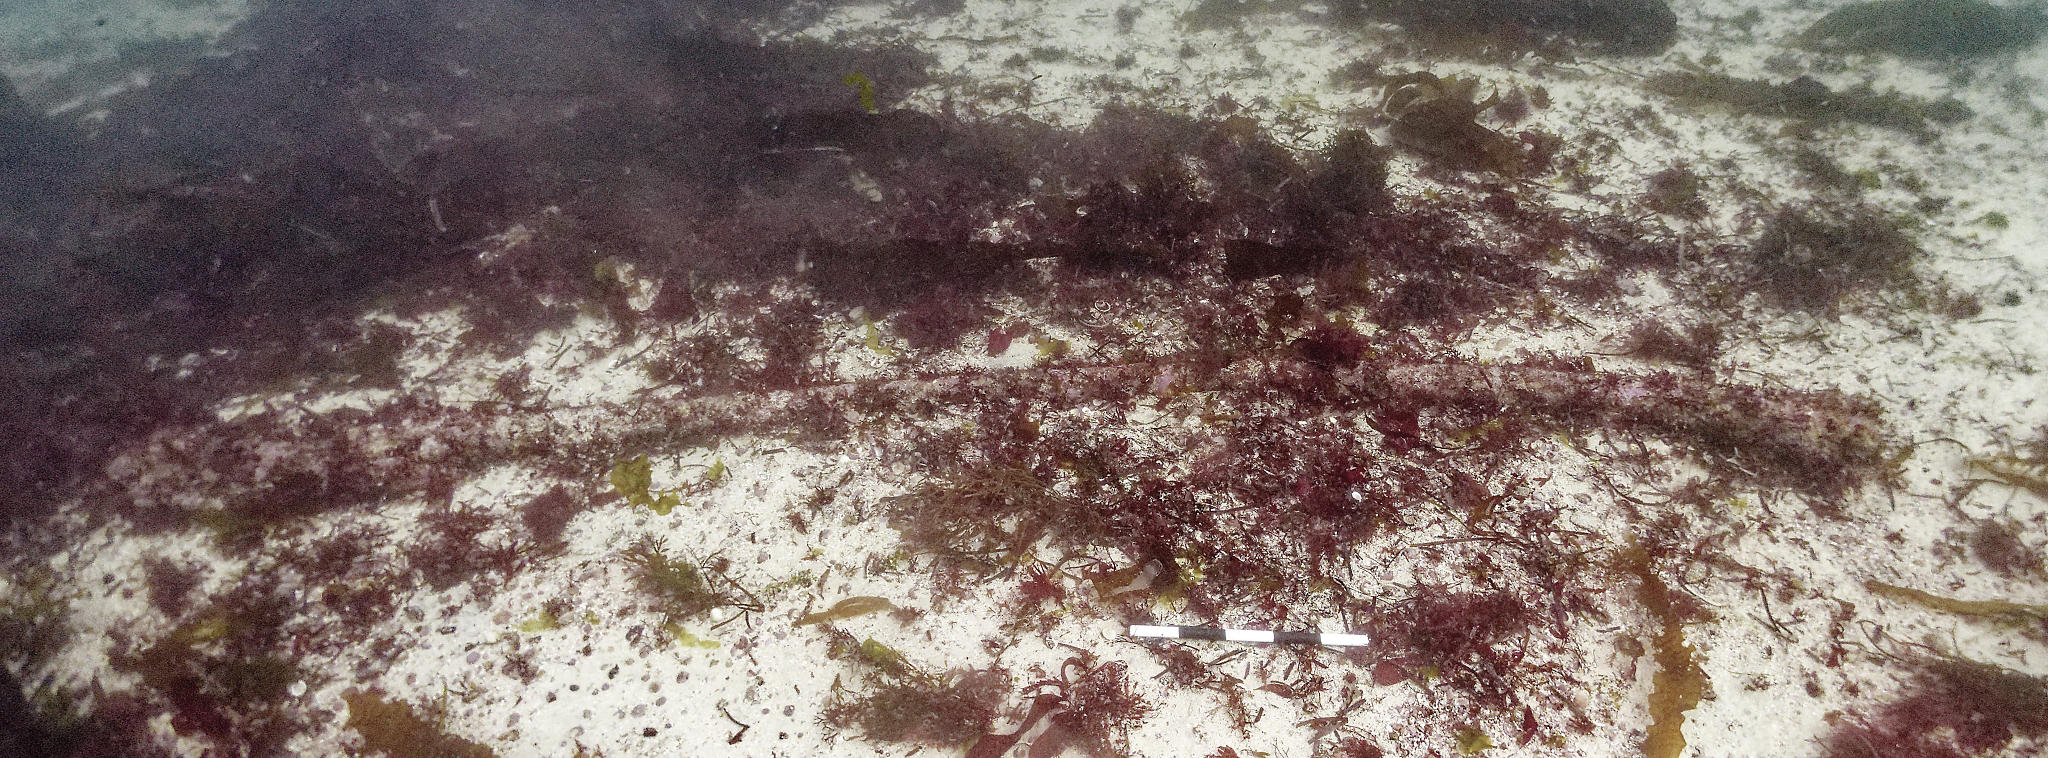
Station 12
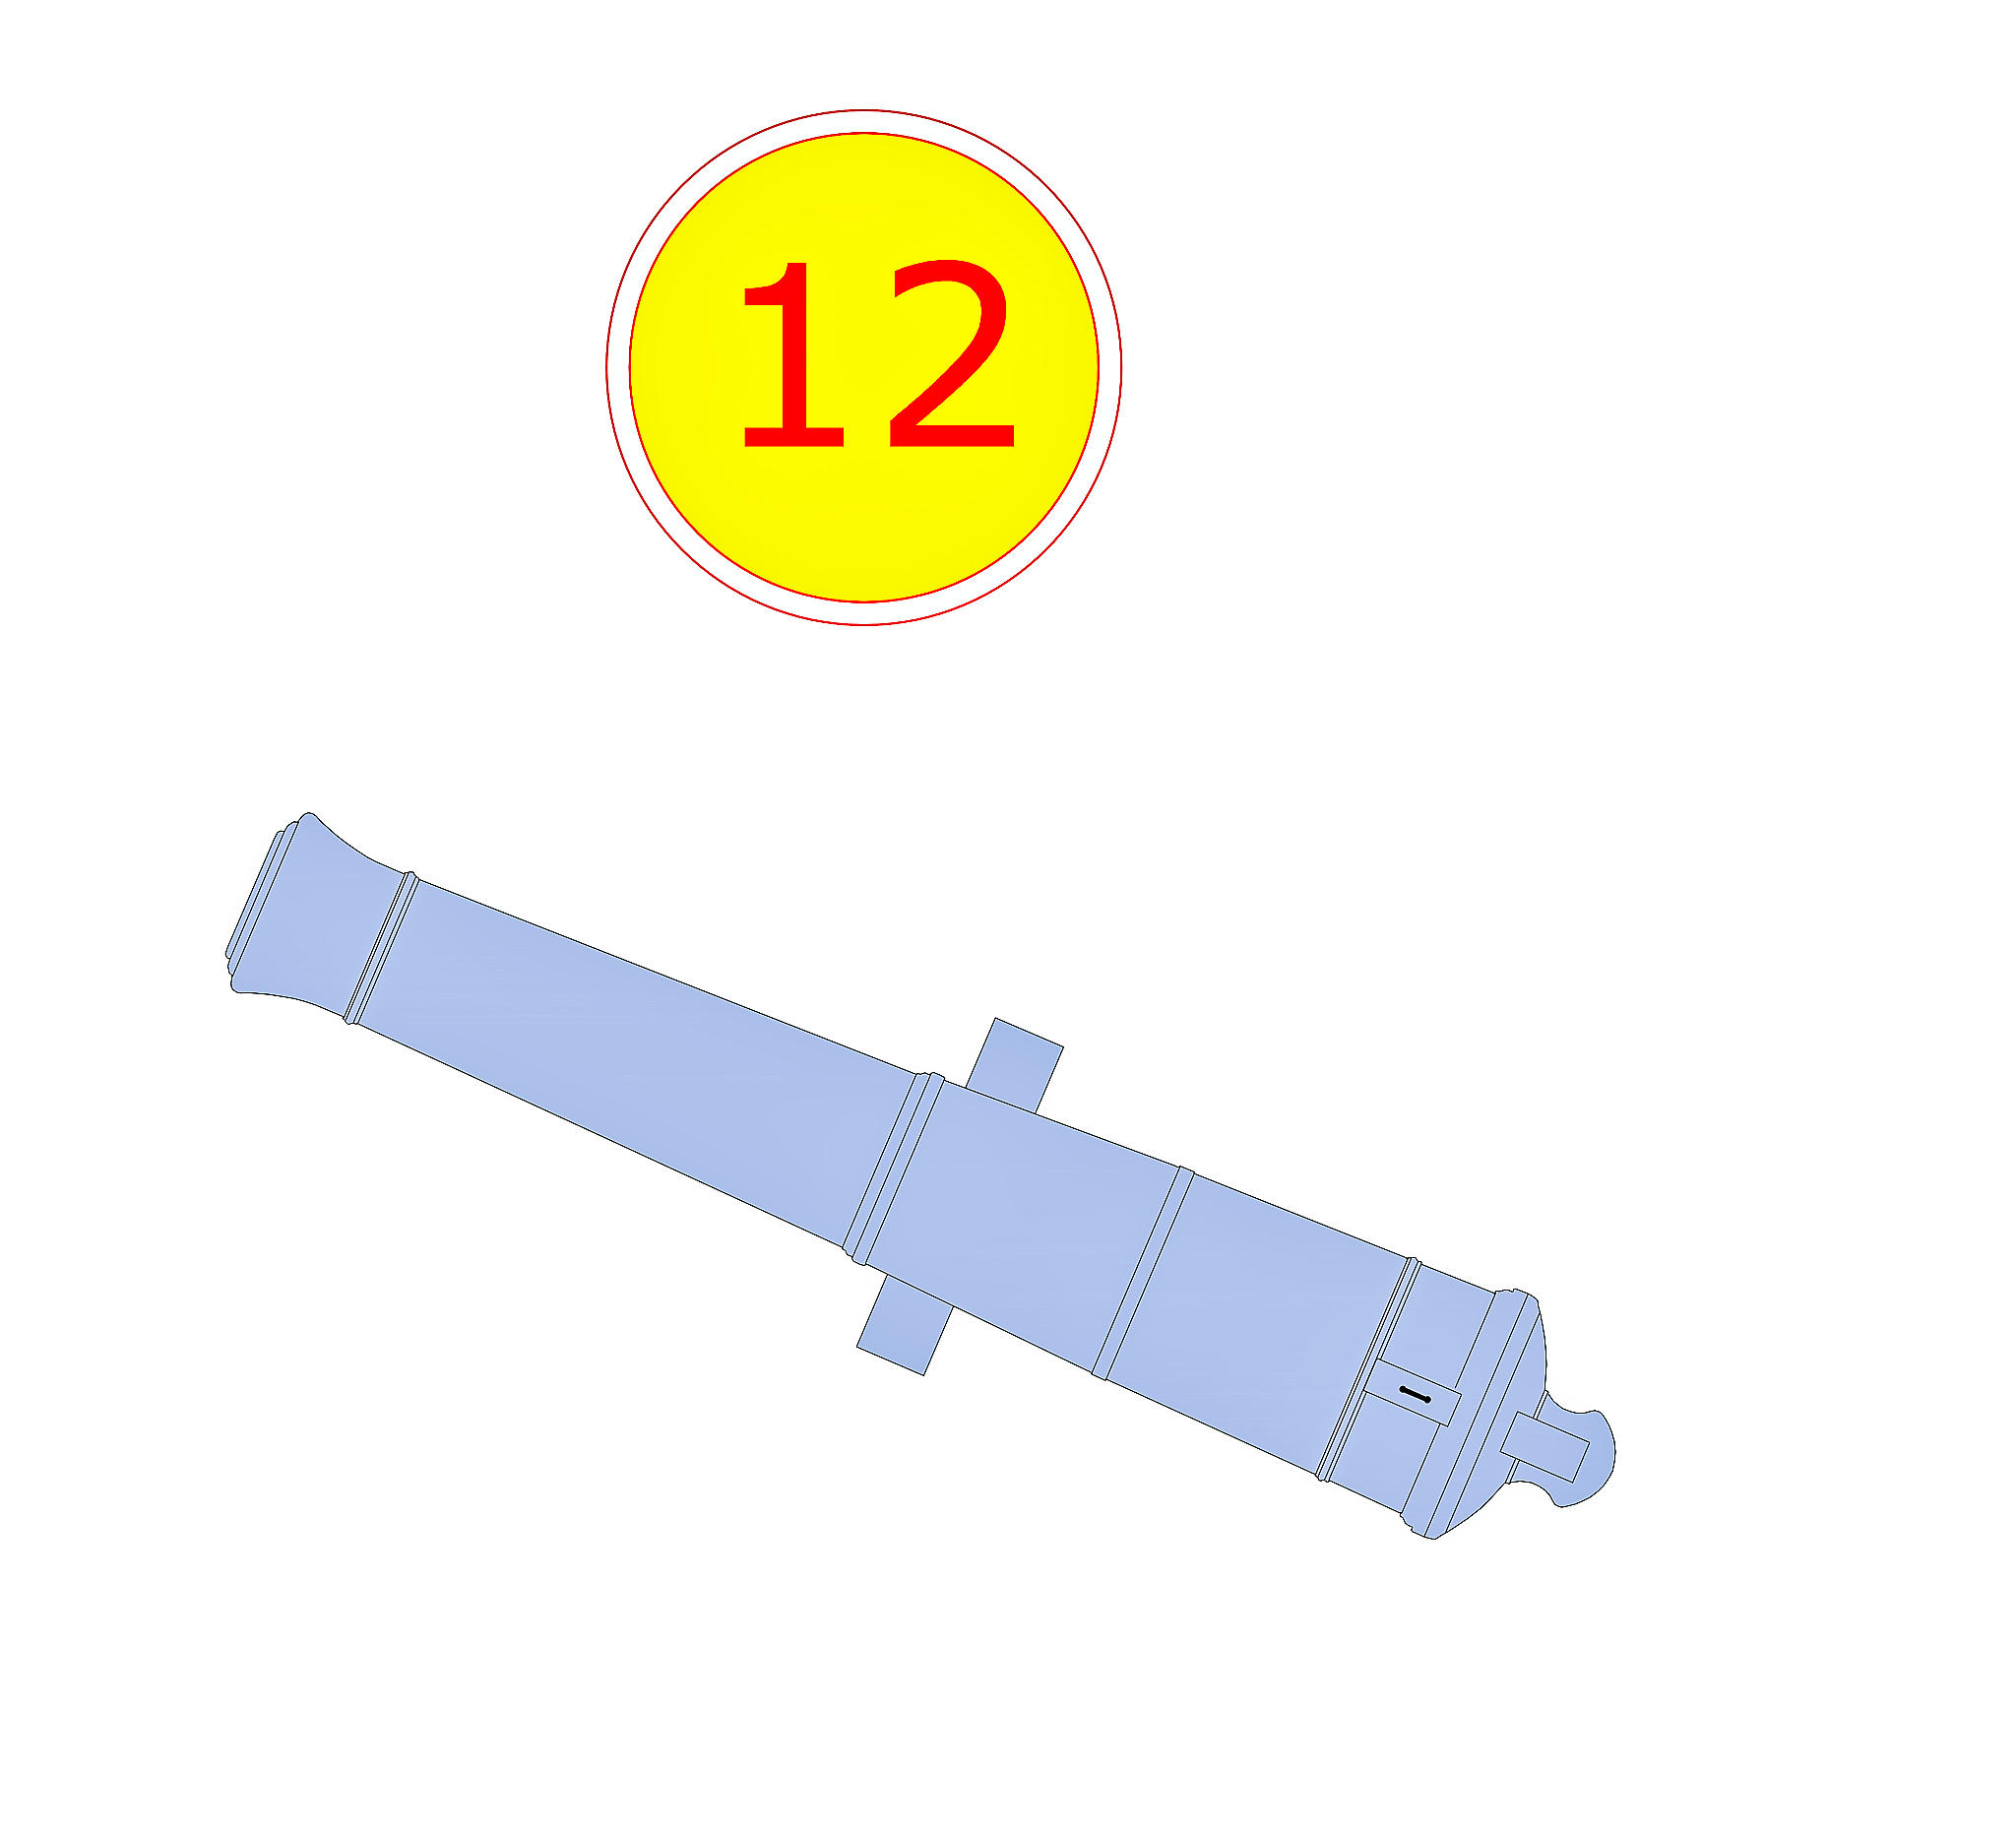
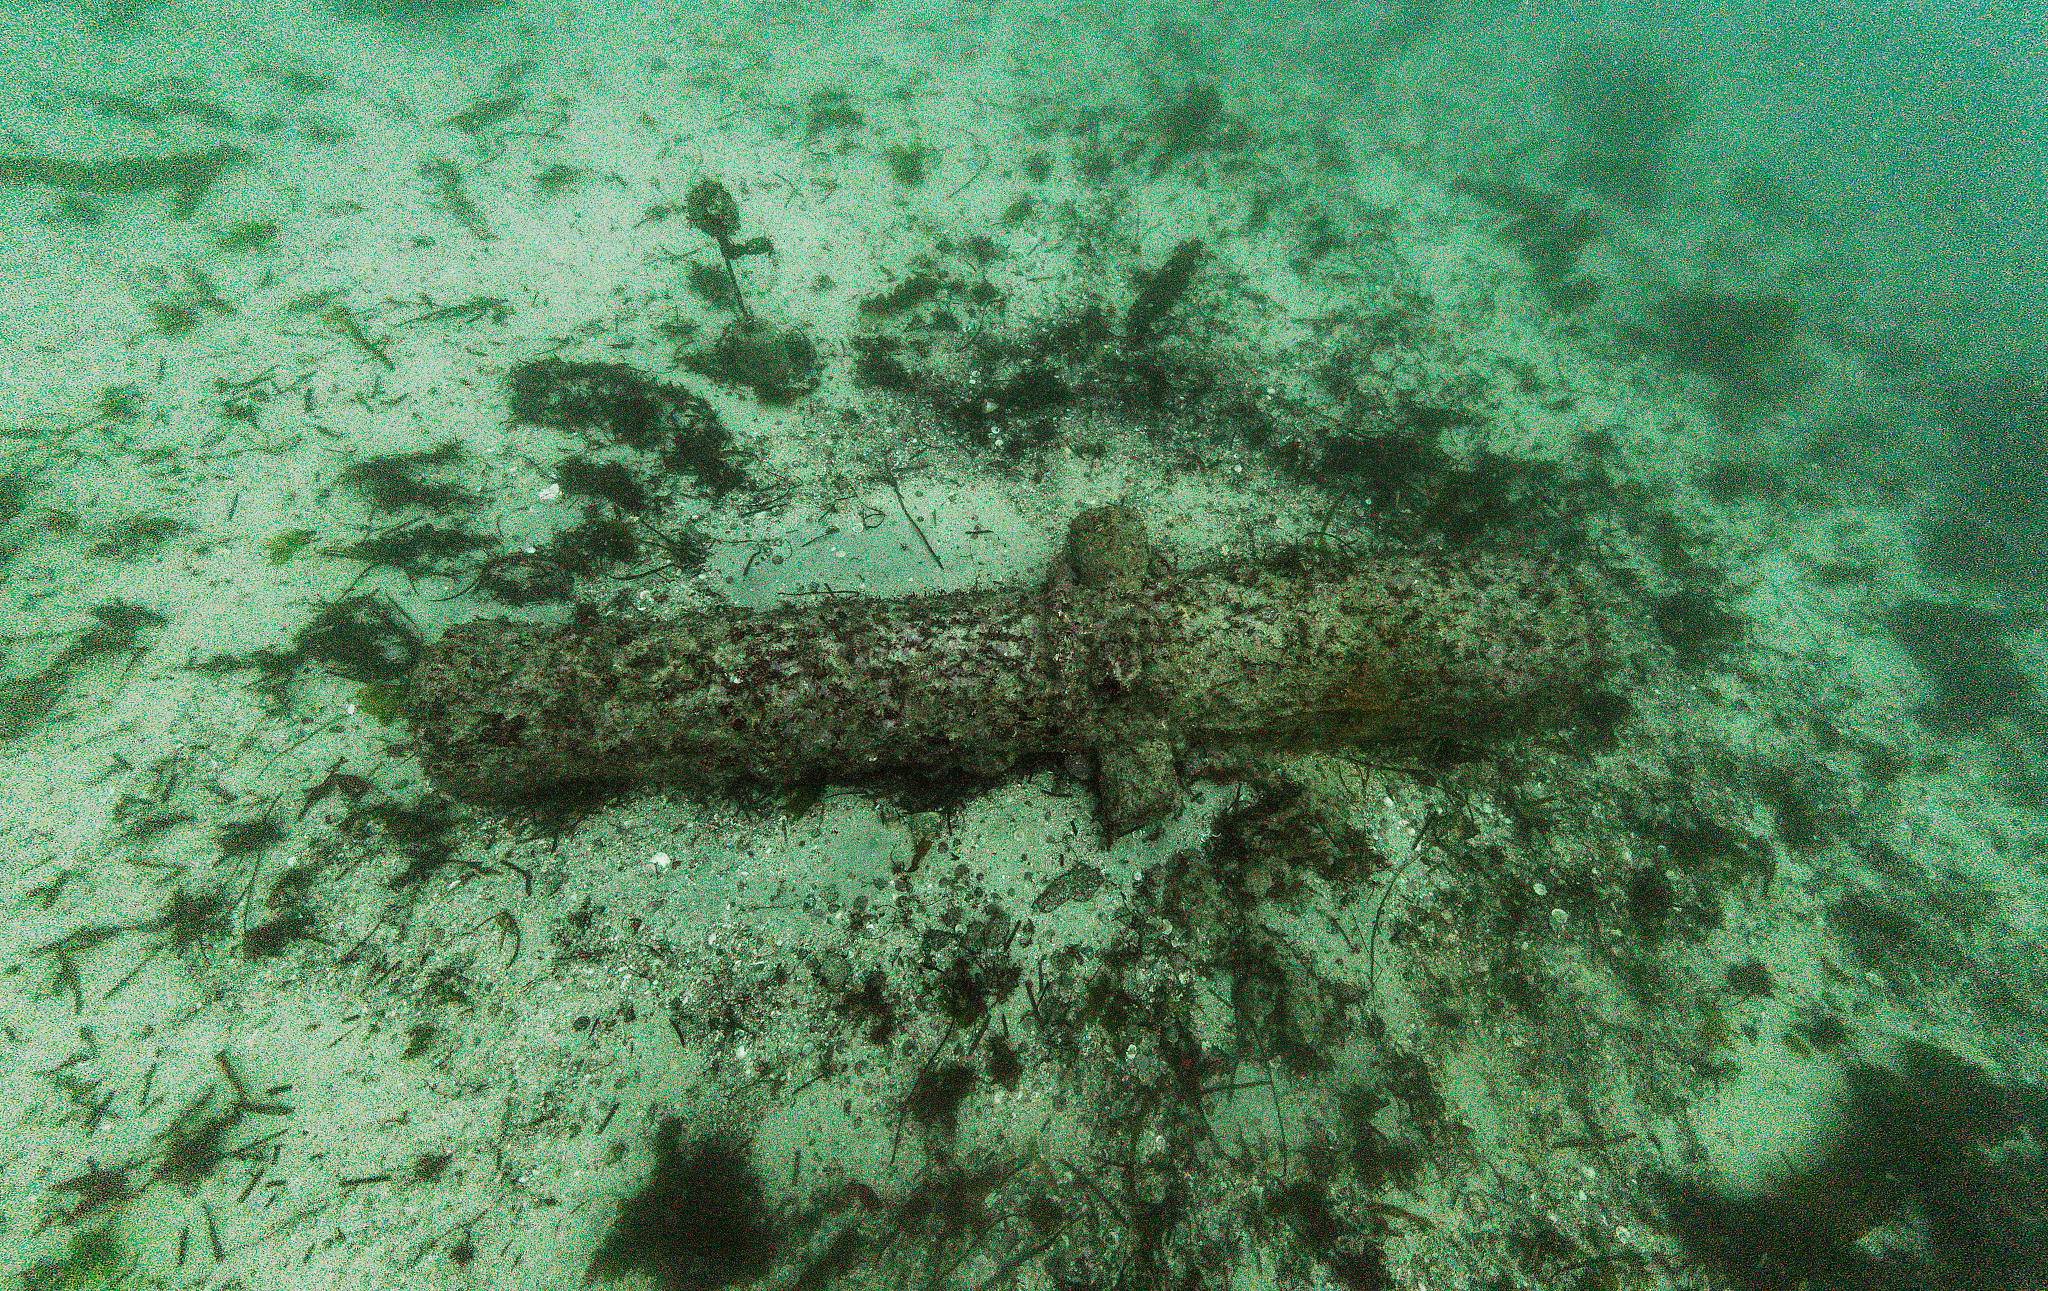
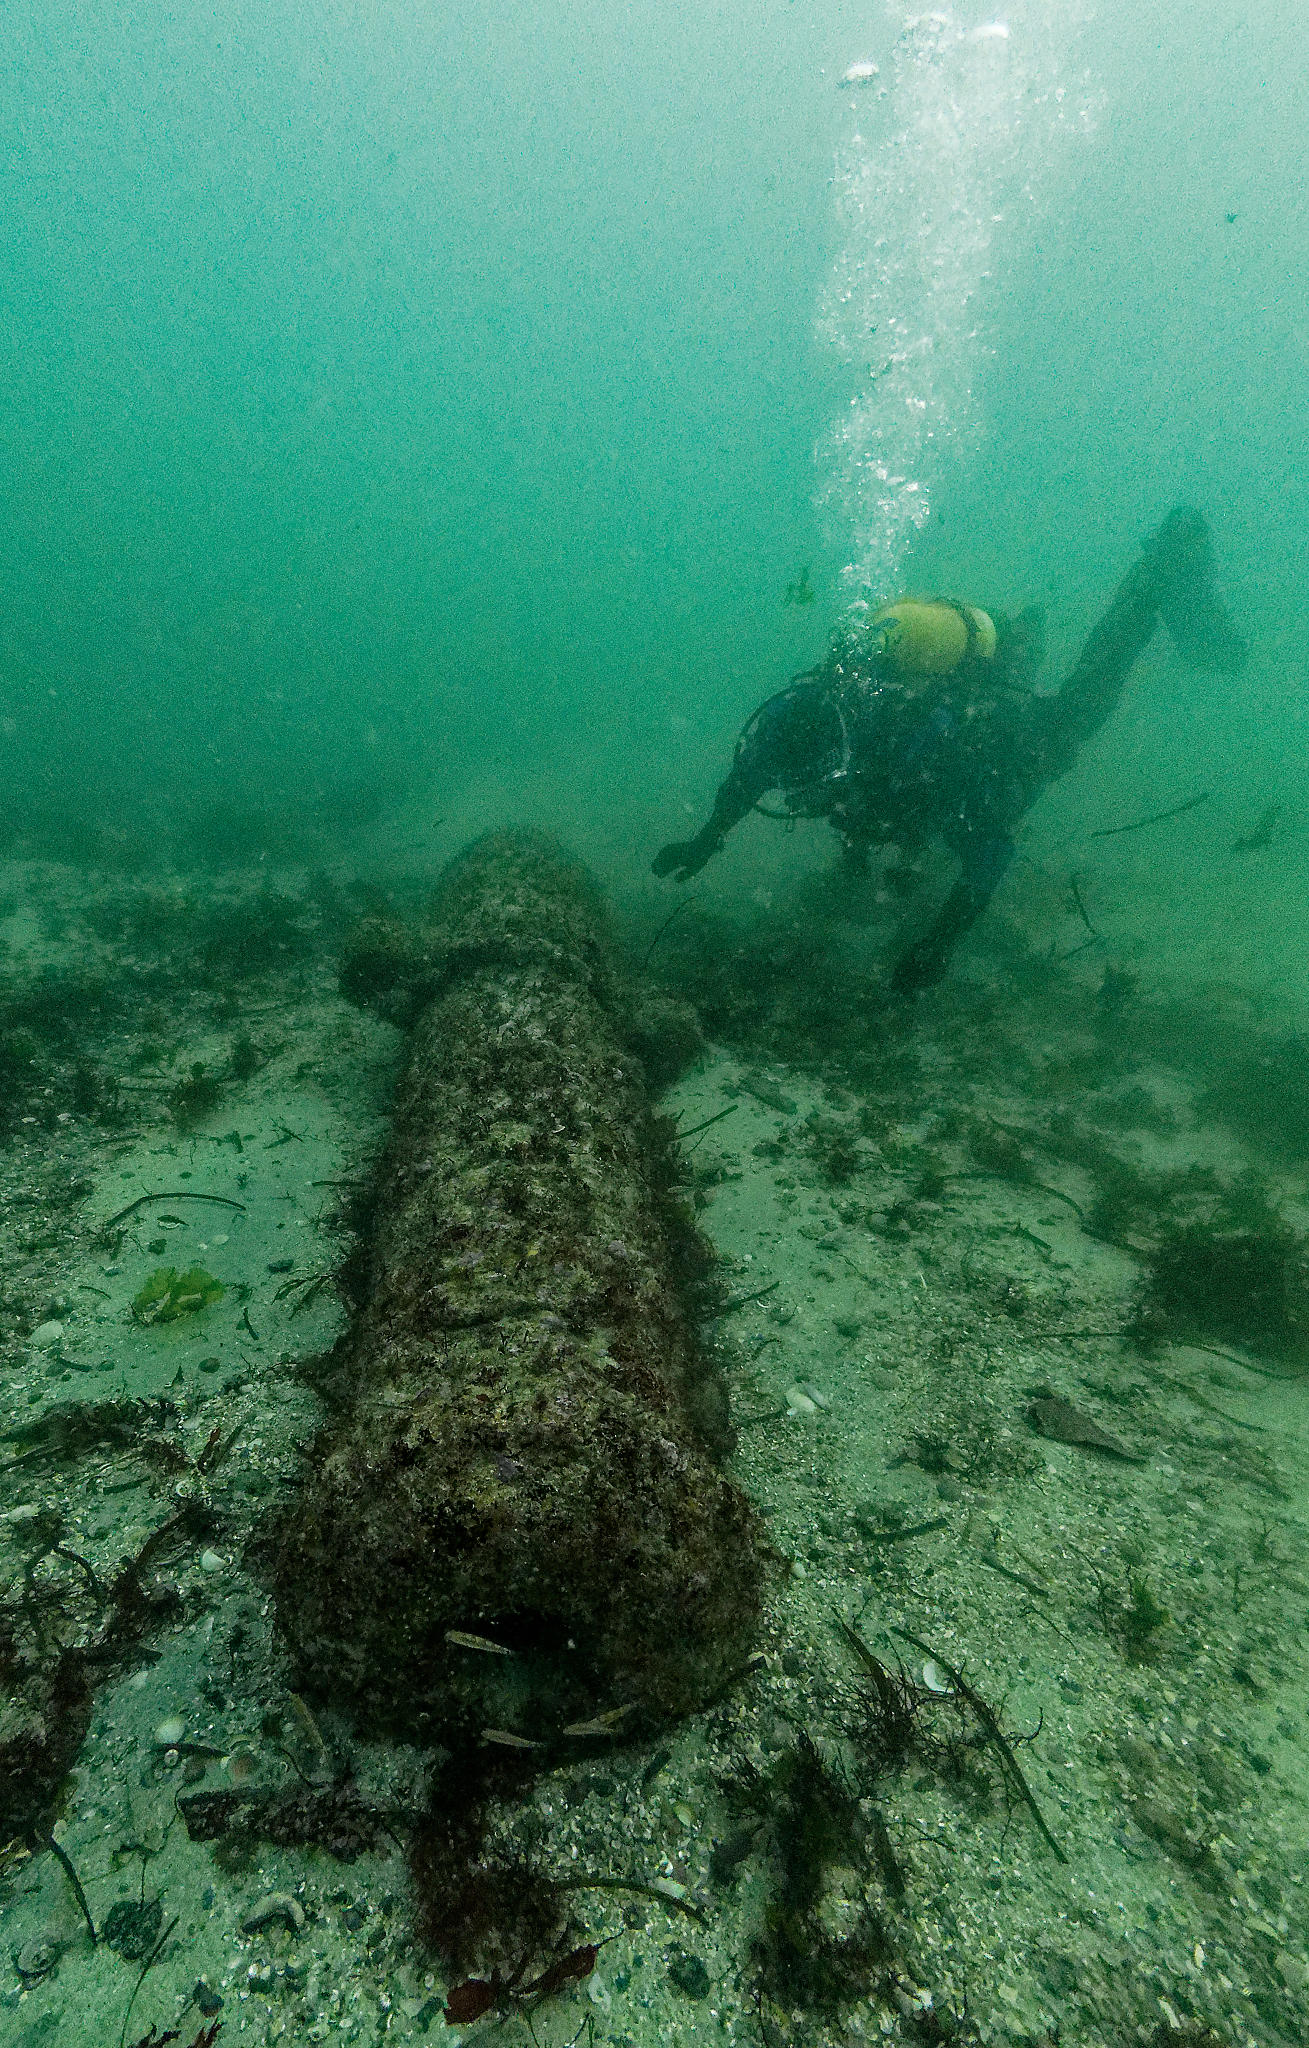
At this station you can see one of the Blomefield pattern 32-pound guns from Colossus.
This gun would originally have been on the main gun deck of the ship. Notice that the gun now lies upside down with traces of iron chain wrapped around the middle of the barrel of the gun. This gun is 2.95m (9ft 6in) long and weighs over two tonnes.
Station 13
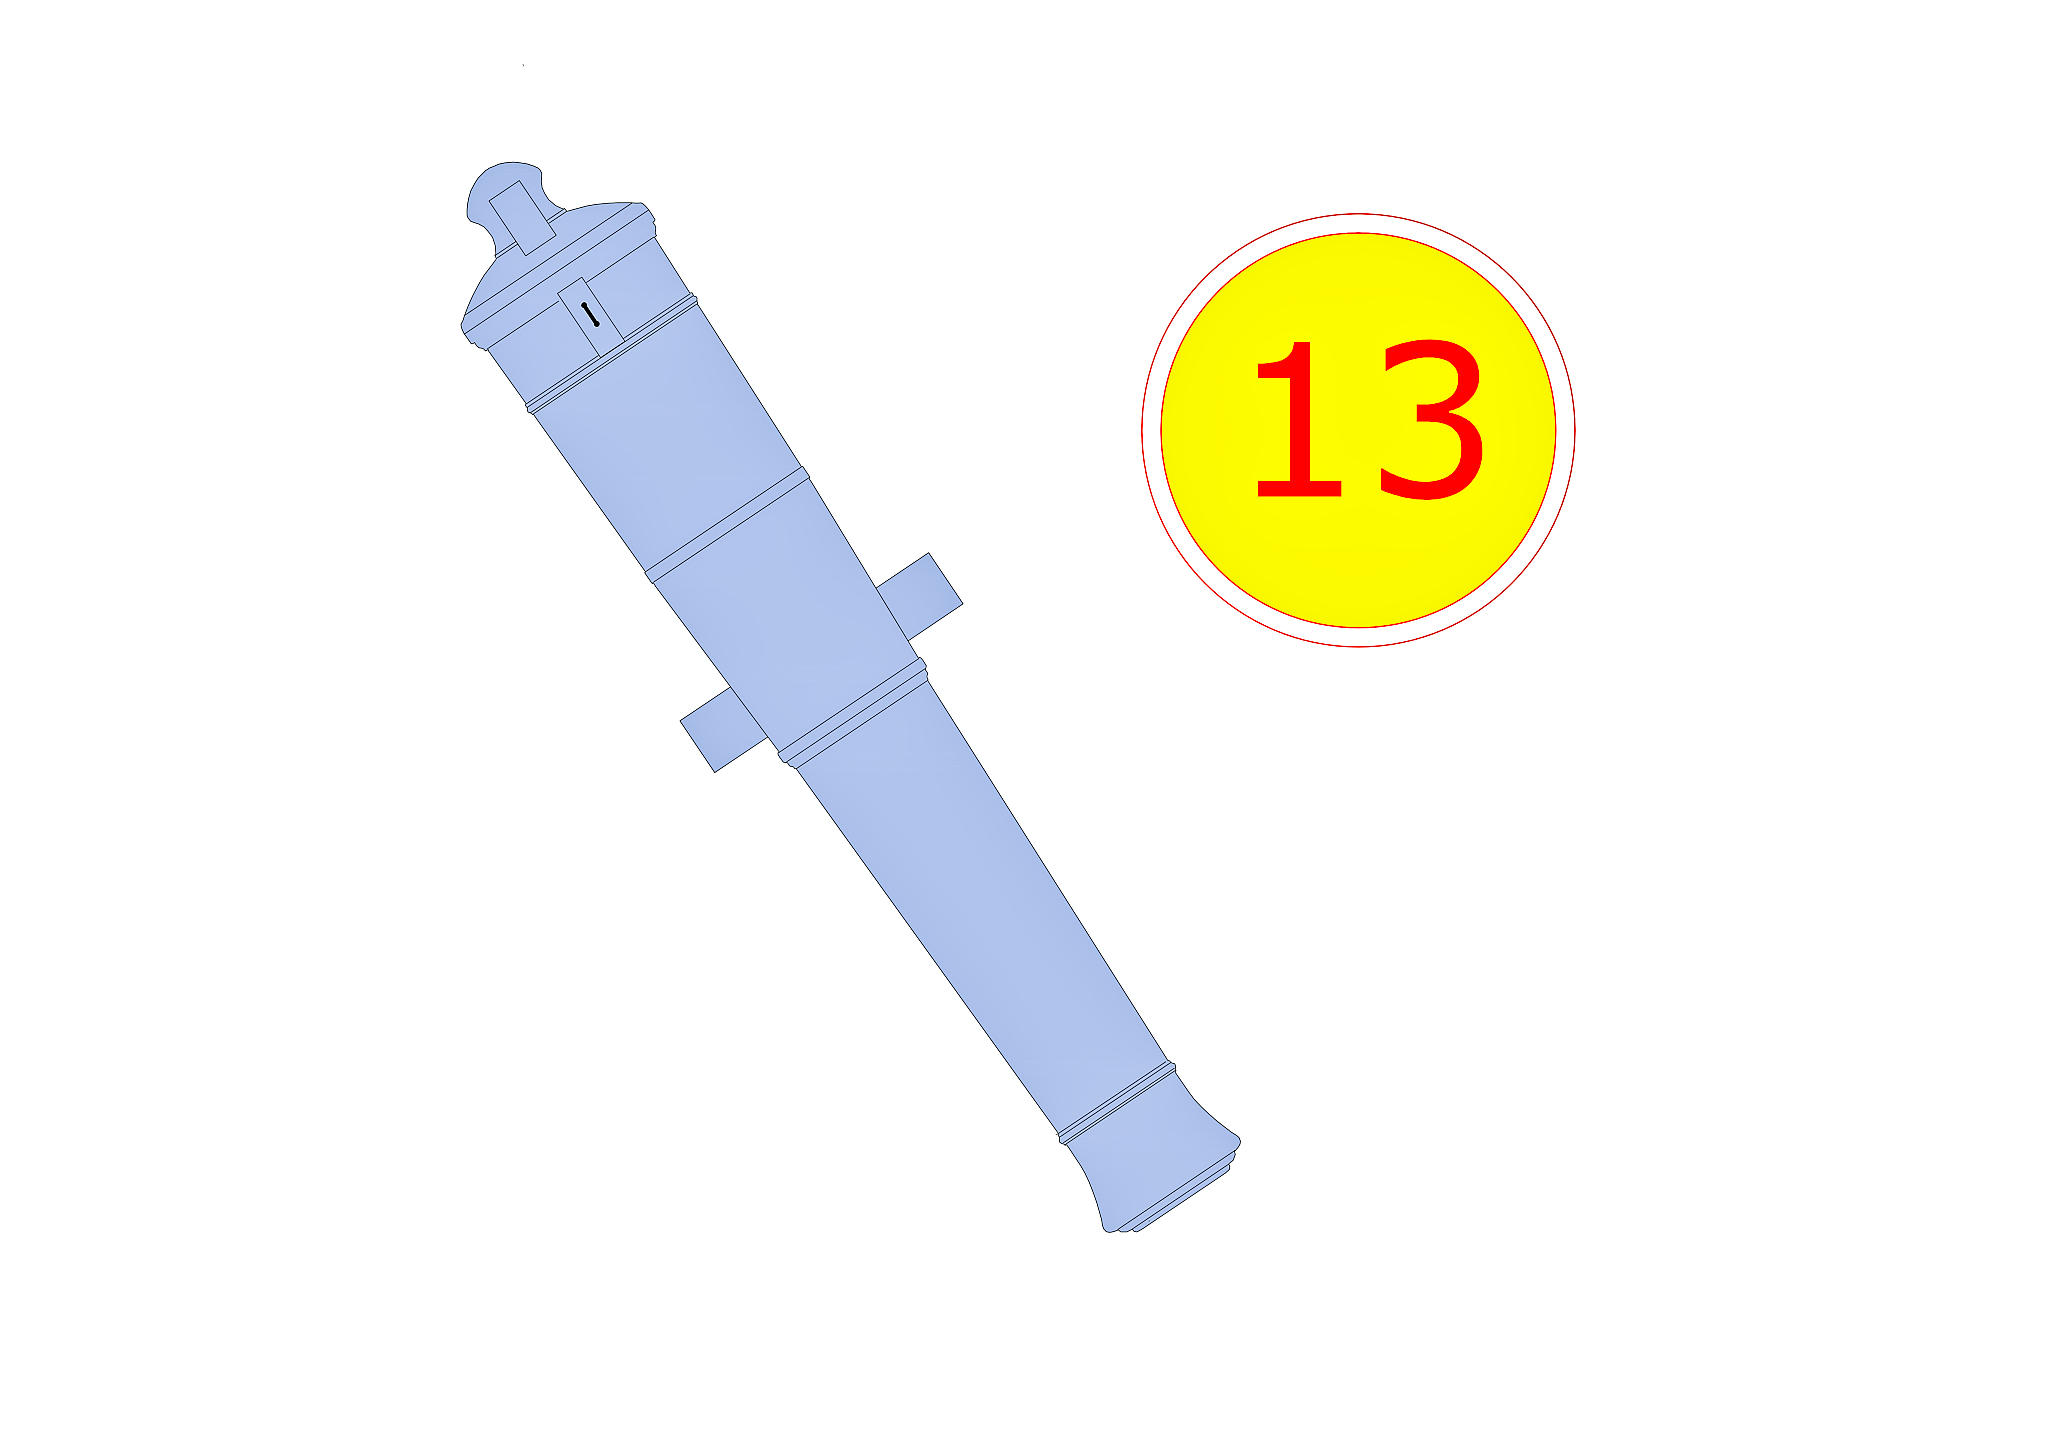
You have now reached the final station on the Colossus diver trail. This is another of the large 32-pound guns which formed the main armament of the ship. There were 28 of these guns, all on the main gun deck (14 on each side of the ship). The crew also ate and slept on this deck. You may have noticed that several of the guns you have seen have long thin fins running lengthways along their barrels. These form on the surface of the gun as it corrodes on the seabed, and indicate the location of a crack in the cast iron of the gun.
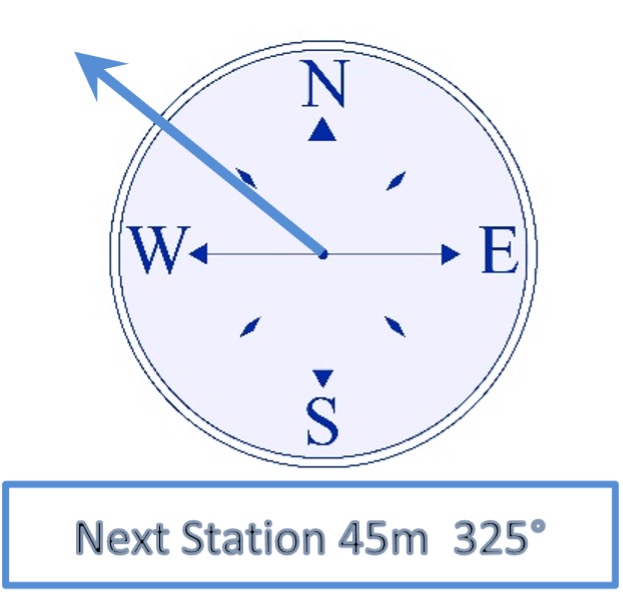
Follow the bottom line to the north west and you will arrive at dive station 5 on the main wreck site (Blue Route). Follow the trail to the seabed sign where you started, and from there back to the shot line you originally descended.
If you would like to share your observations, photographs or suggestions on the diver trail please contact us at contact@cismas.org.uk